Search

mumblingsewist

Dress lily inspiration tutorial

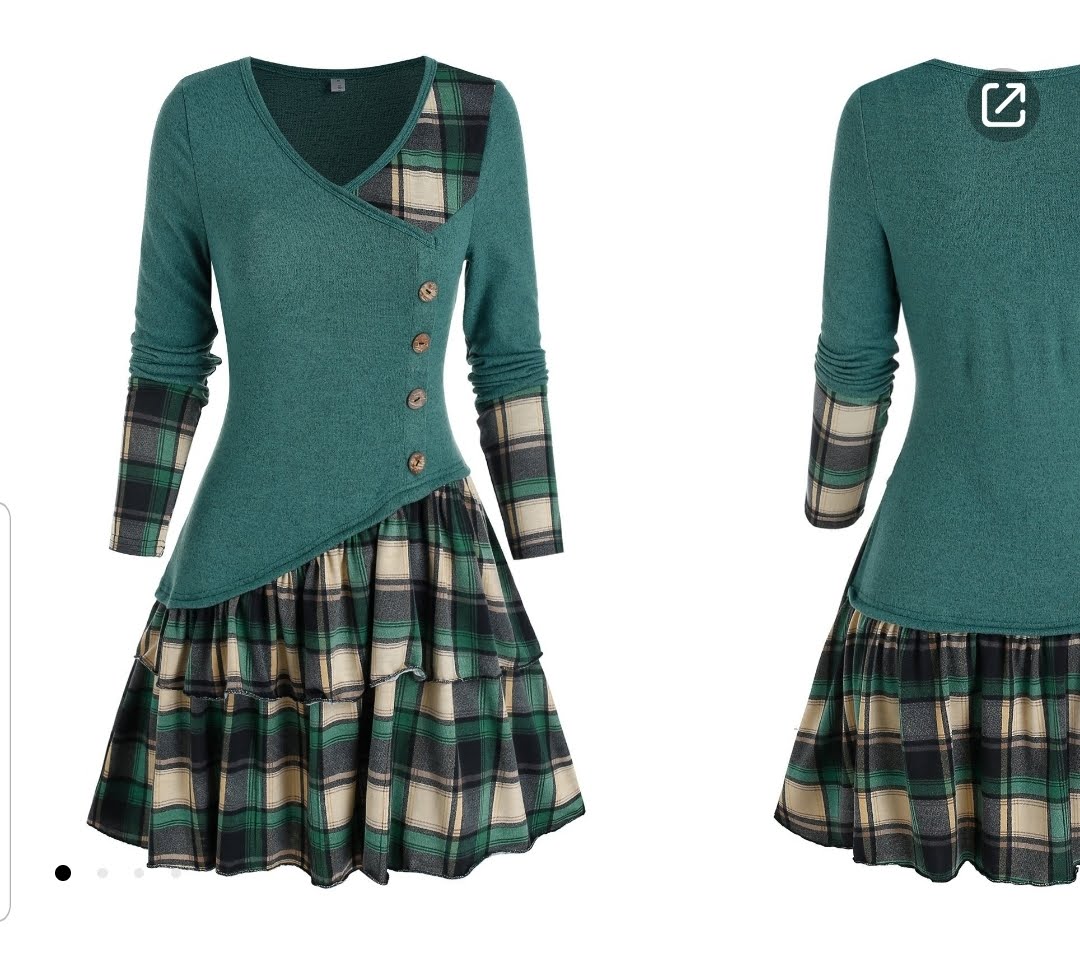
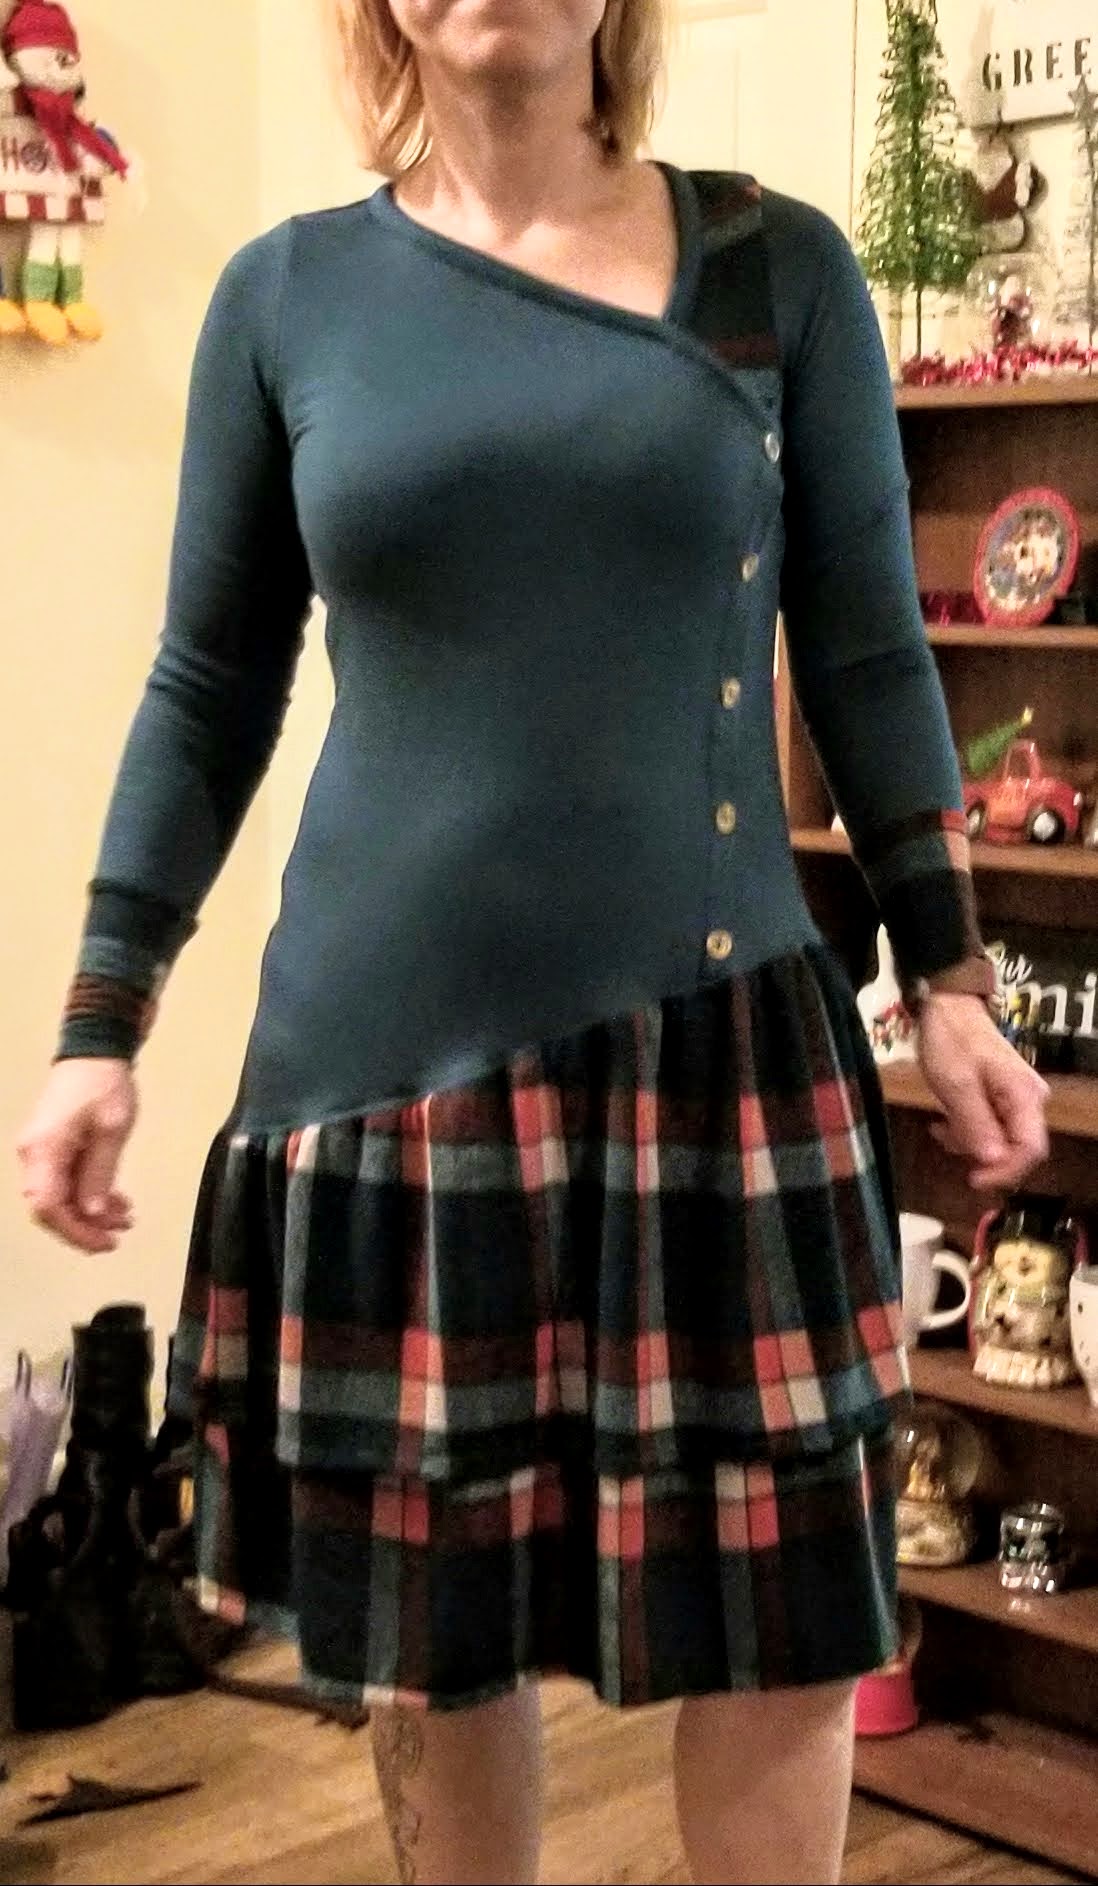
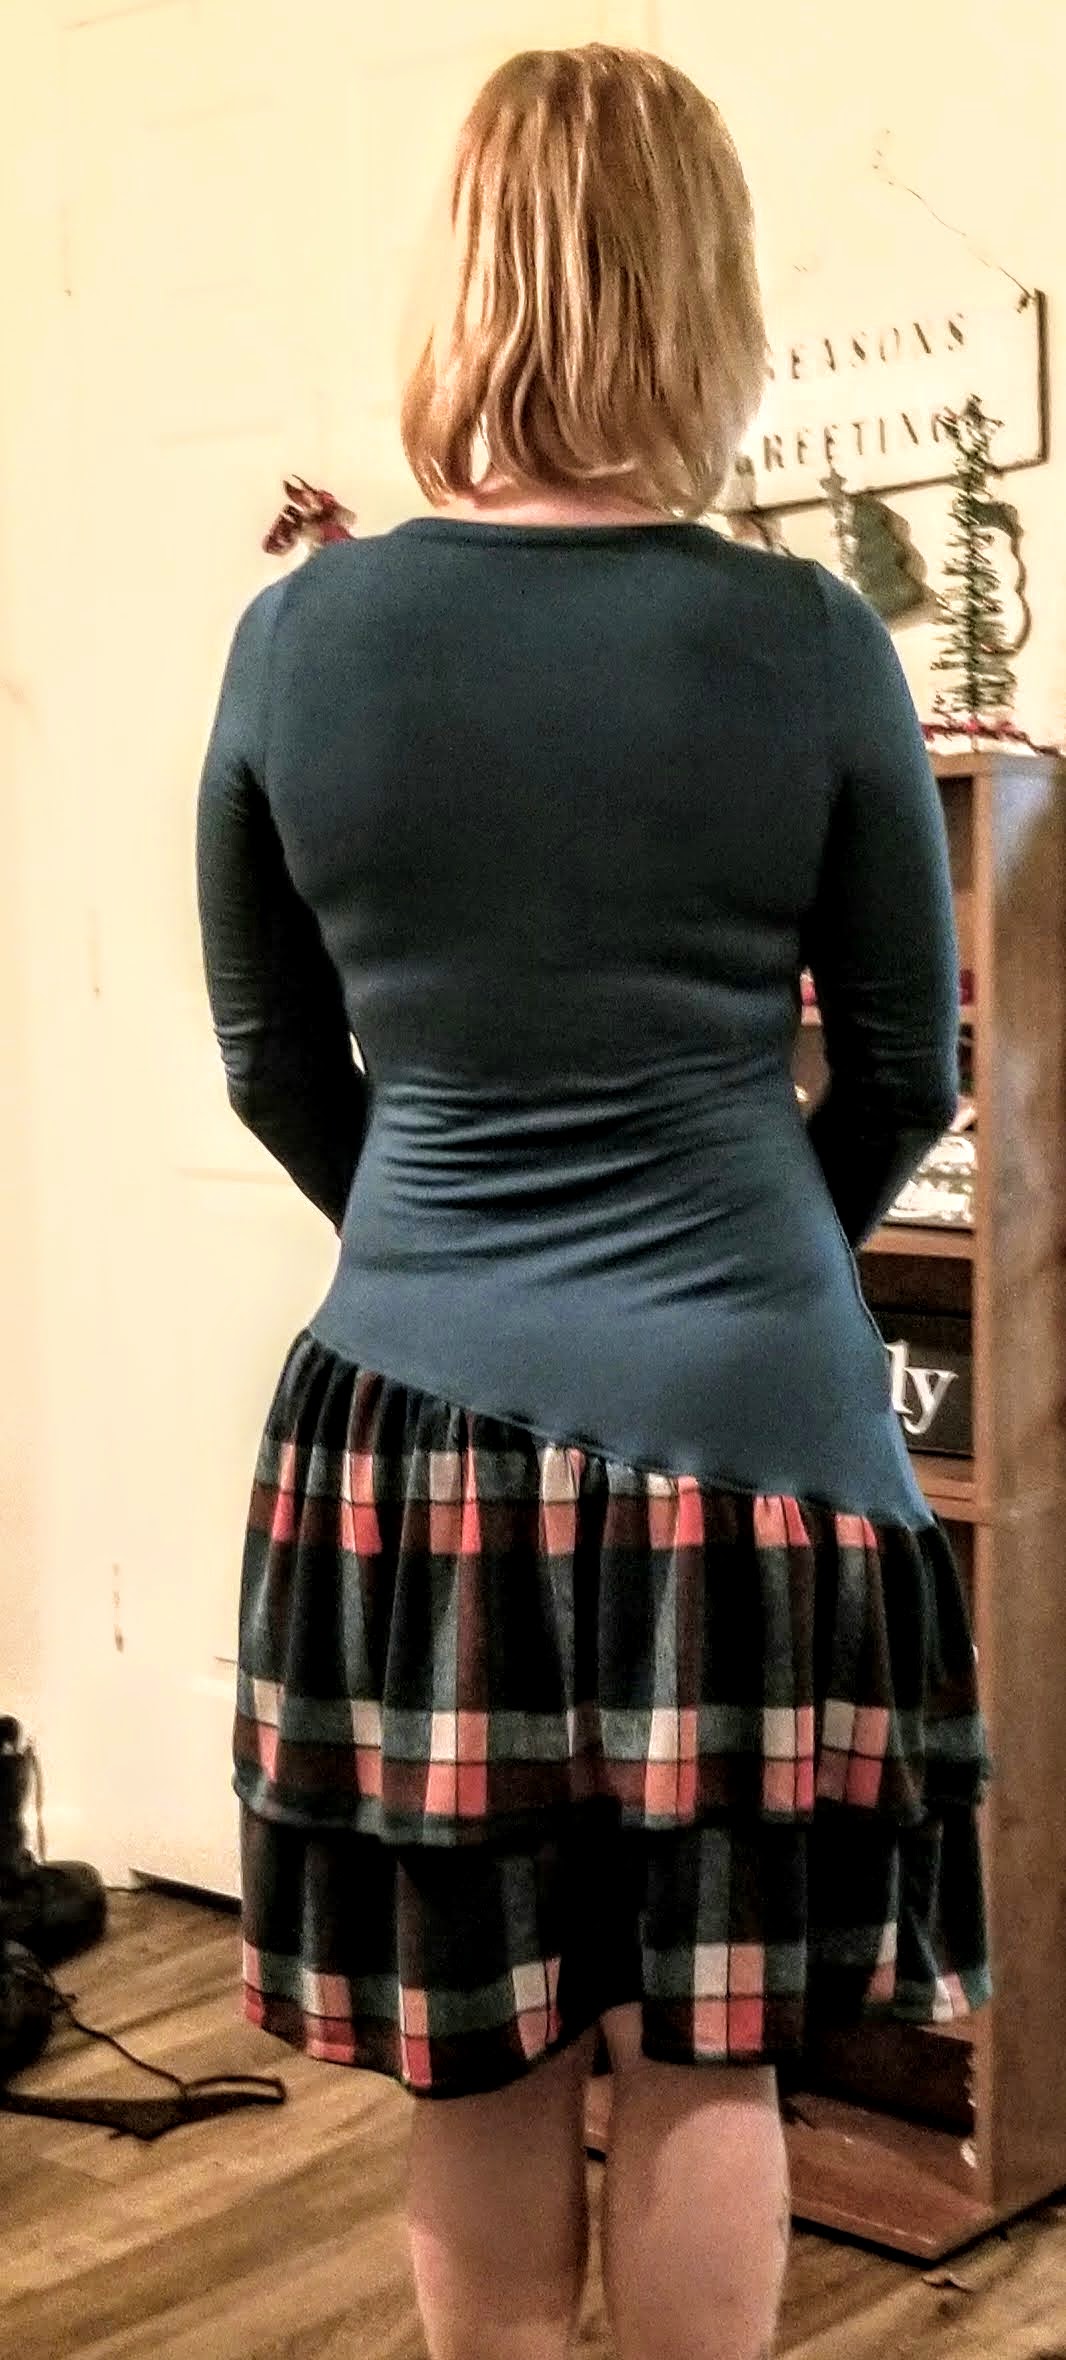
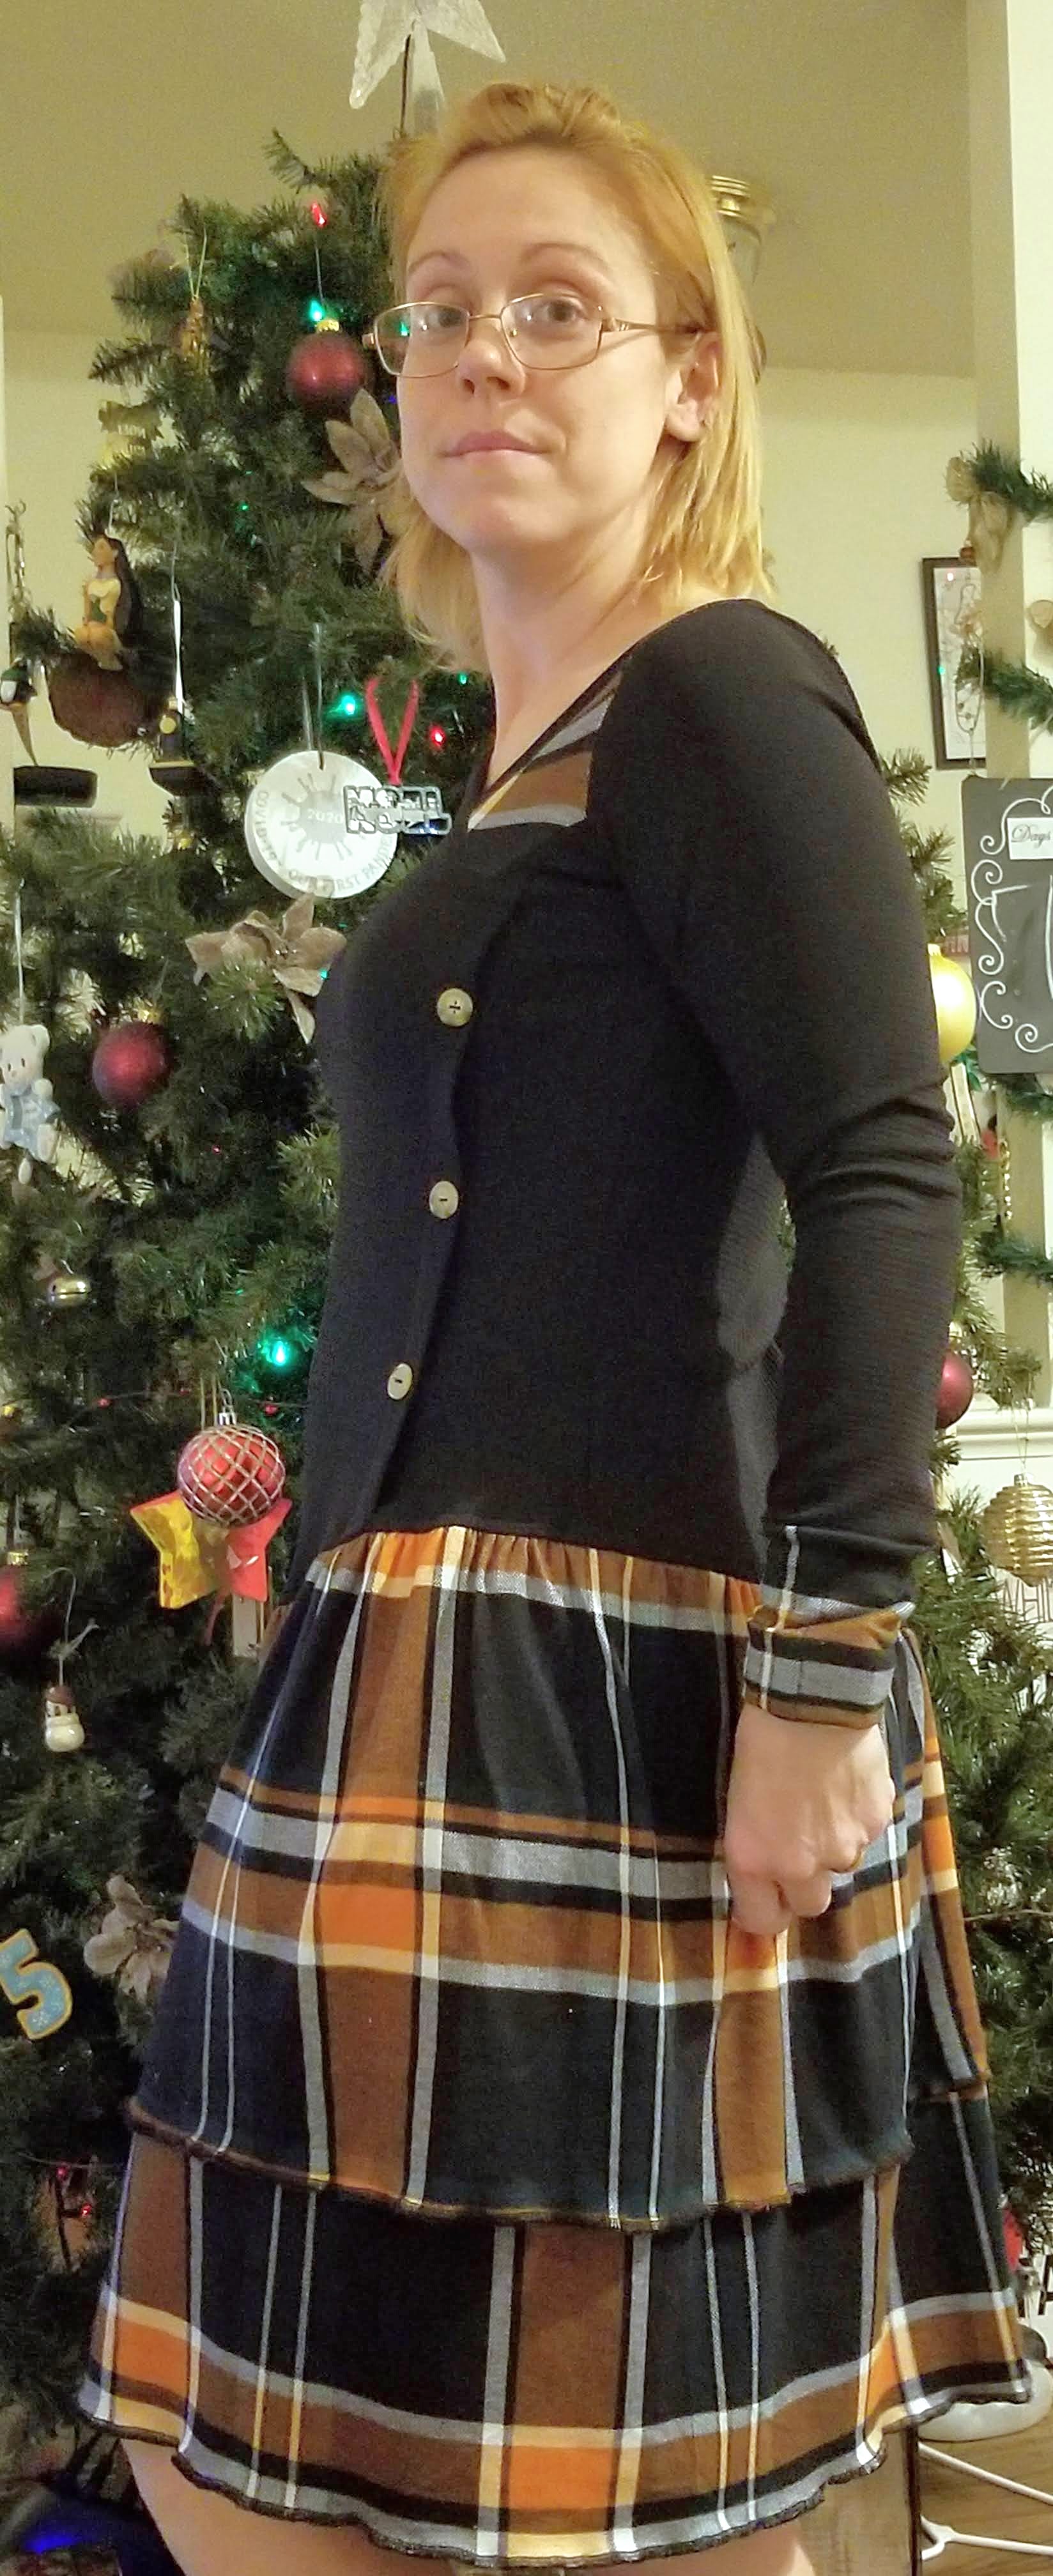
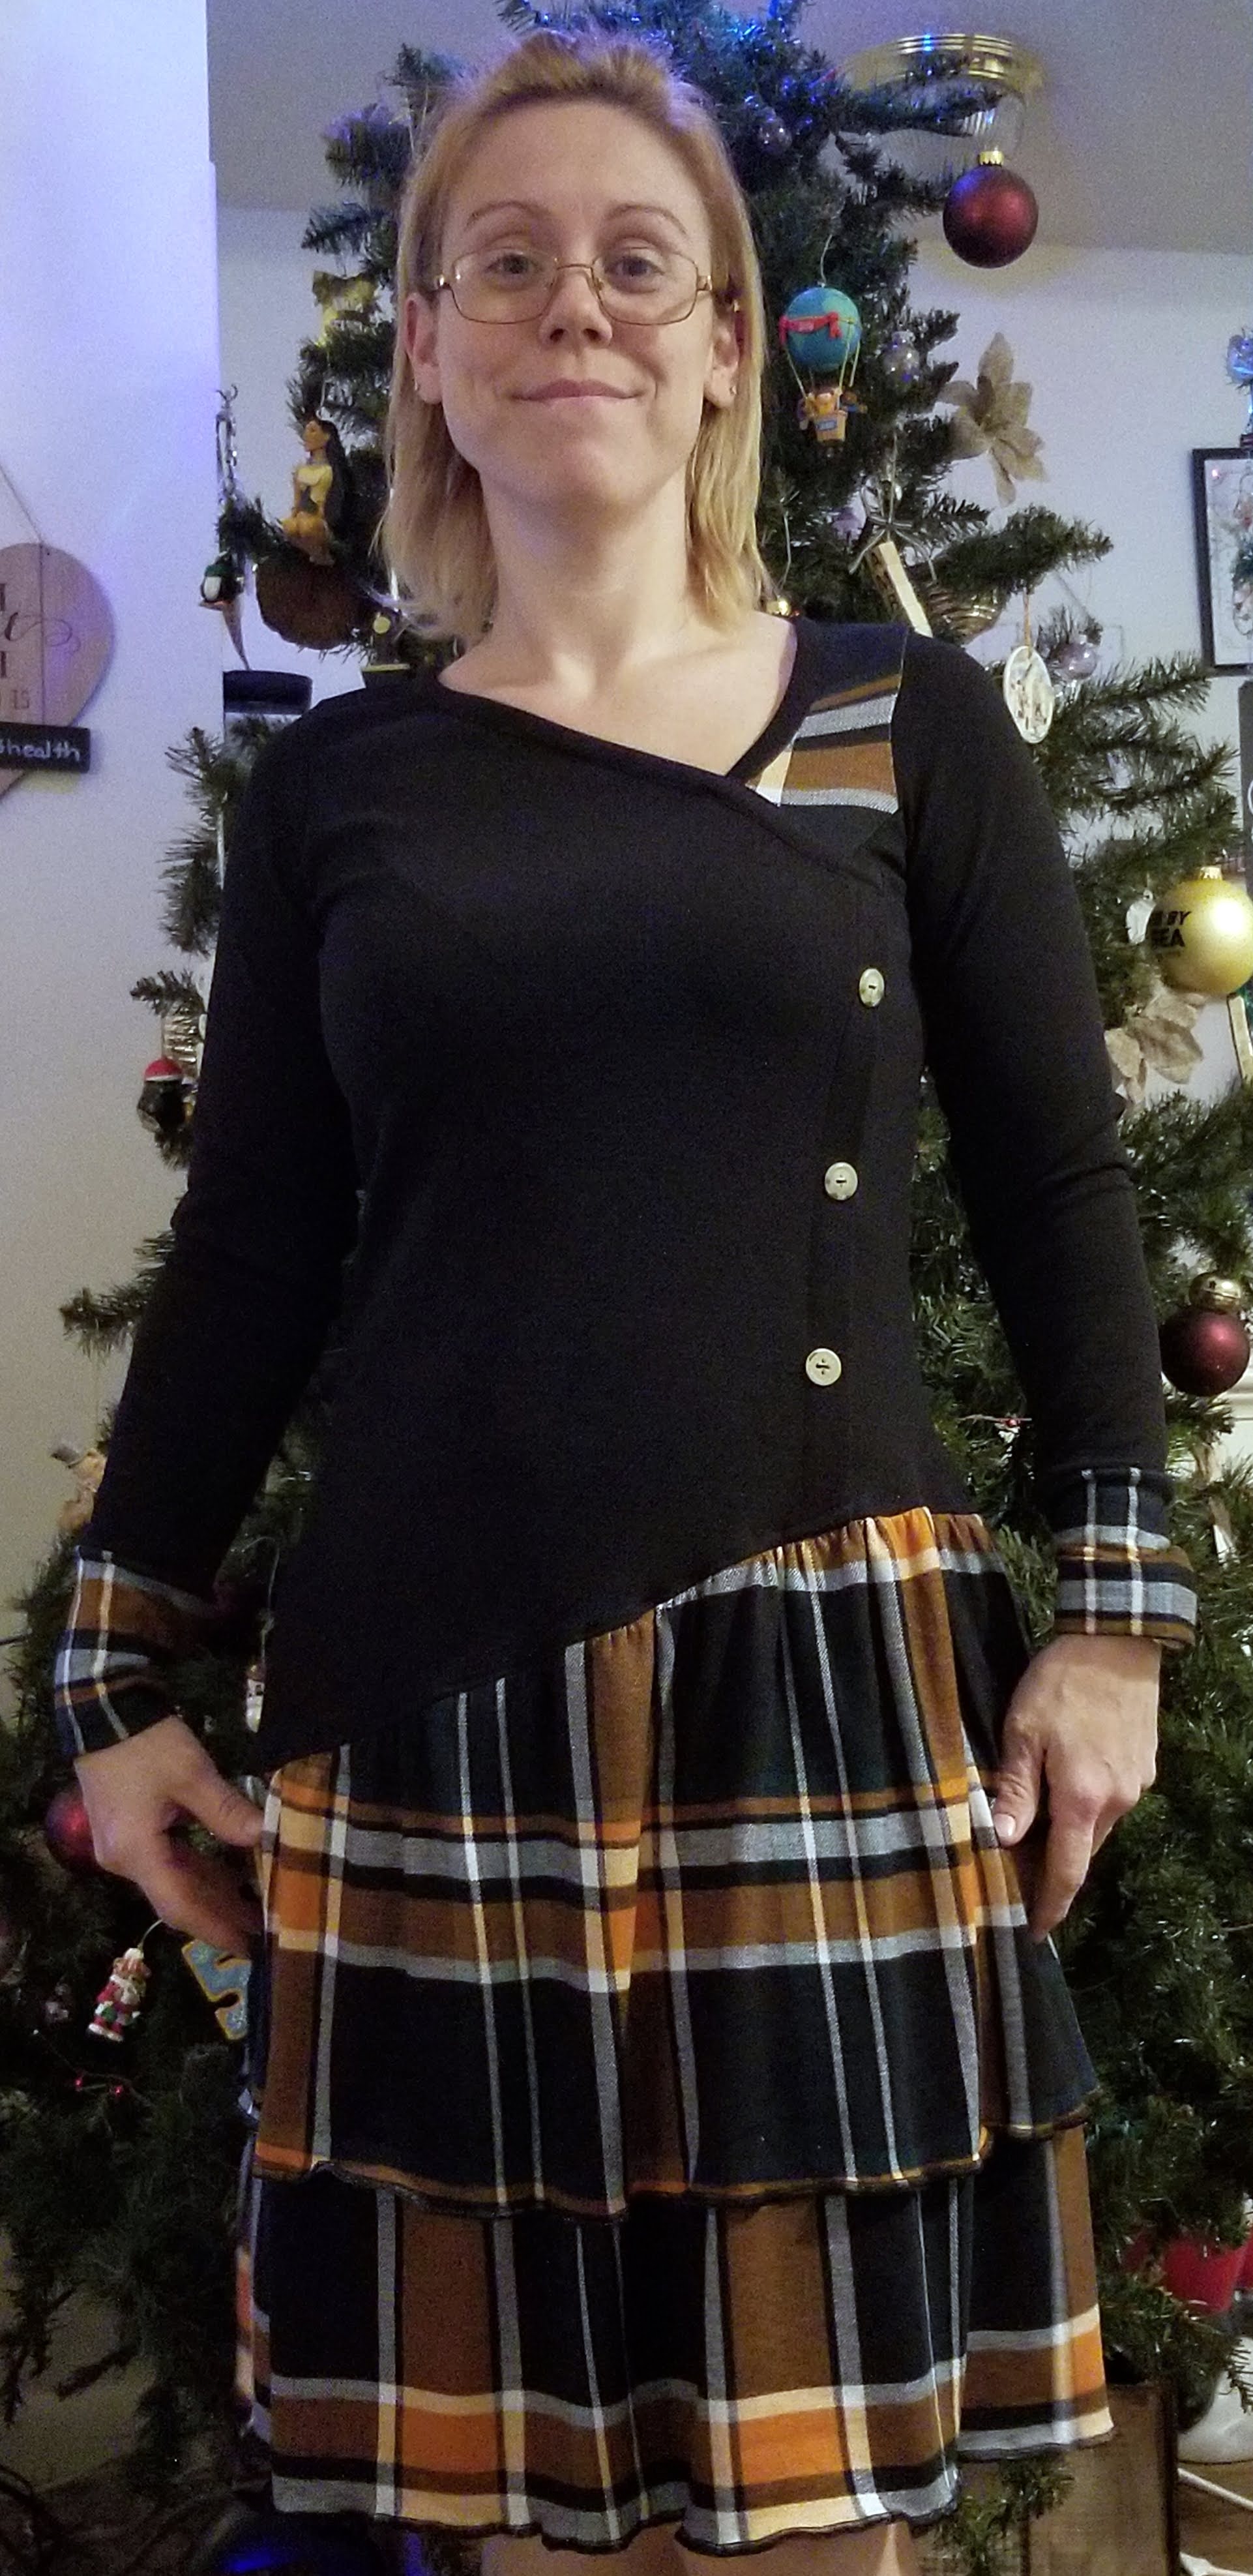
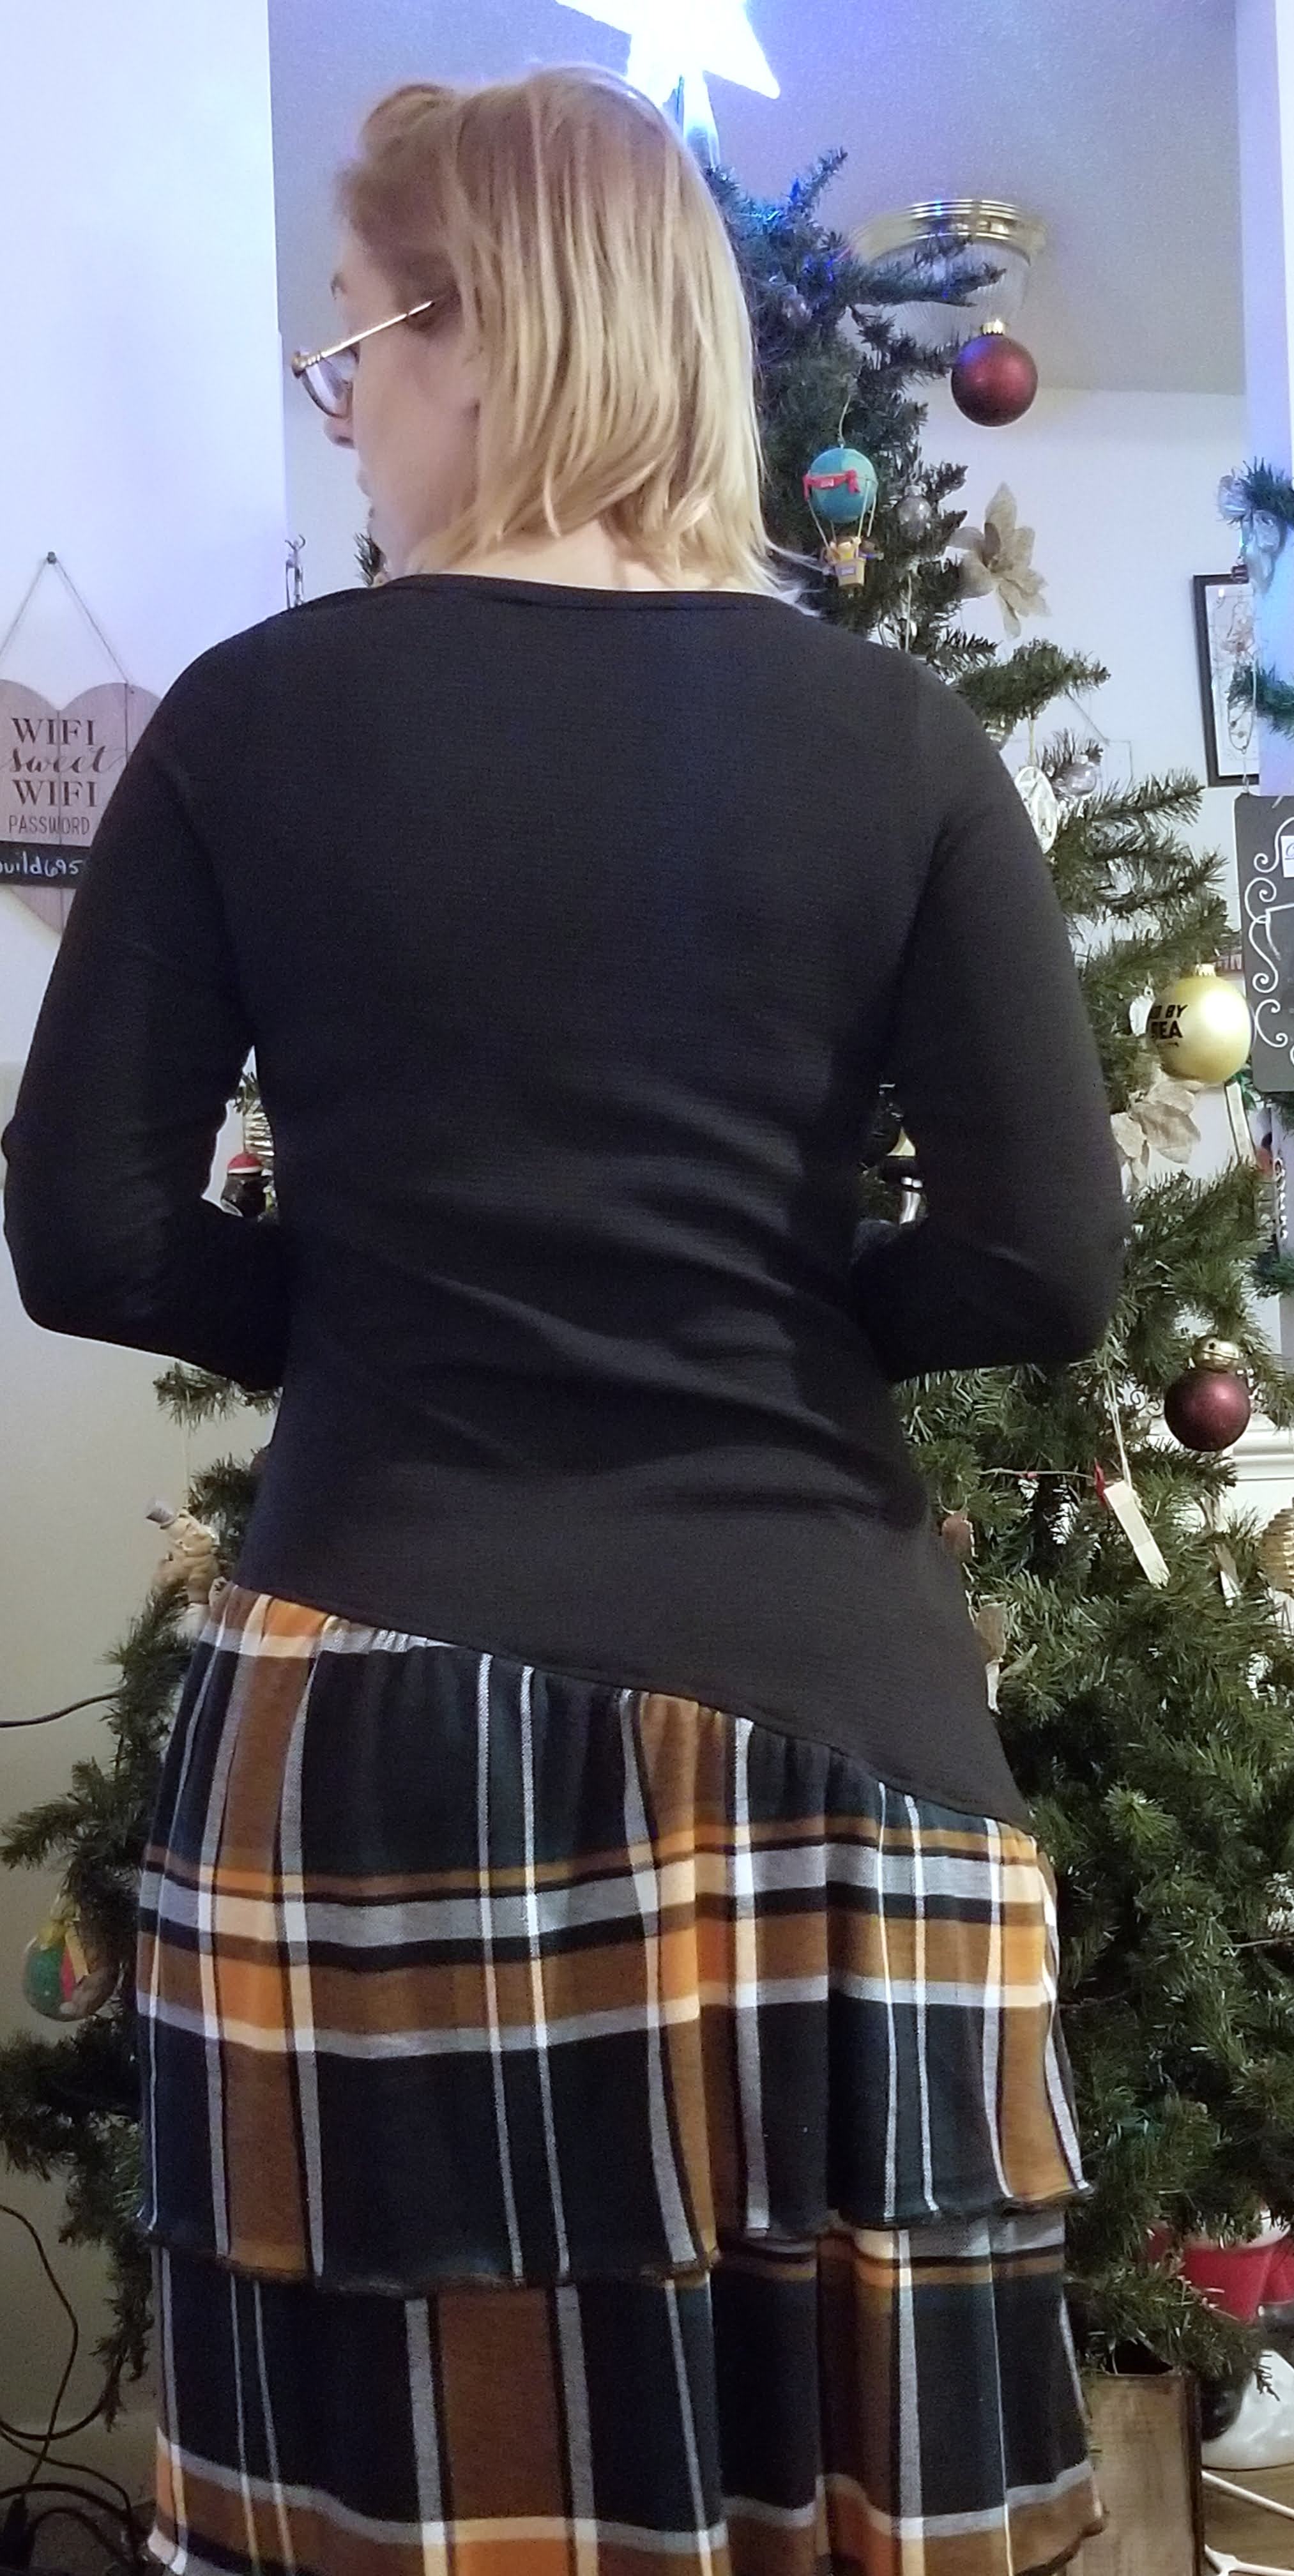
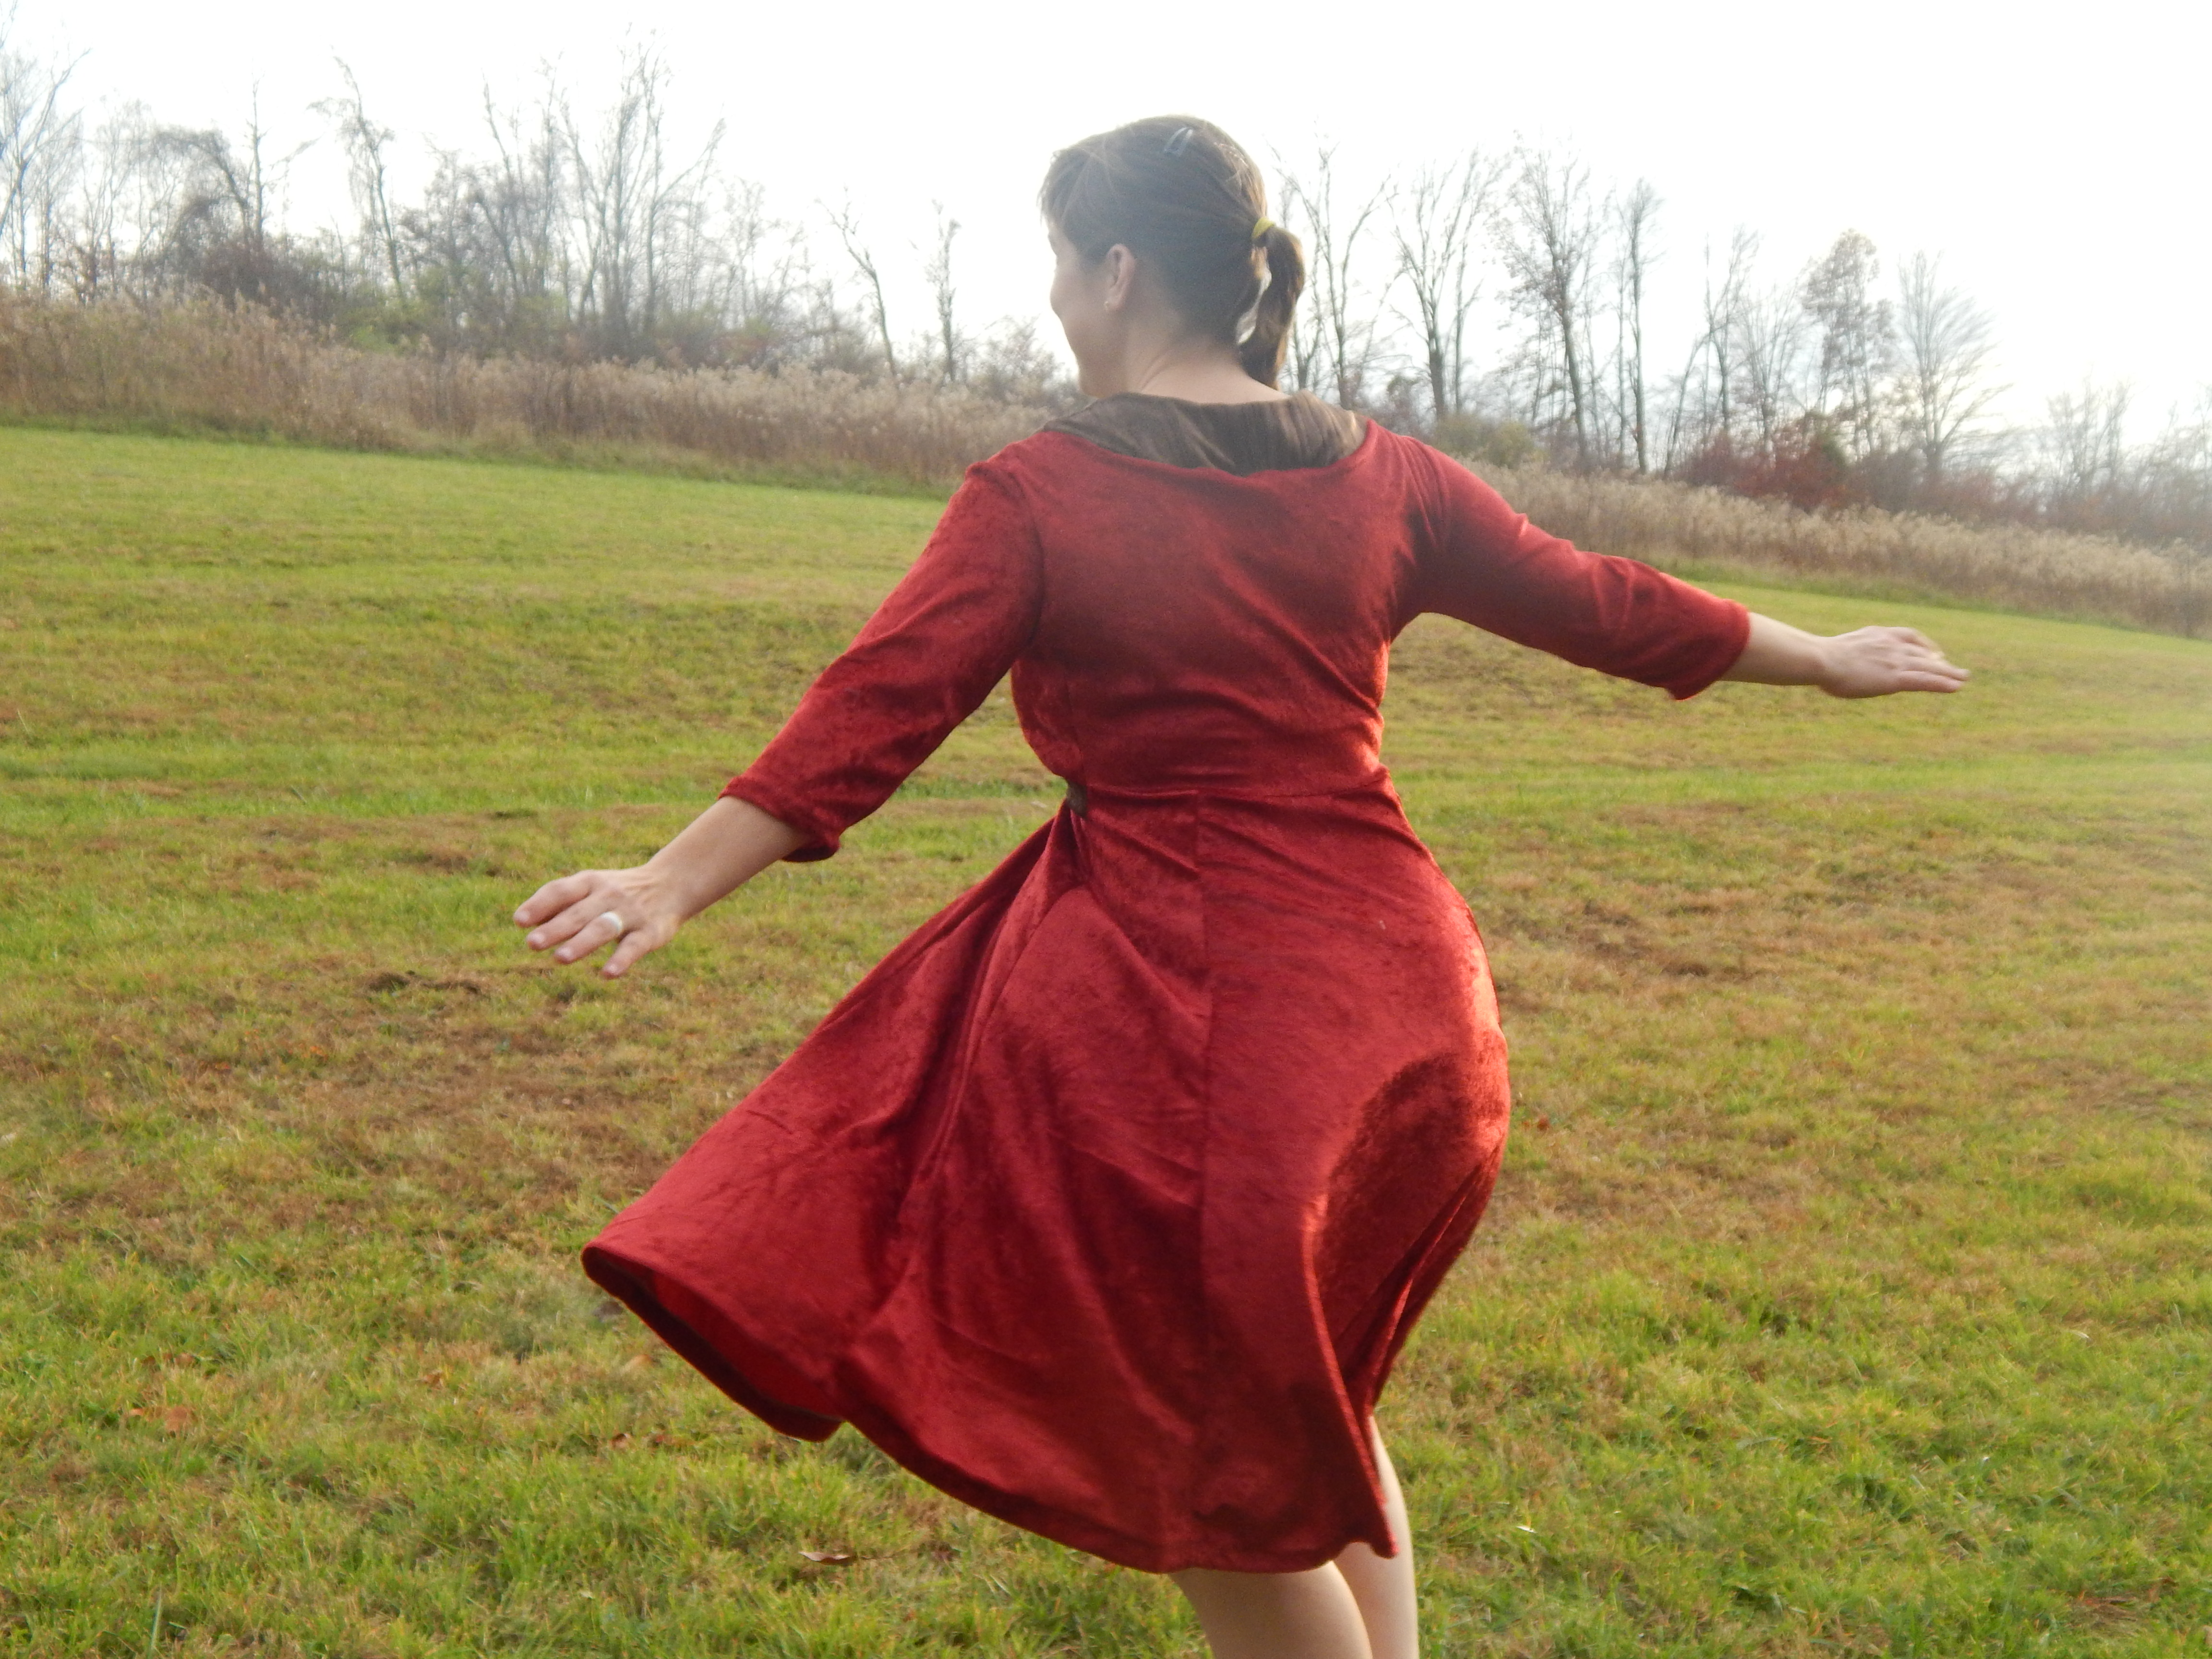
Inspiration dress The dress I made using the 40k sway top

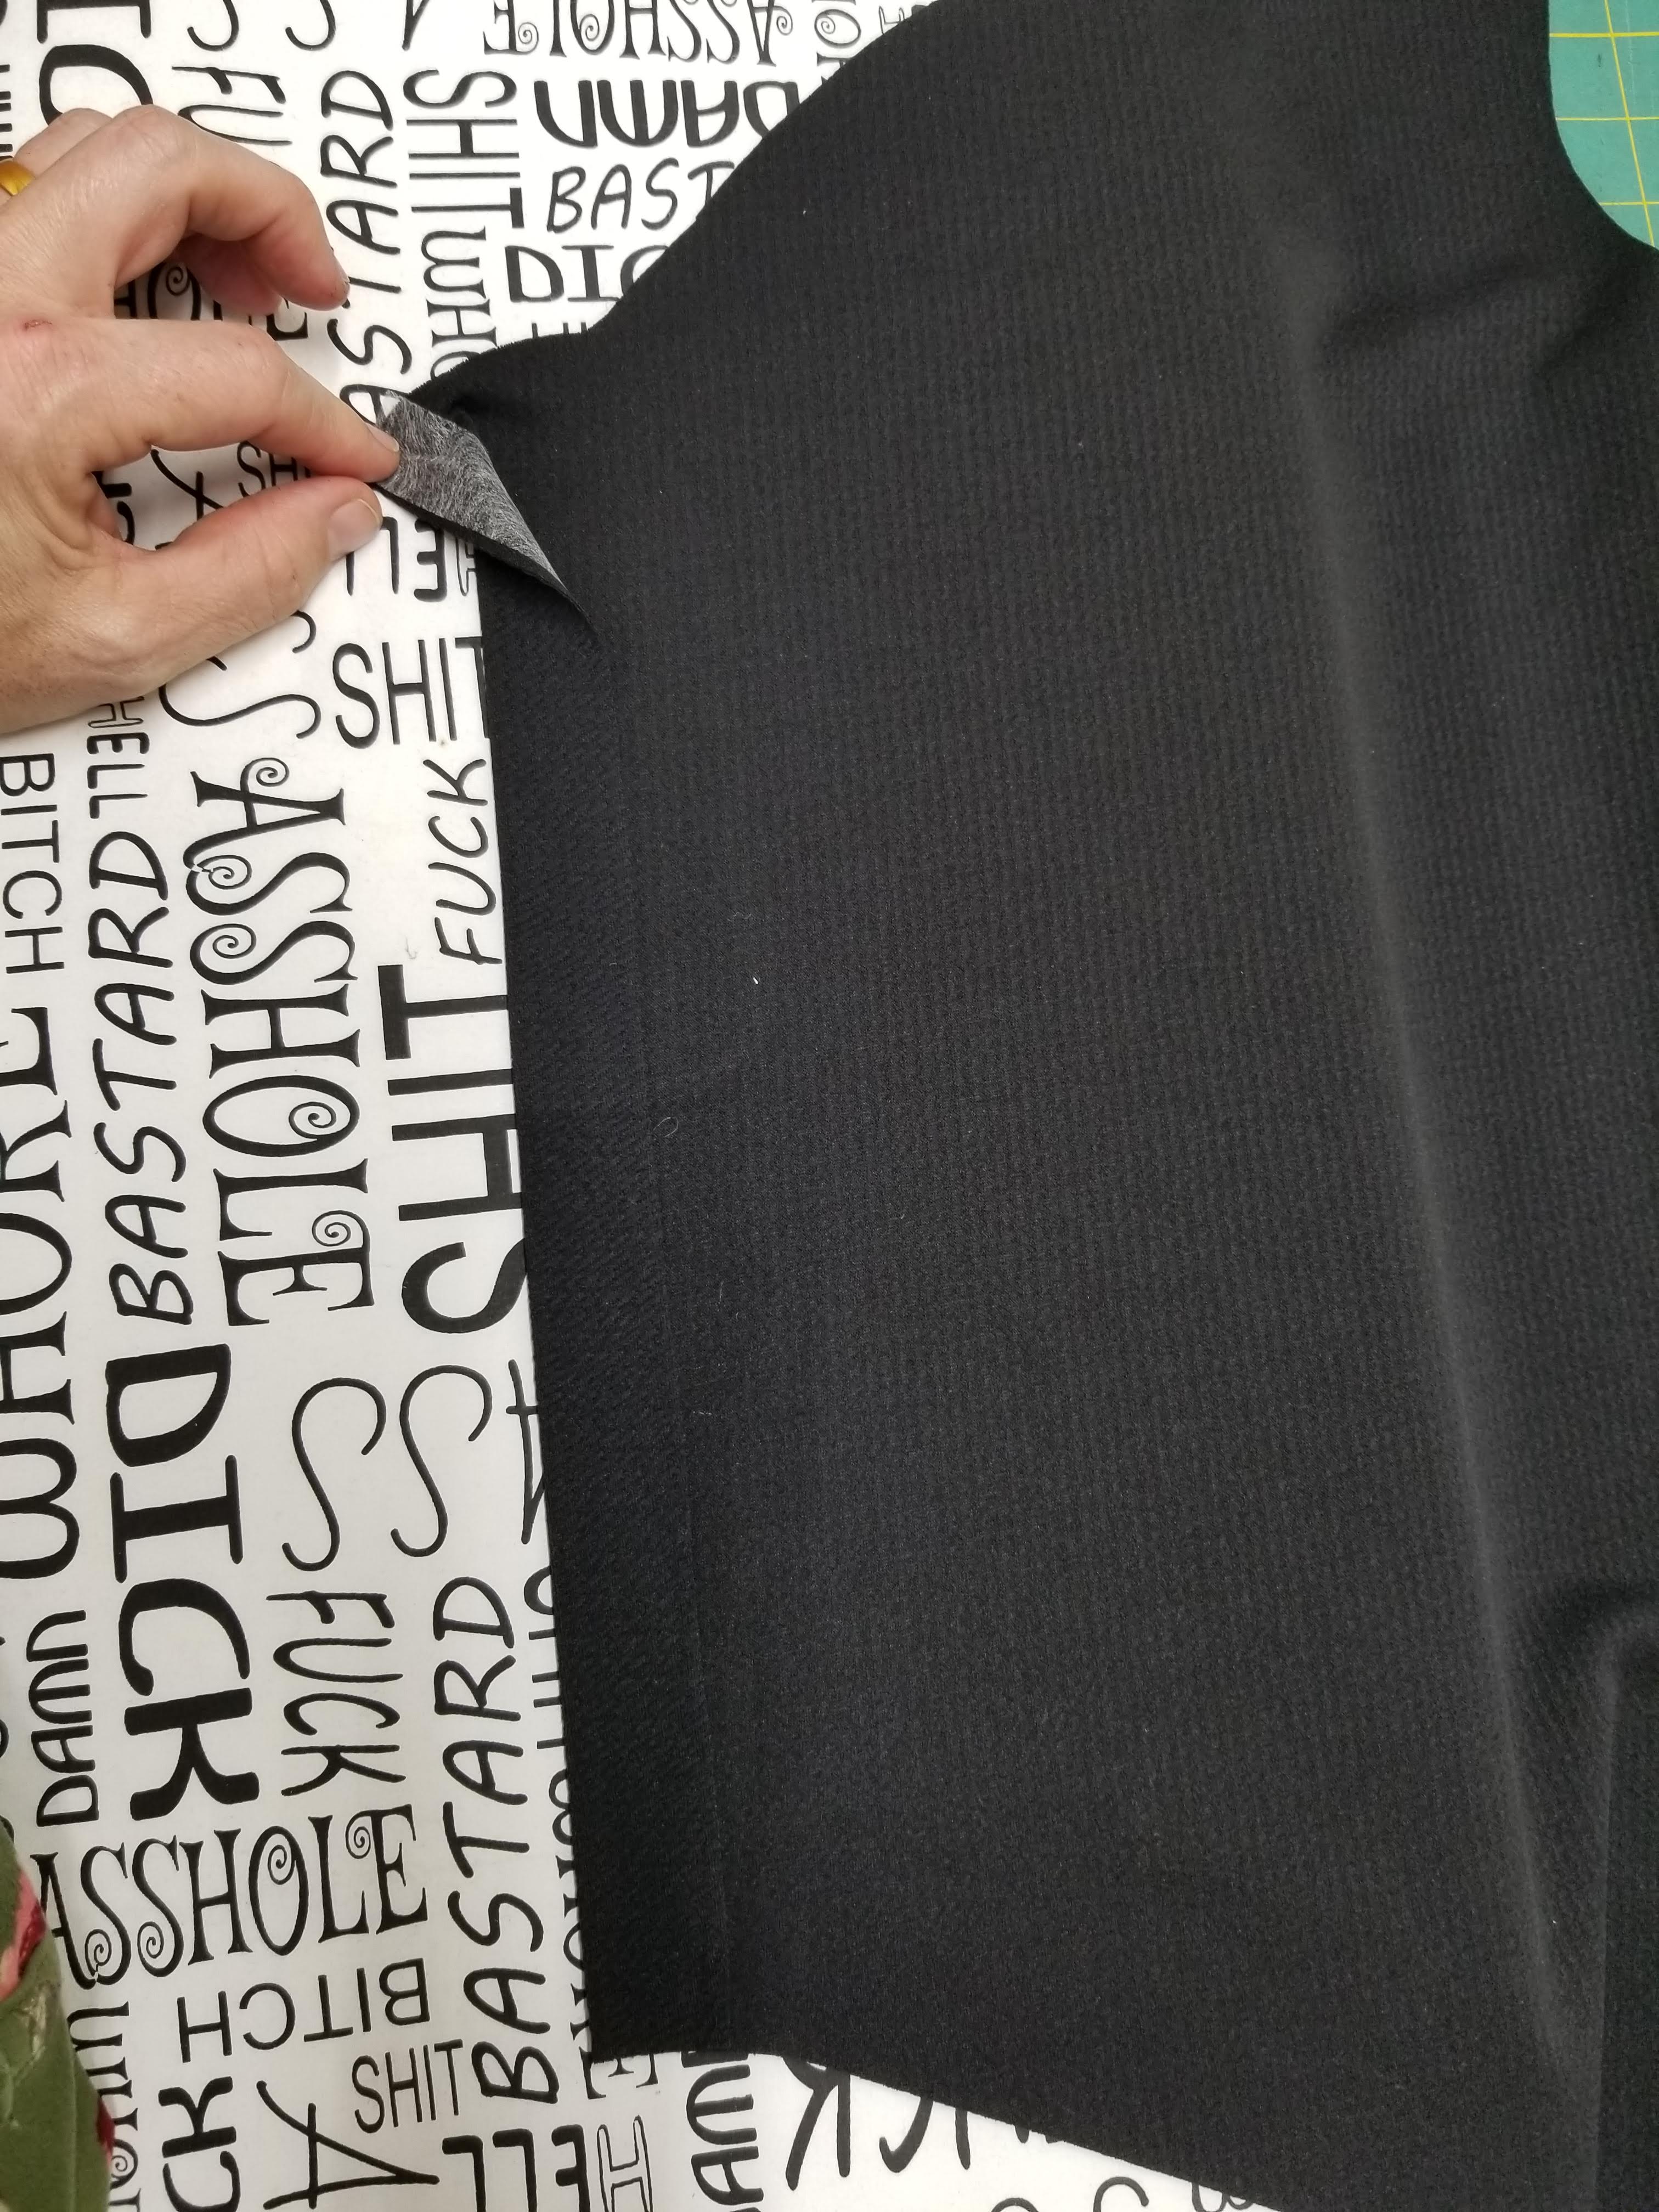
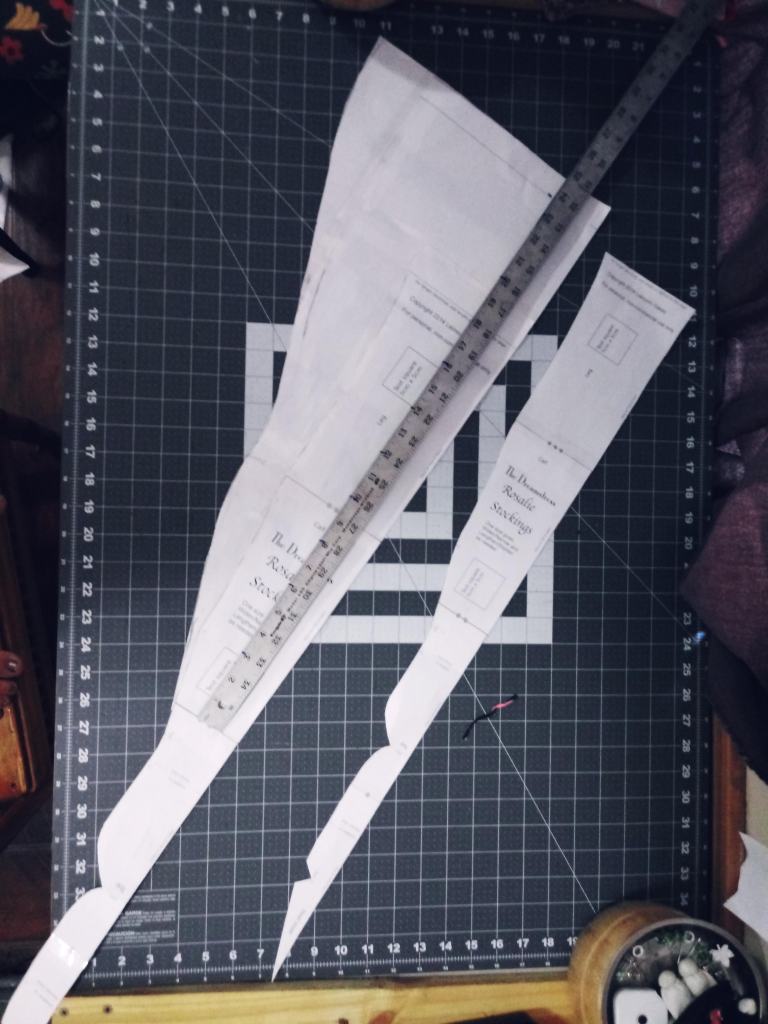
When choosing your fabric make sure it has enough stretch. As you can see my teal fabric is a little form fitting because it didn’t have the the 50% stretch. I used a brush french terry teal and a brushed hacci knit from Sincerely Rylee. After you have chosen your perfect fabric make sure you have at least 1.5-2 yards of the accent fabric or you will not have enough for this dress. Hence the reason my sleeves cuffs are shorter because i ran out of fabric. Now on to printing your pattern, you need to print 2 back pieces so you can cut the bodice curve correctly. You will be using some of the instructions from the actual pattern when sewing.

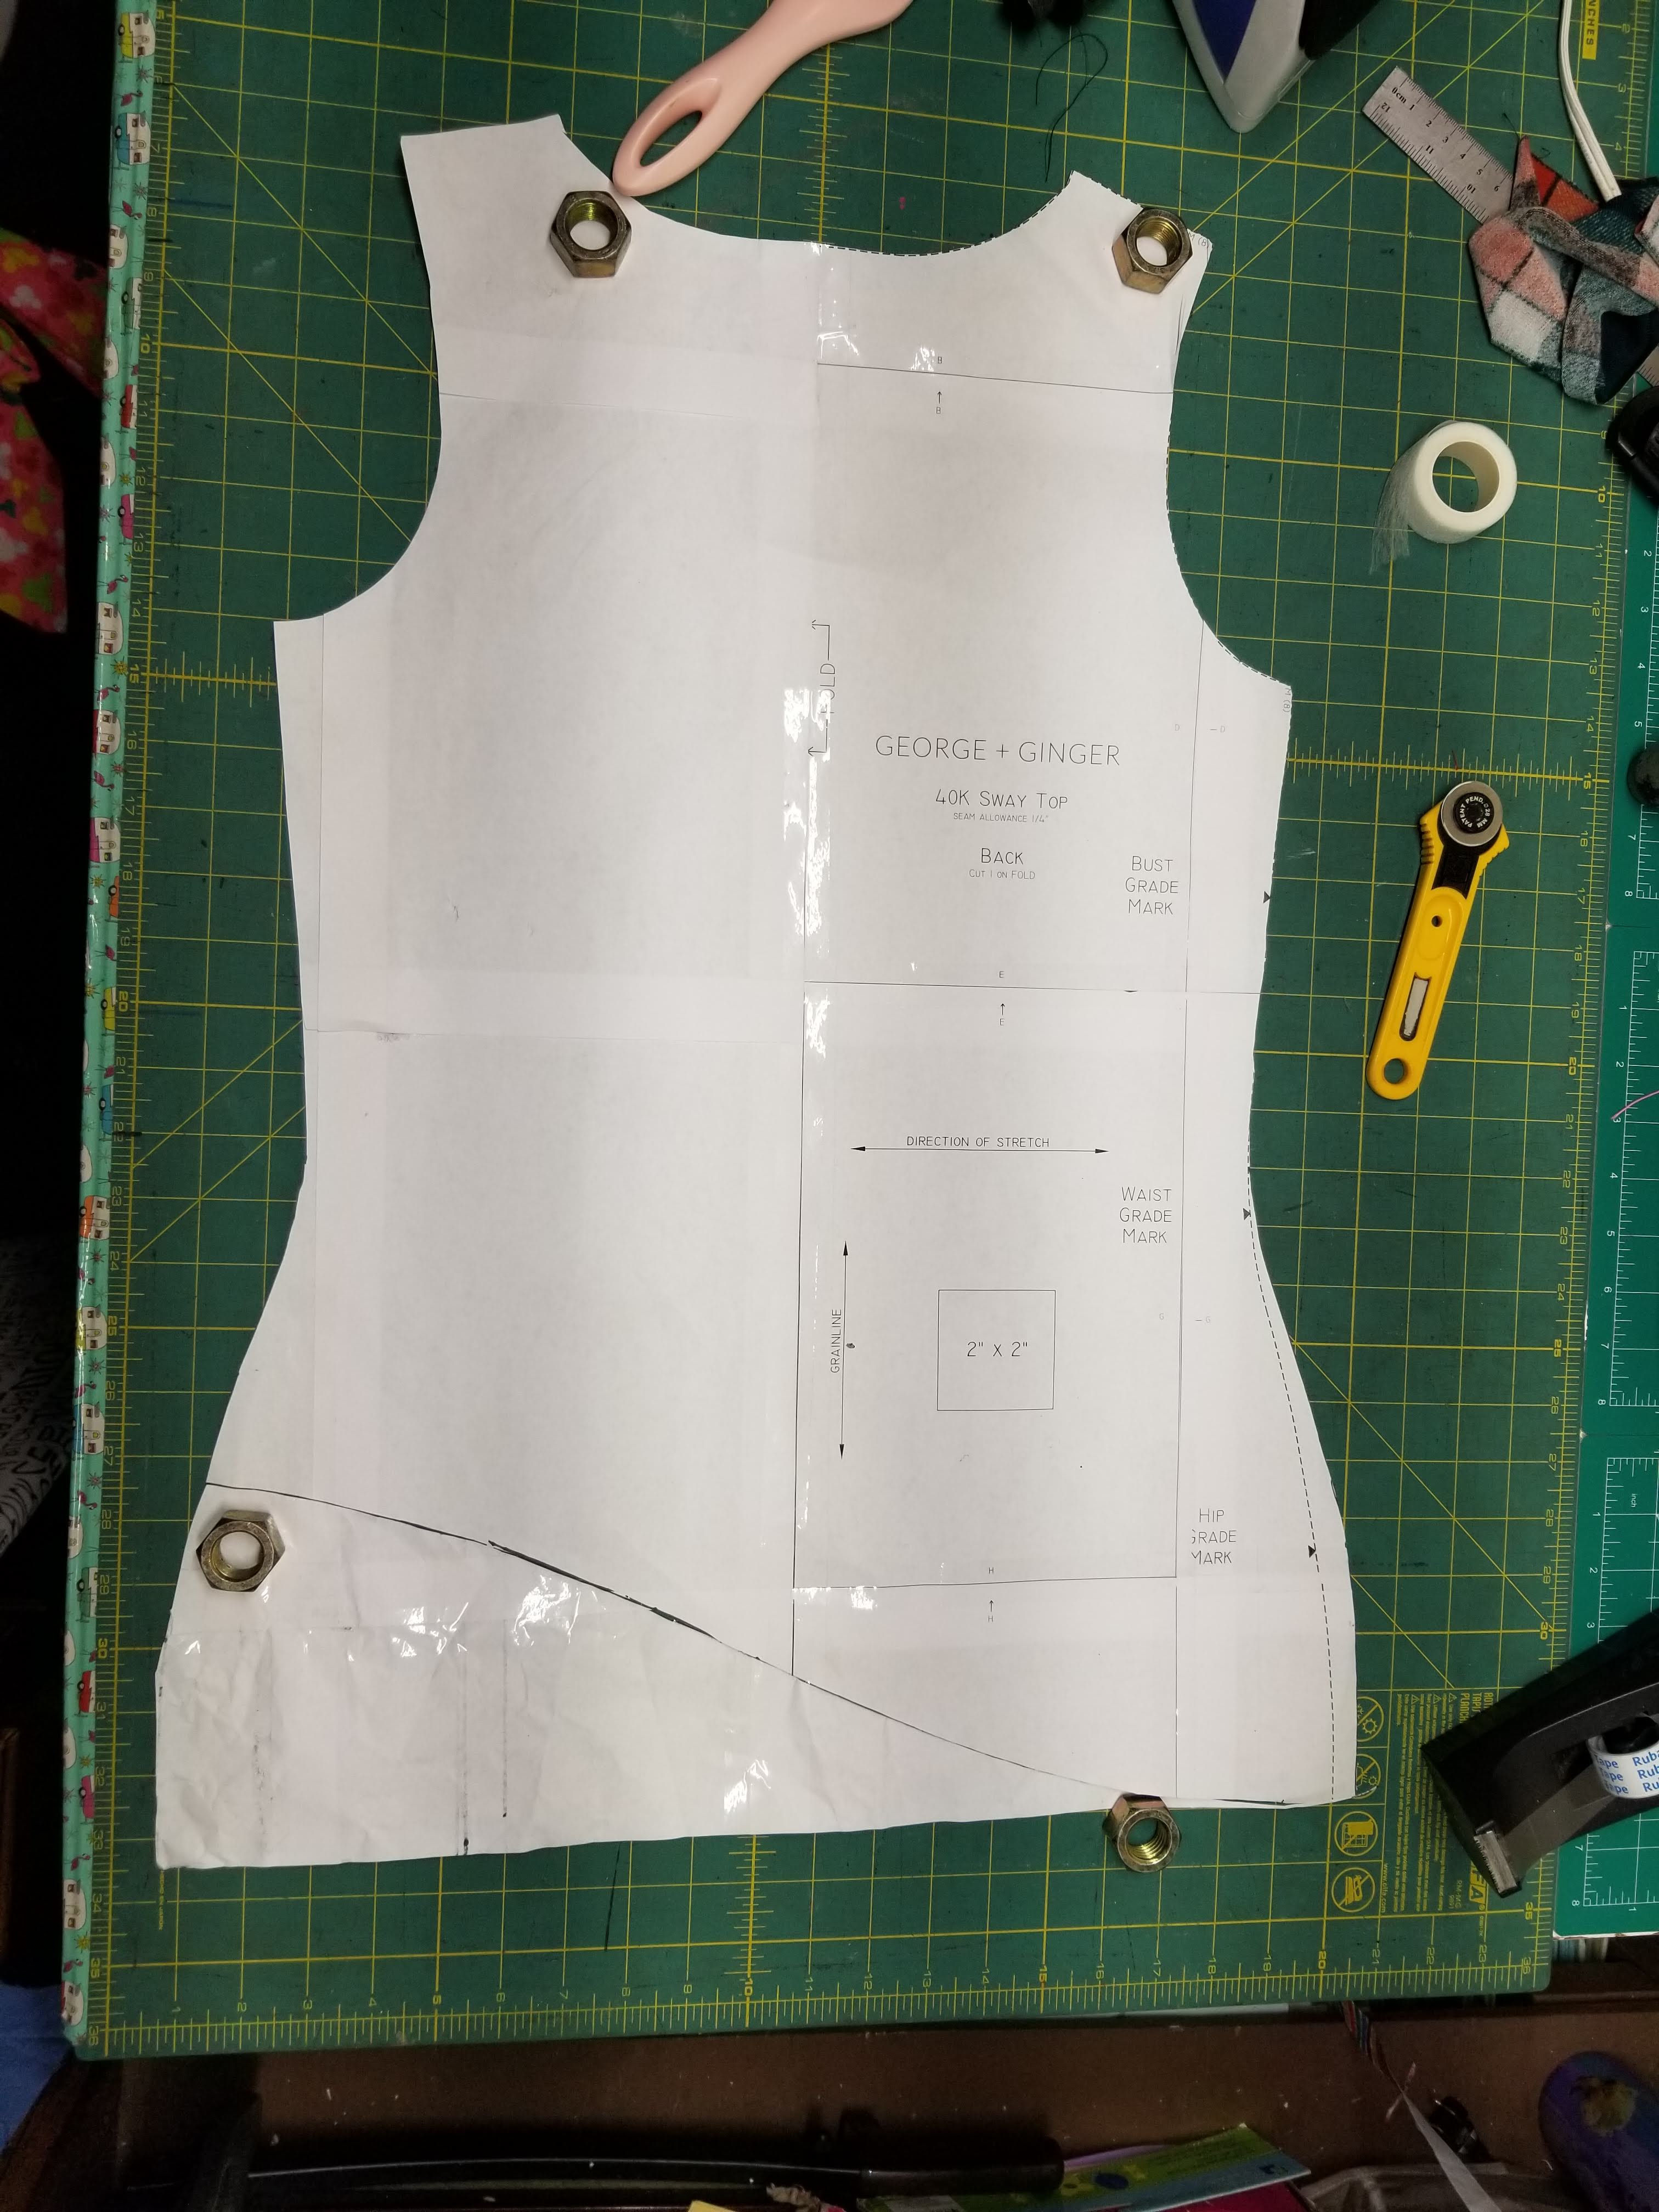
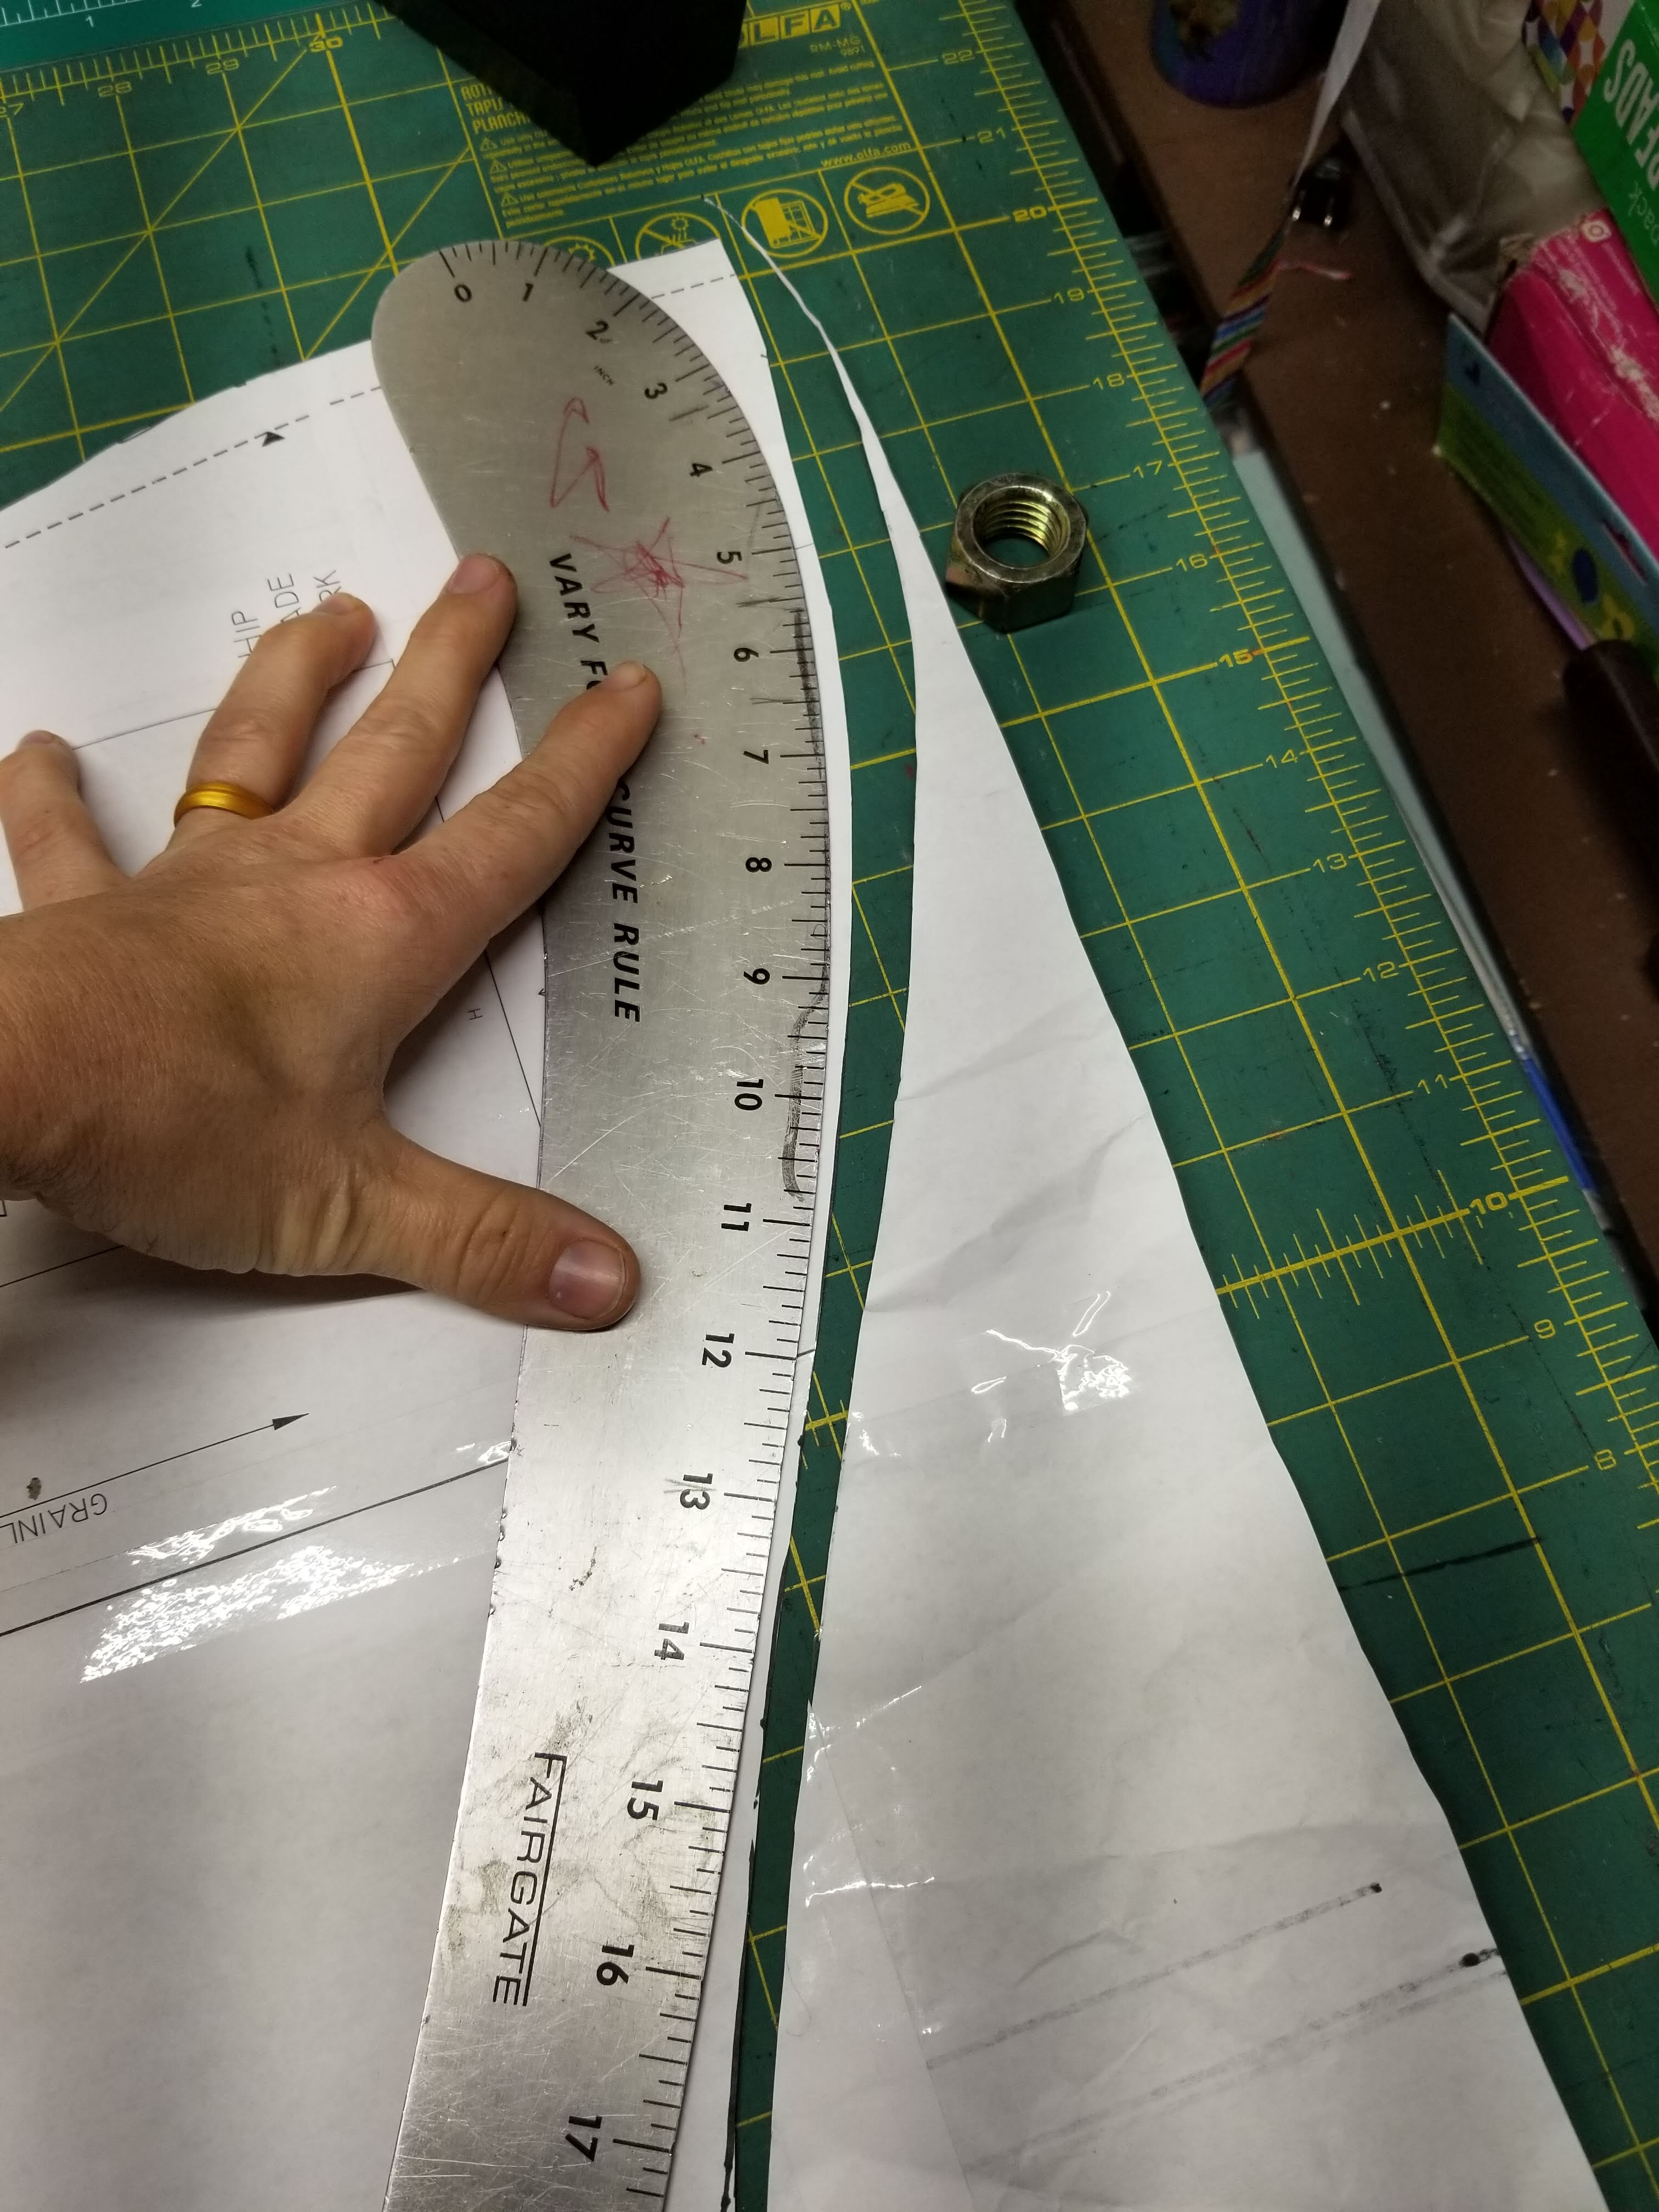
We are gong to start on the bottom curve of the bodice. I wanted the high part of the curve to be at 6 inches. I used my vary form curved ruler but you could free hand the curve if you wanted to. Please keep in mind that the top hits at you between your high to full hip depending on height. Always grade out for you hips if they fall in a different size range from your bust, that way you will reduce the chance of the dress being to tight across the hips. Do not throw away your bottom edge of the bodice, you will need that for your skirts. I lay my back pieces facing towards the front piece facing so I can match up the so the bottom curves will flow correctly. Trace the bottom curve to the front piece and cut, remember do not discard the bottom curve.

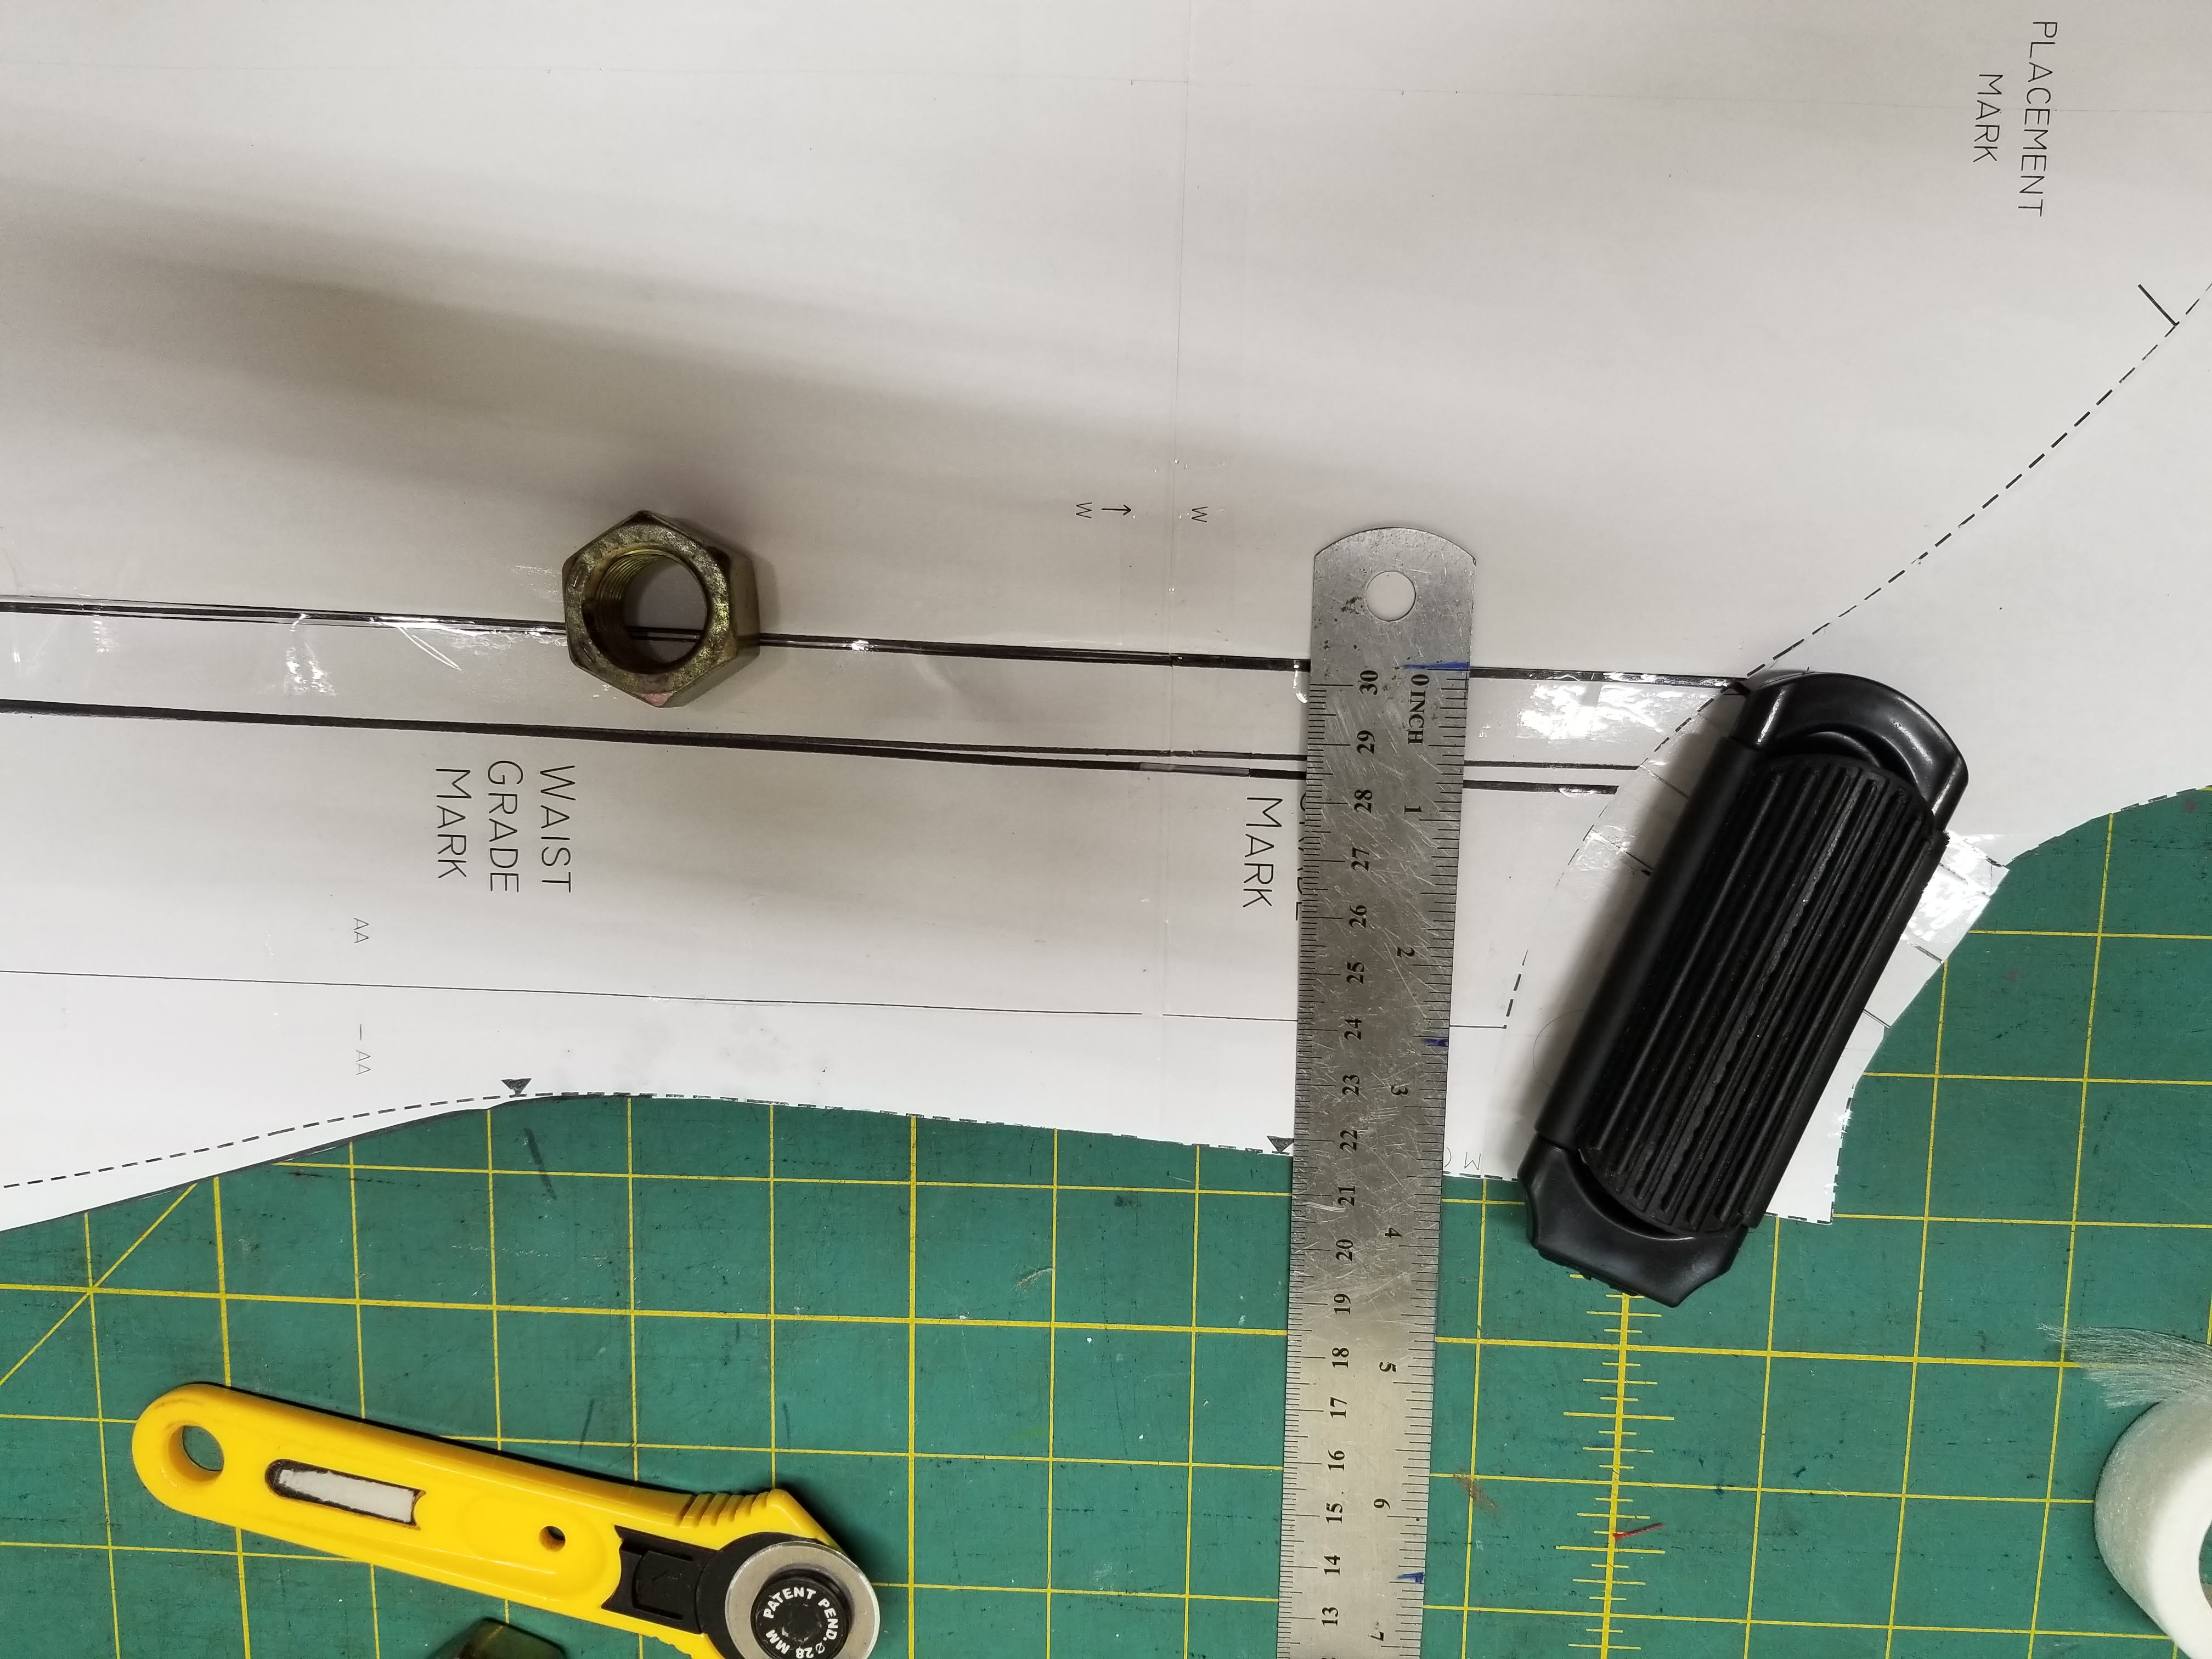
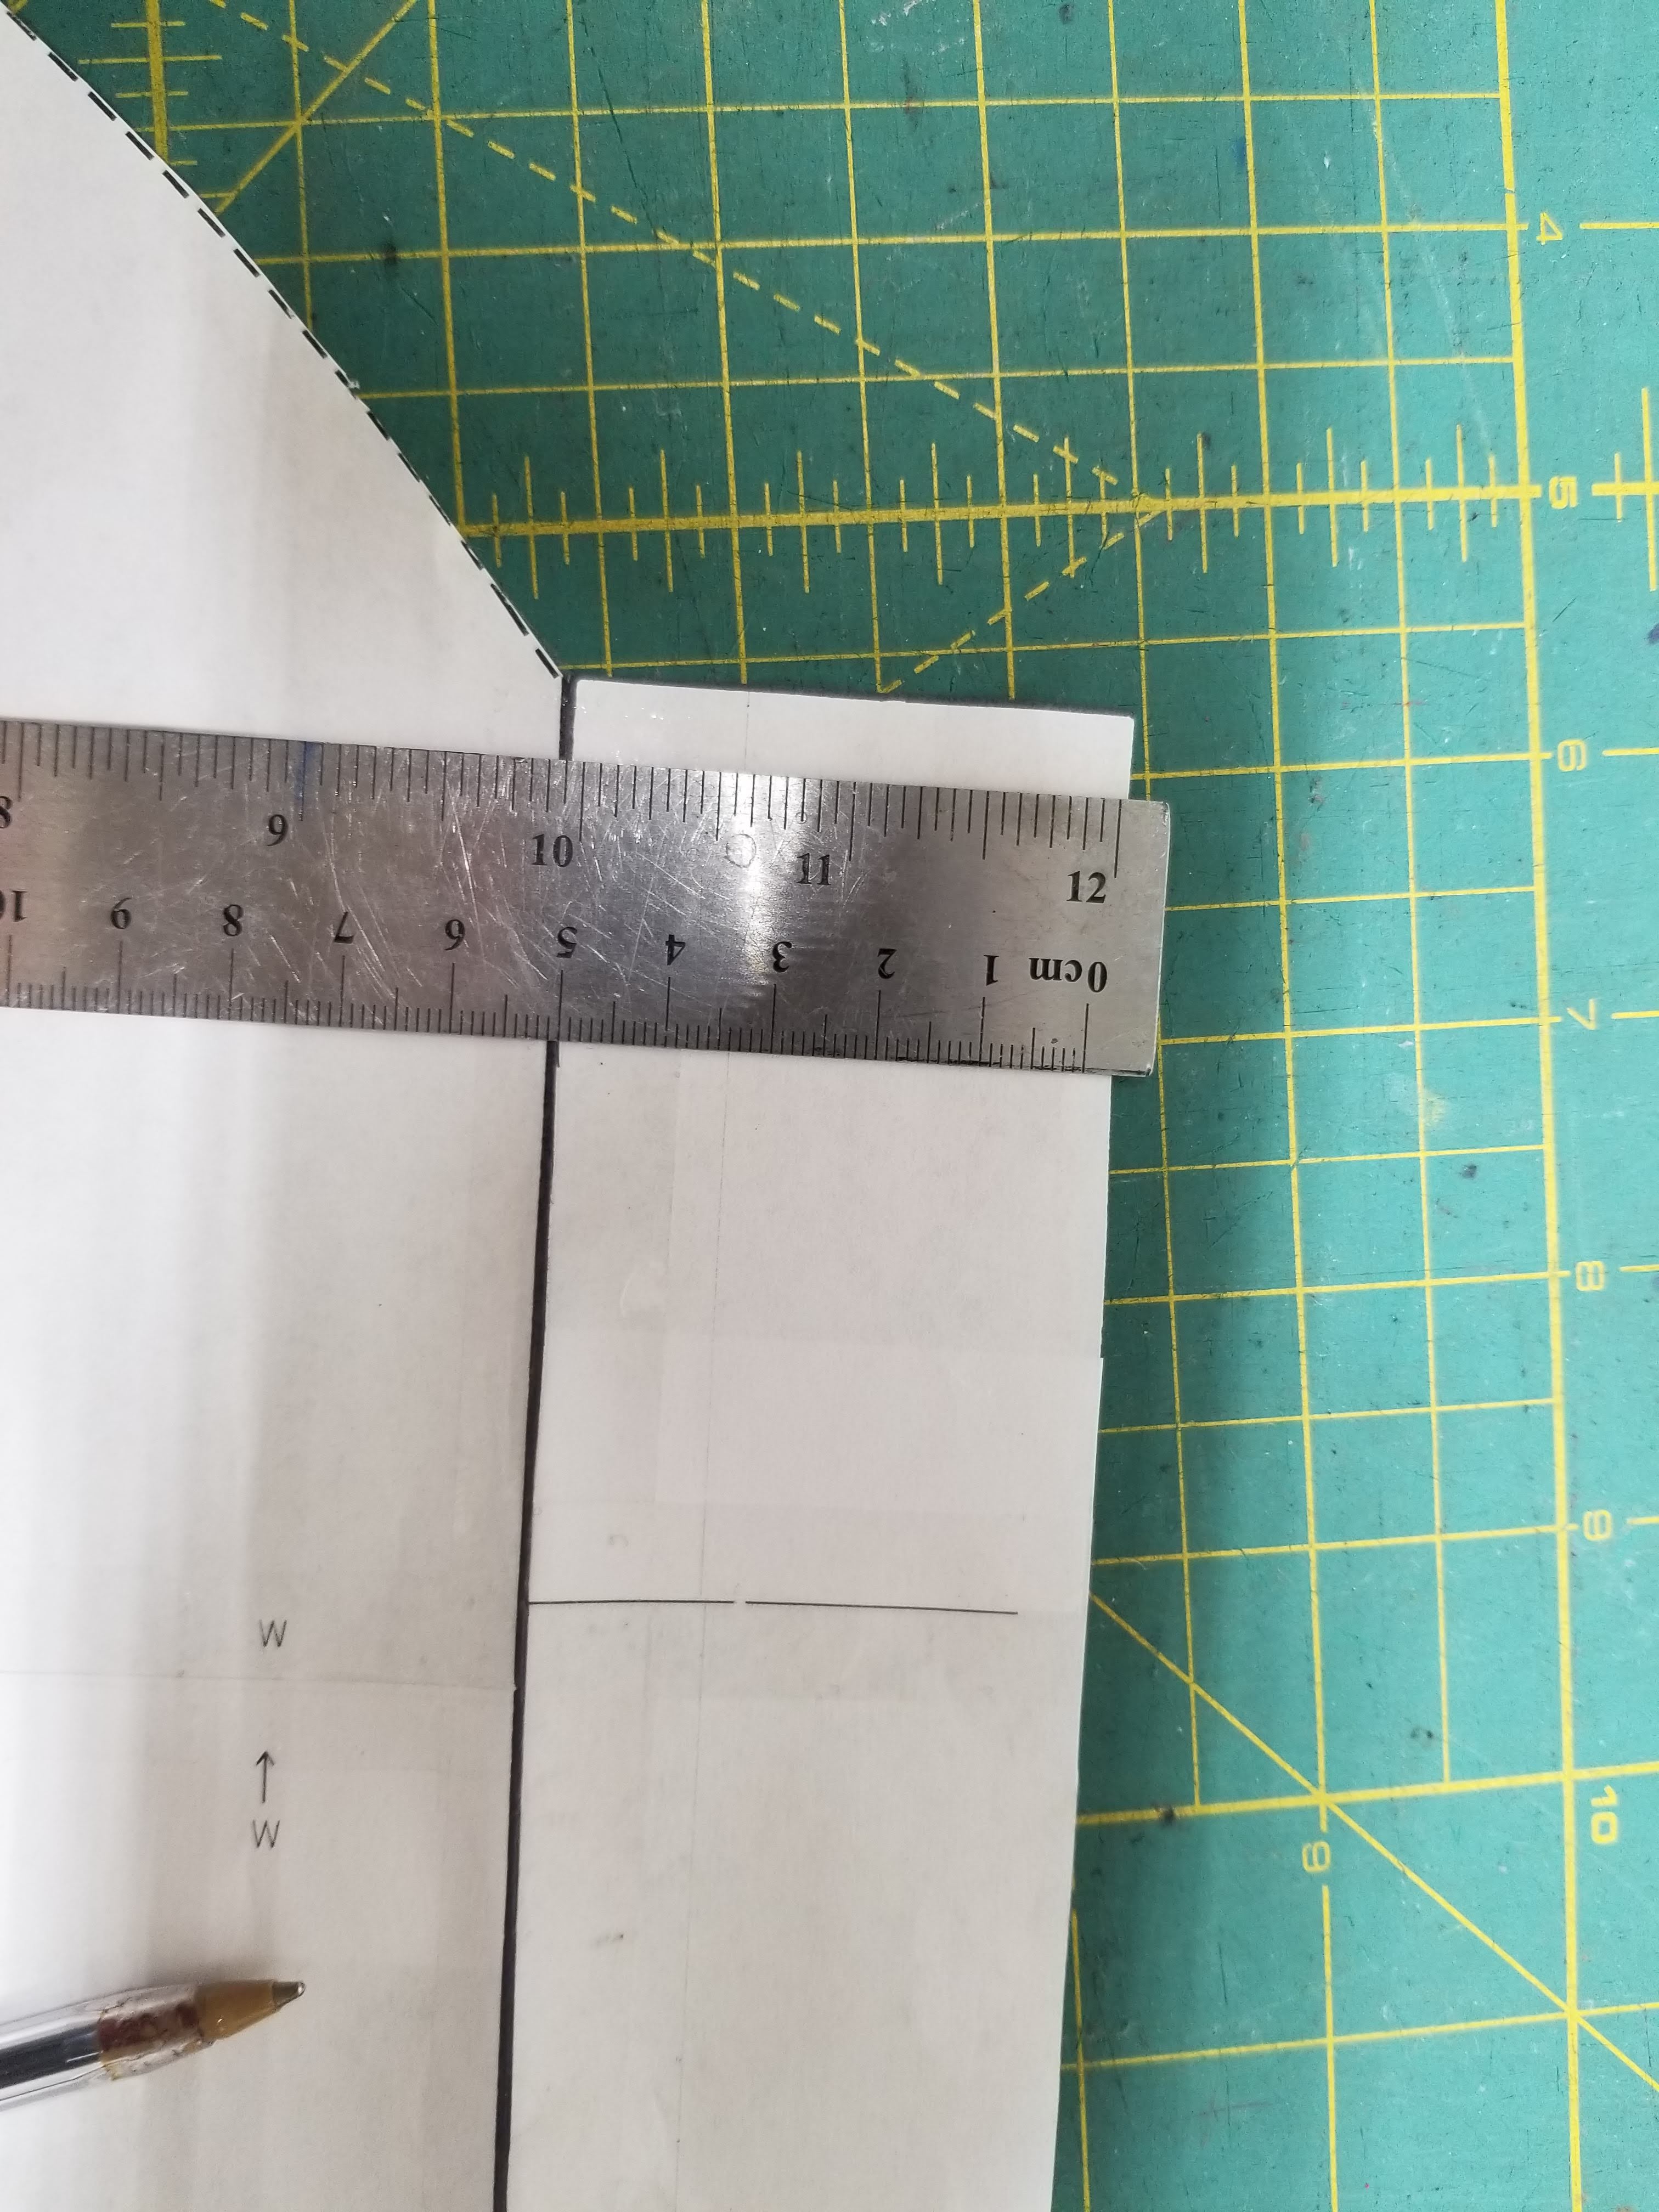
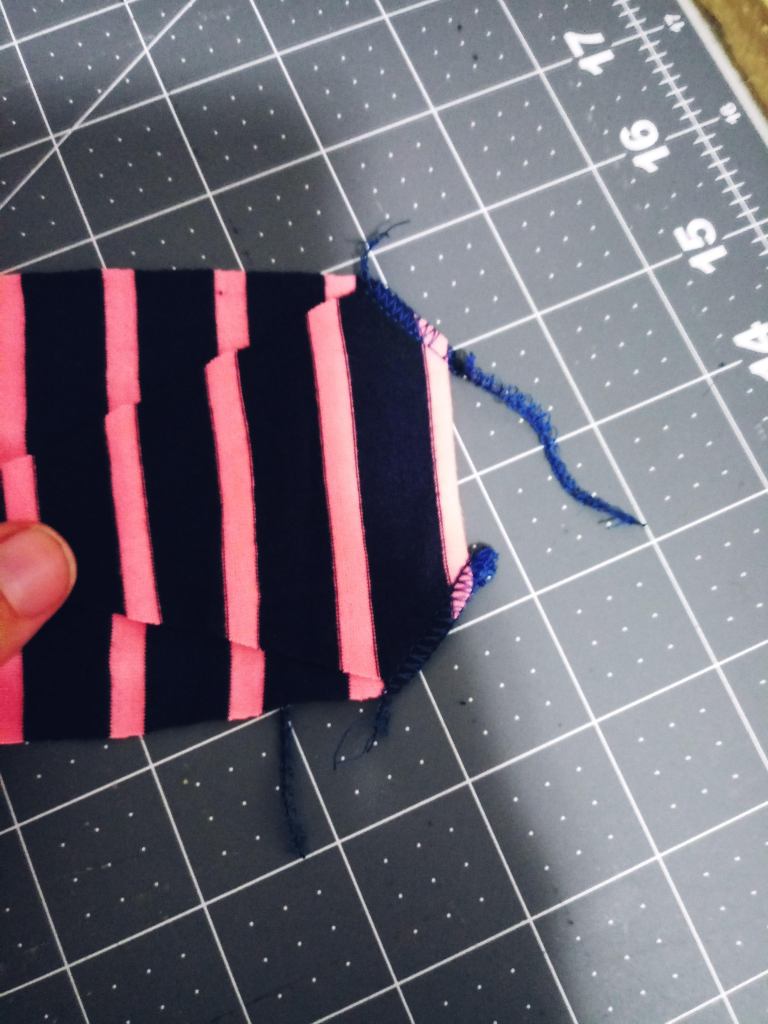
You’re going to measure from your side seam to the front of your bust to figure out where you want your side packet to lay. I did 3.5in and cut my line vertically. On the side add a seam allowance of 1/4″ and on the main bodice at 2 inches to make your faux packet.

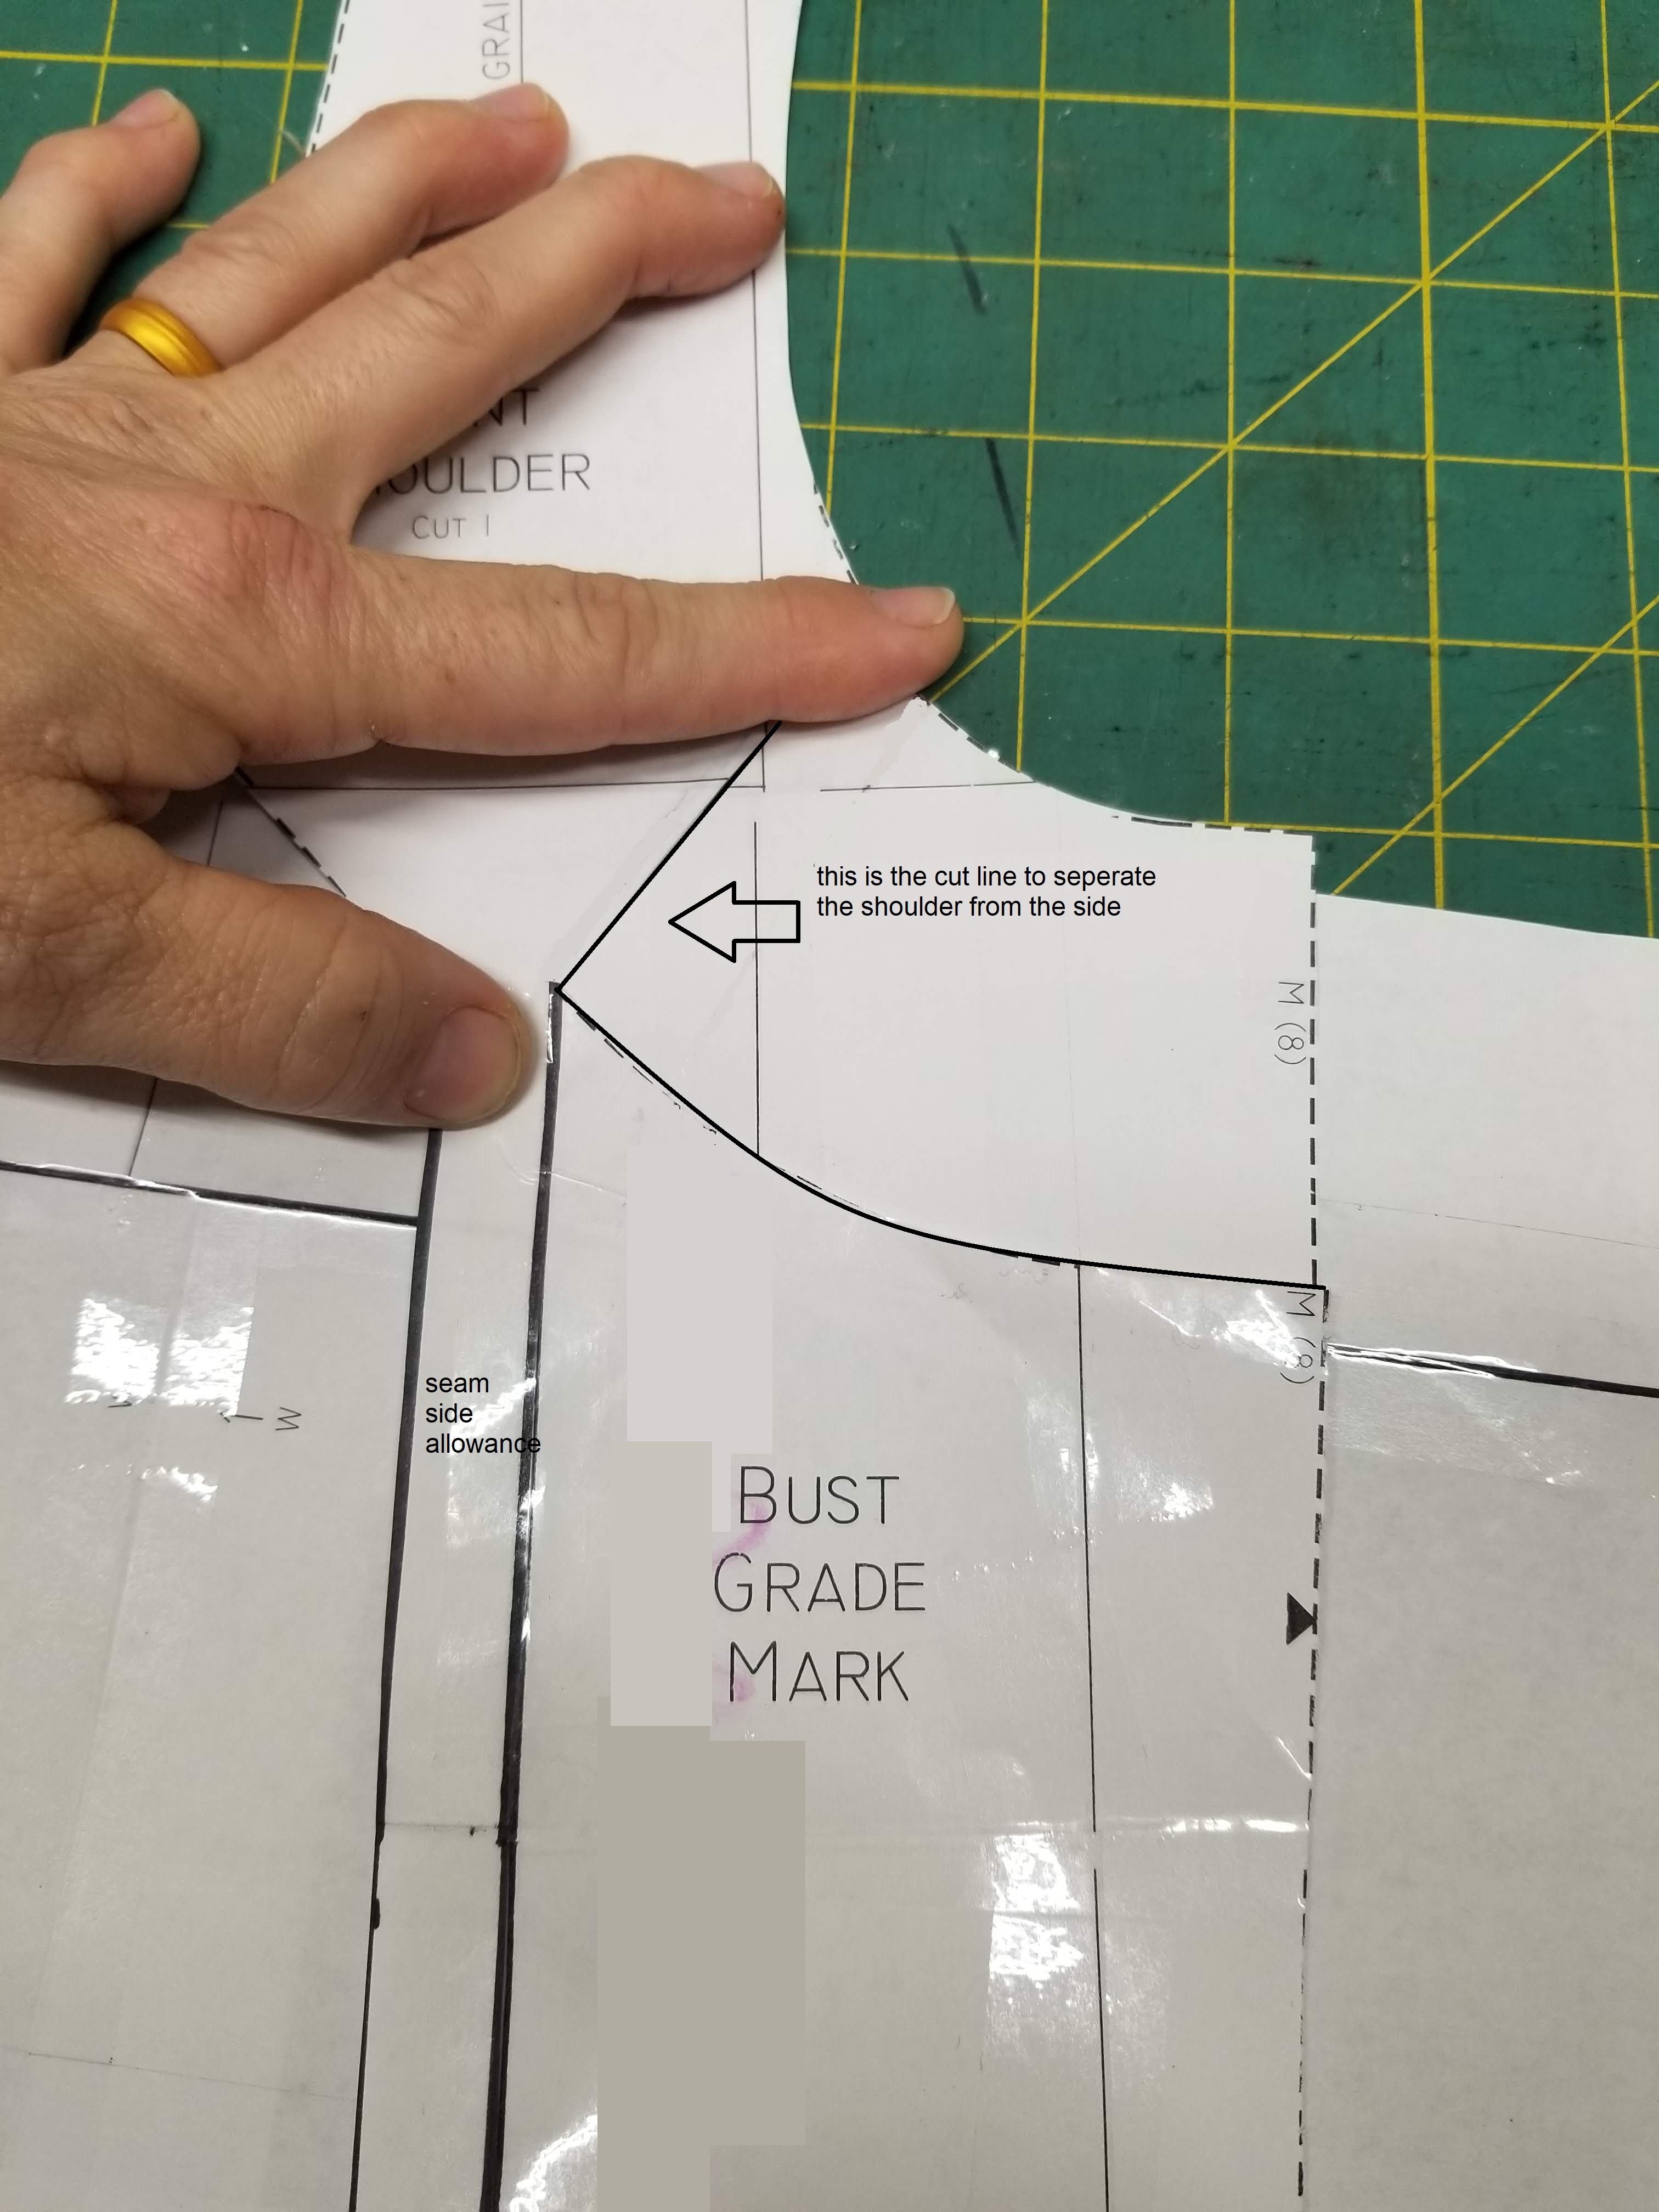
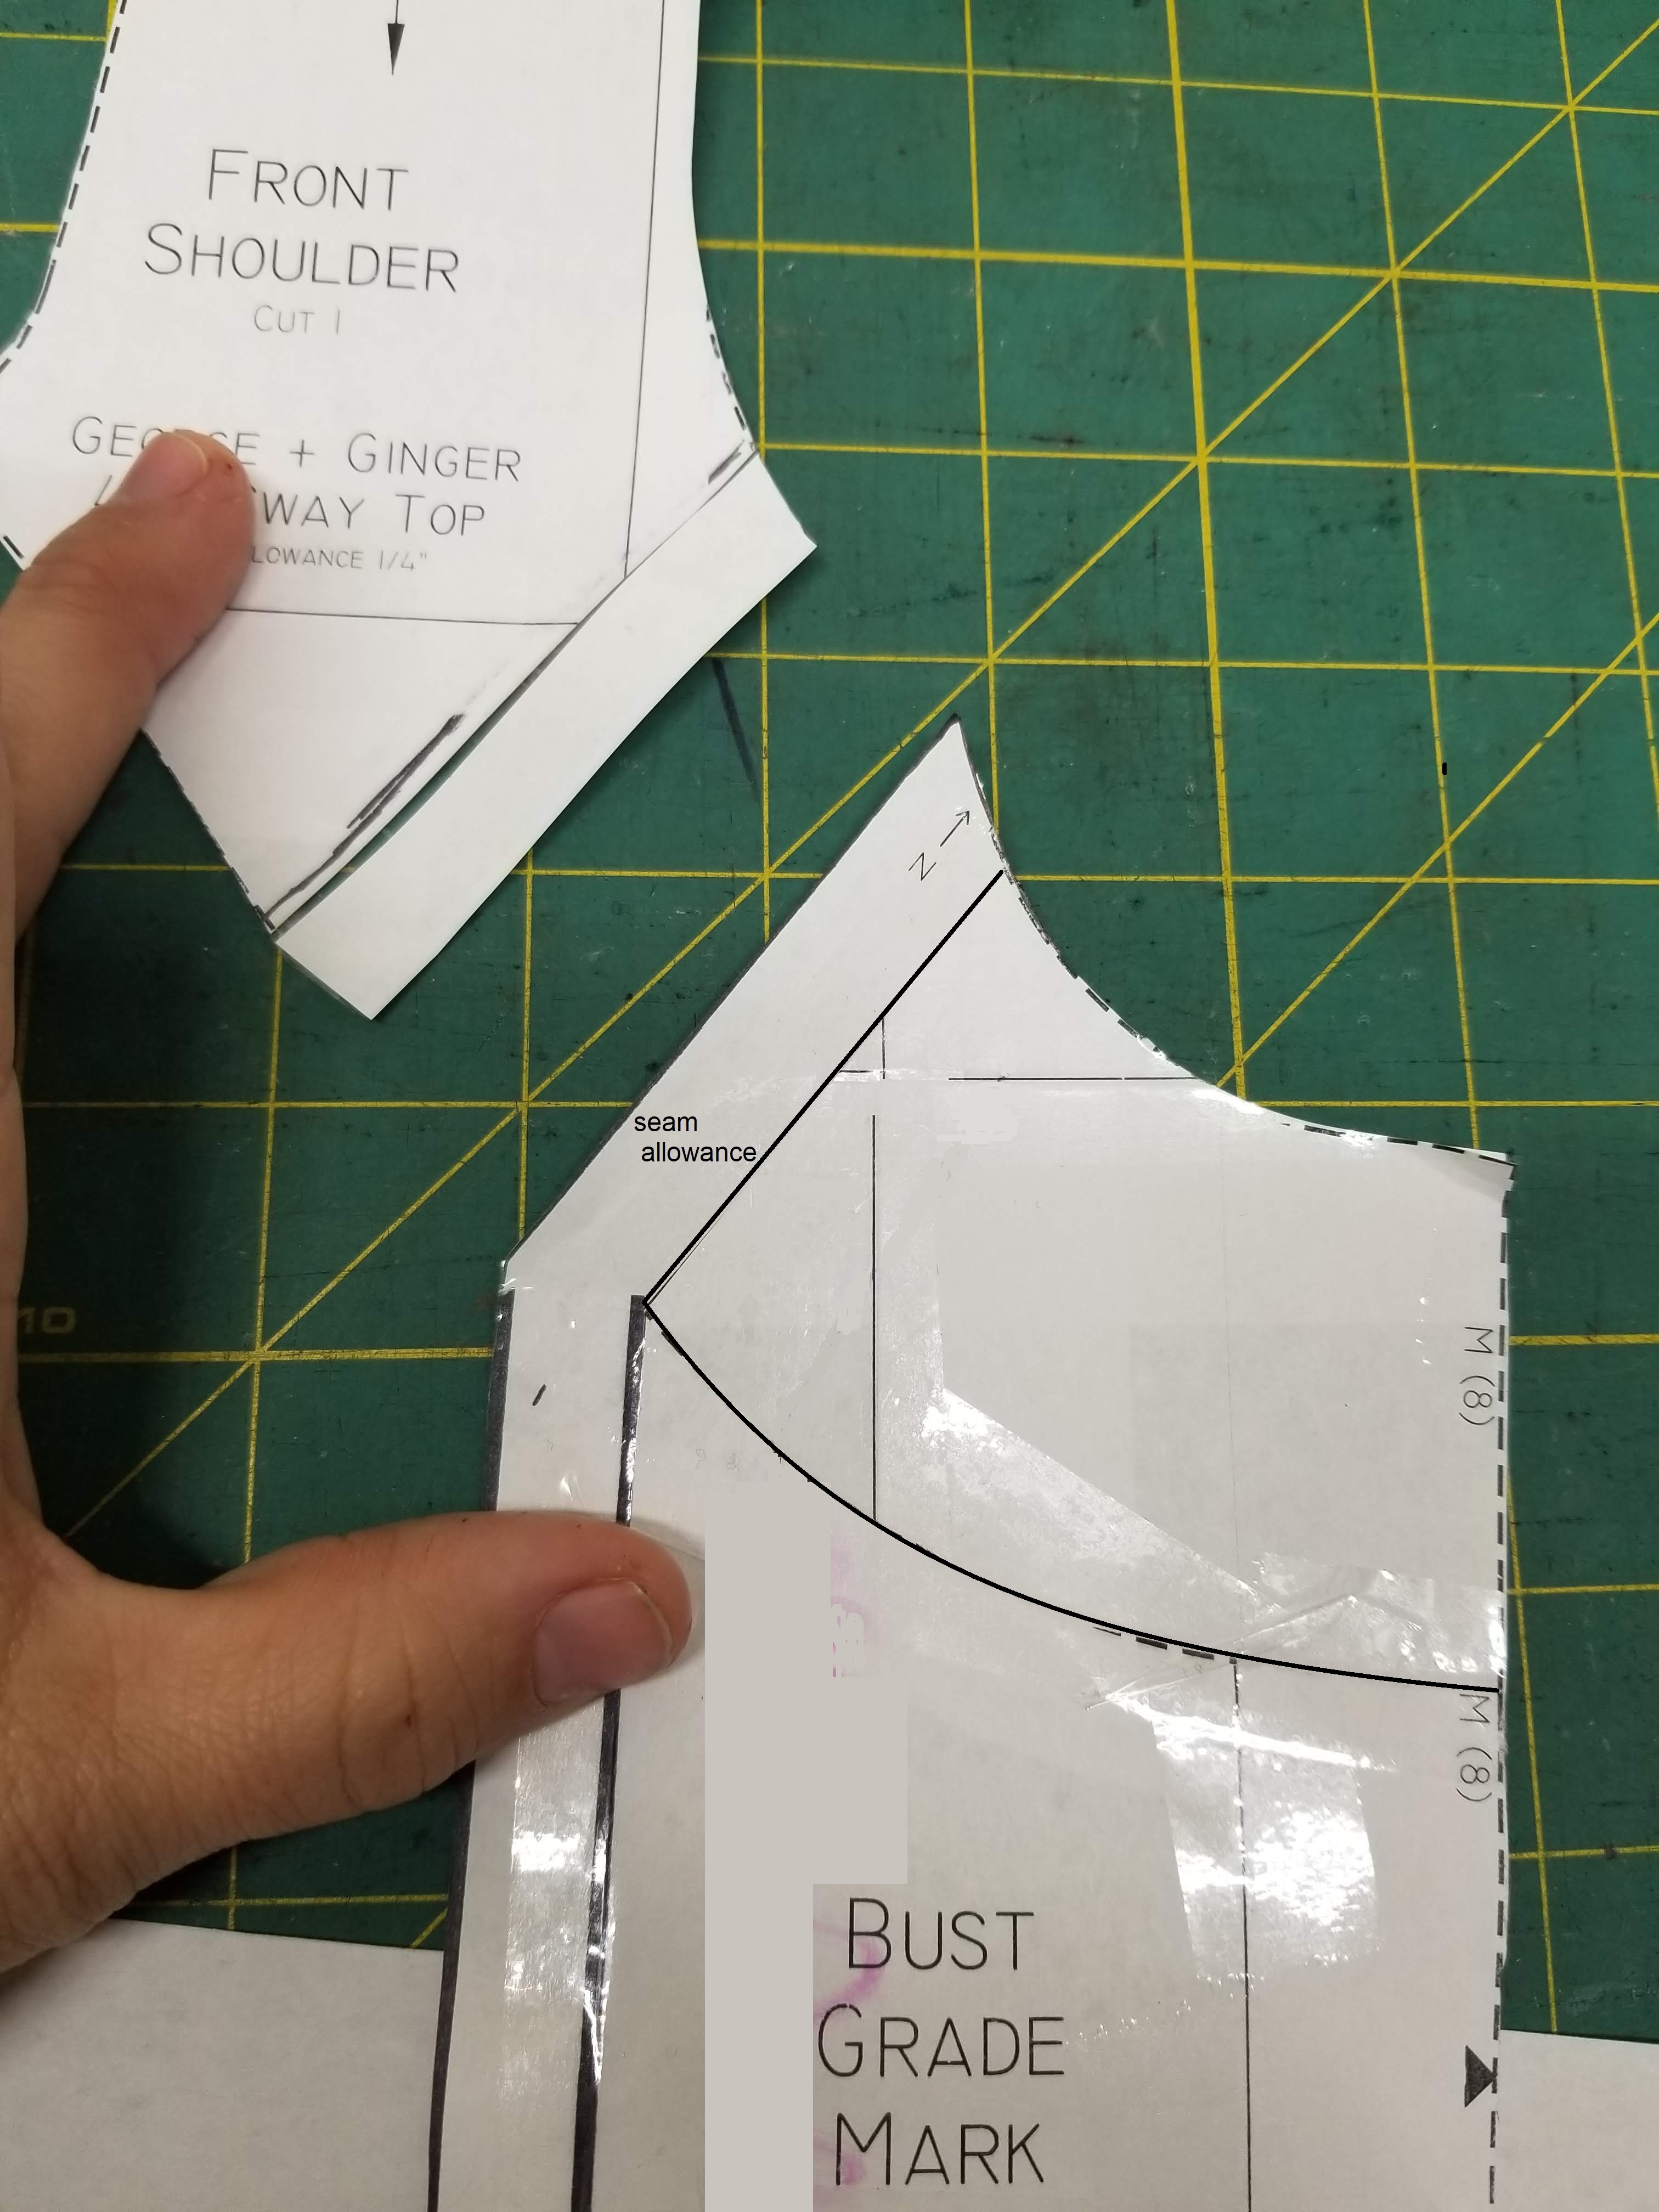
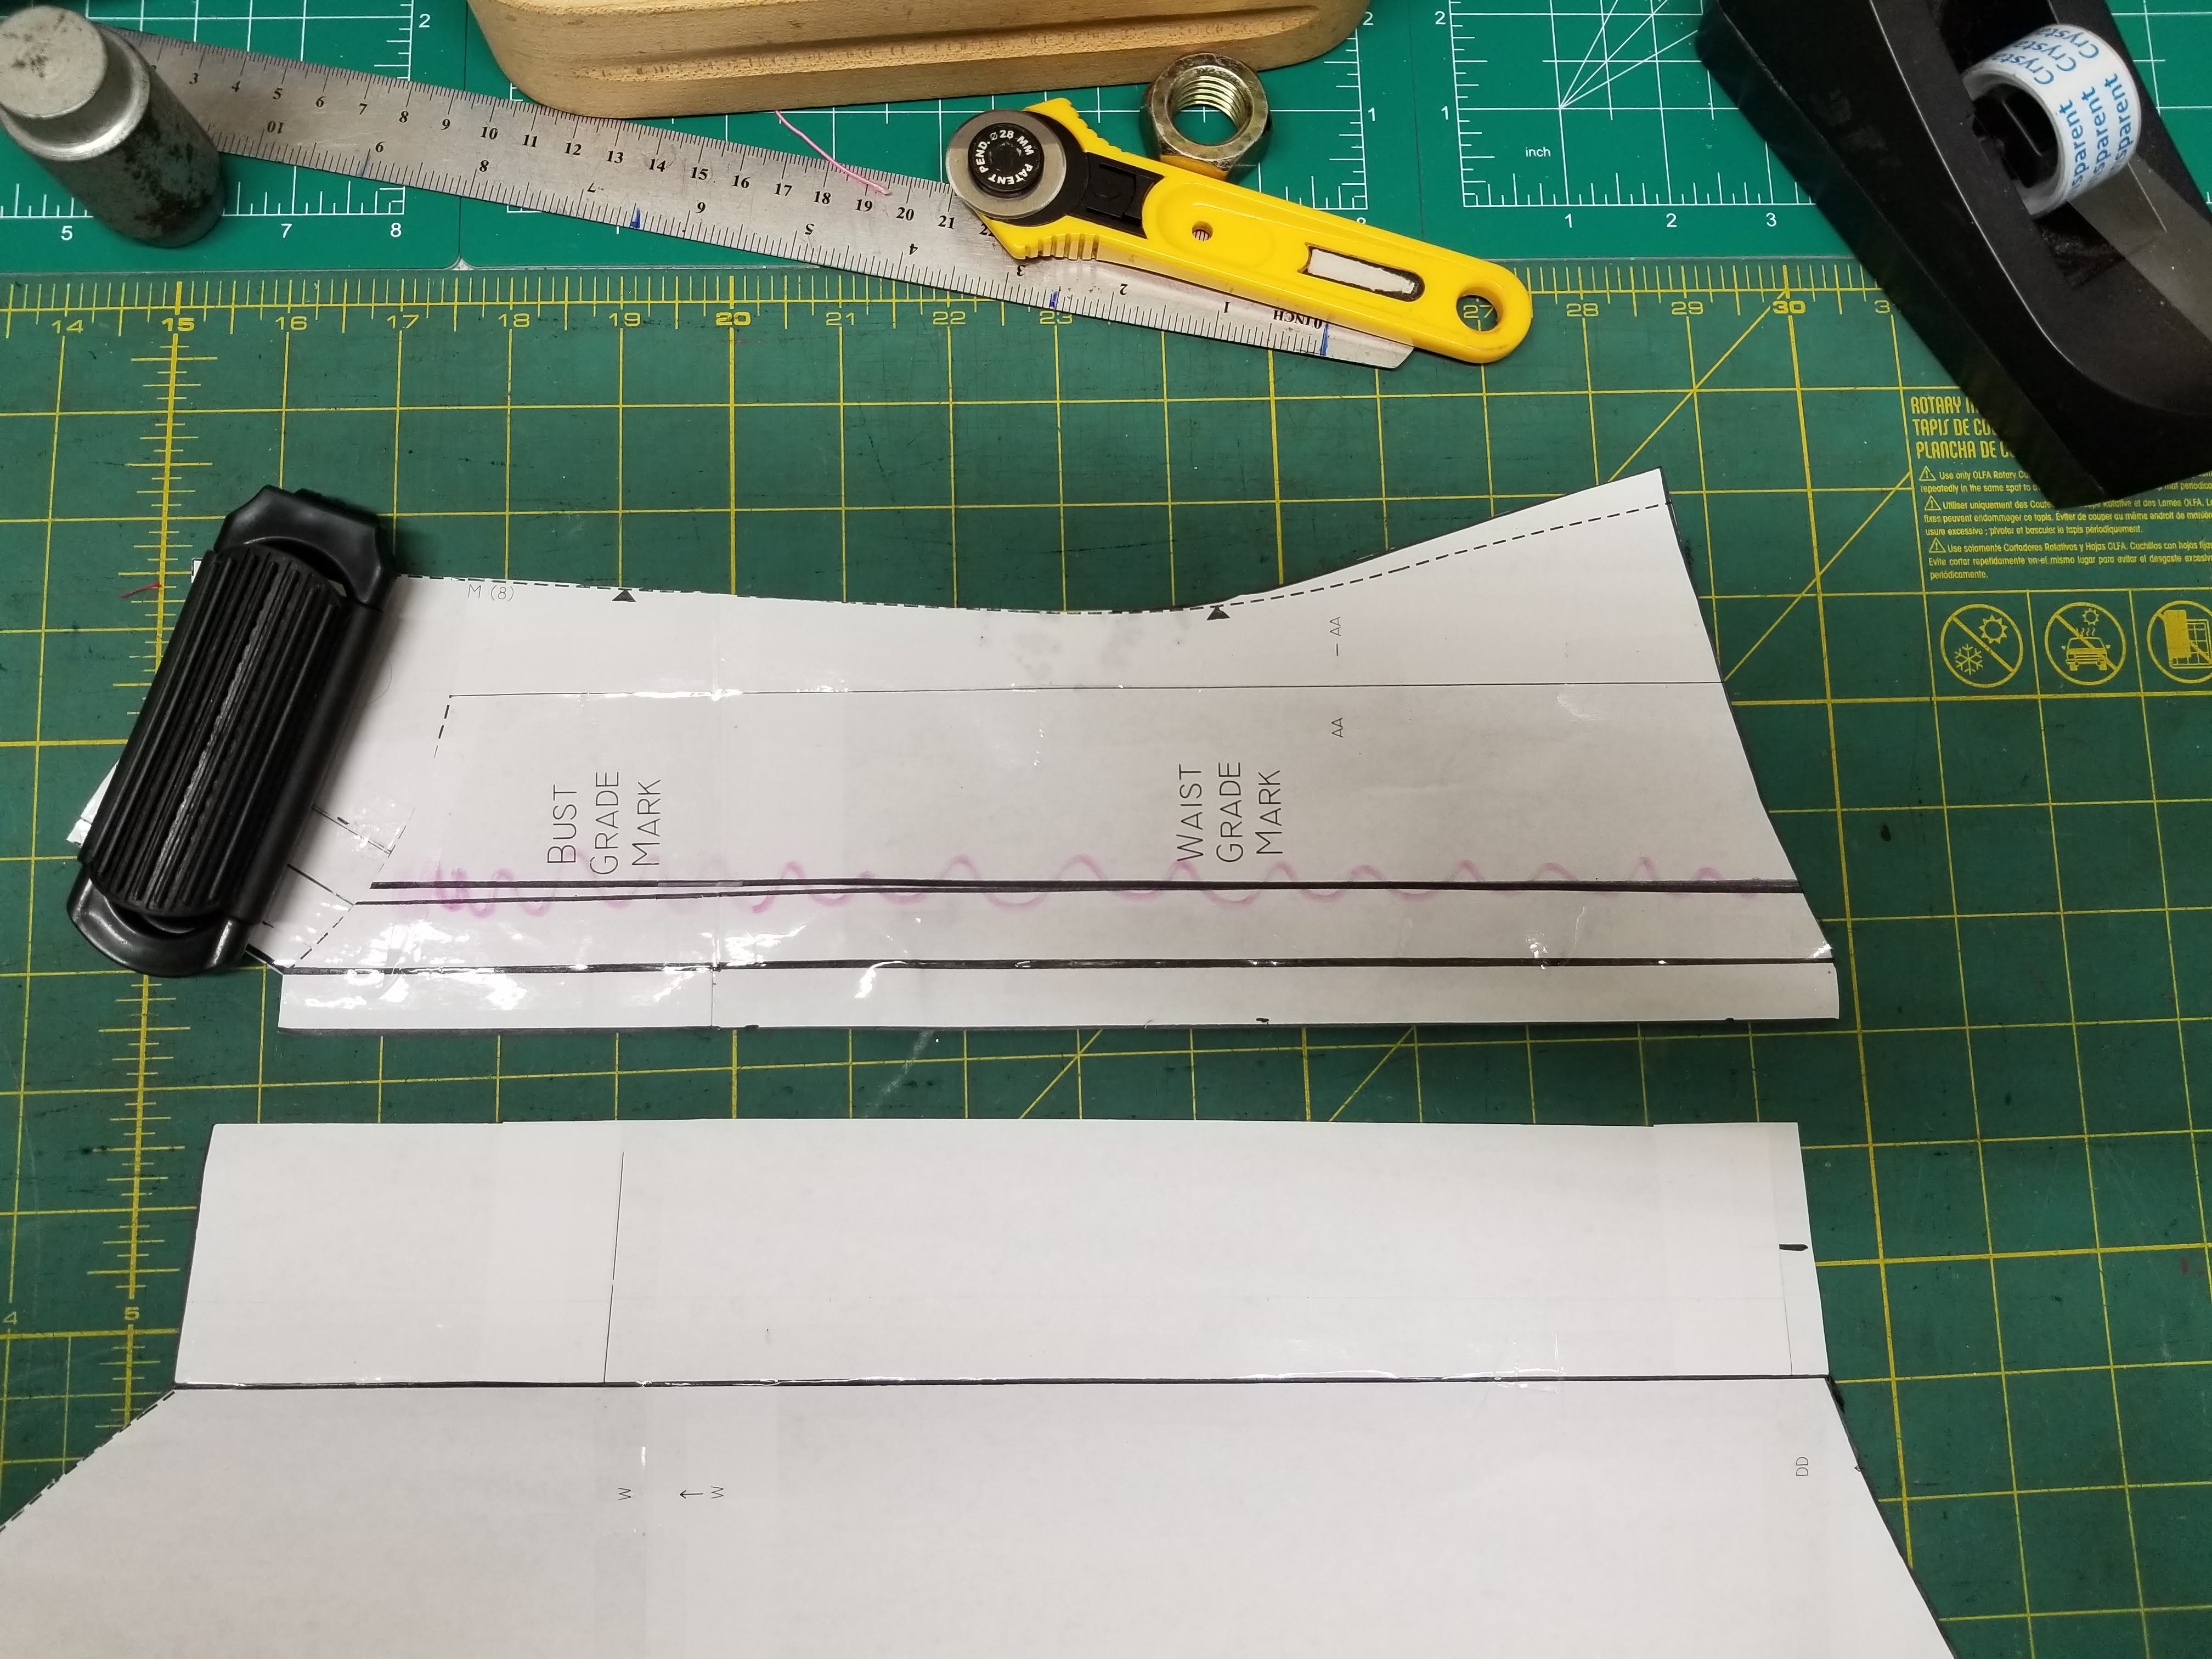
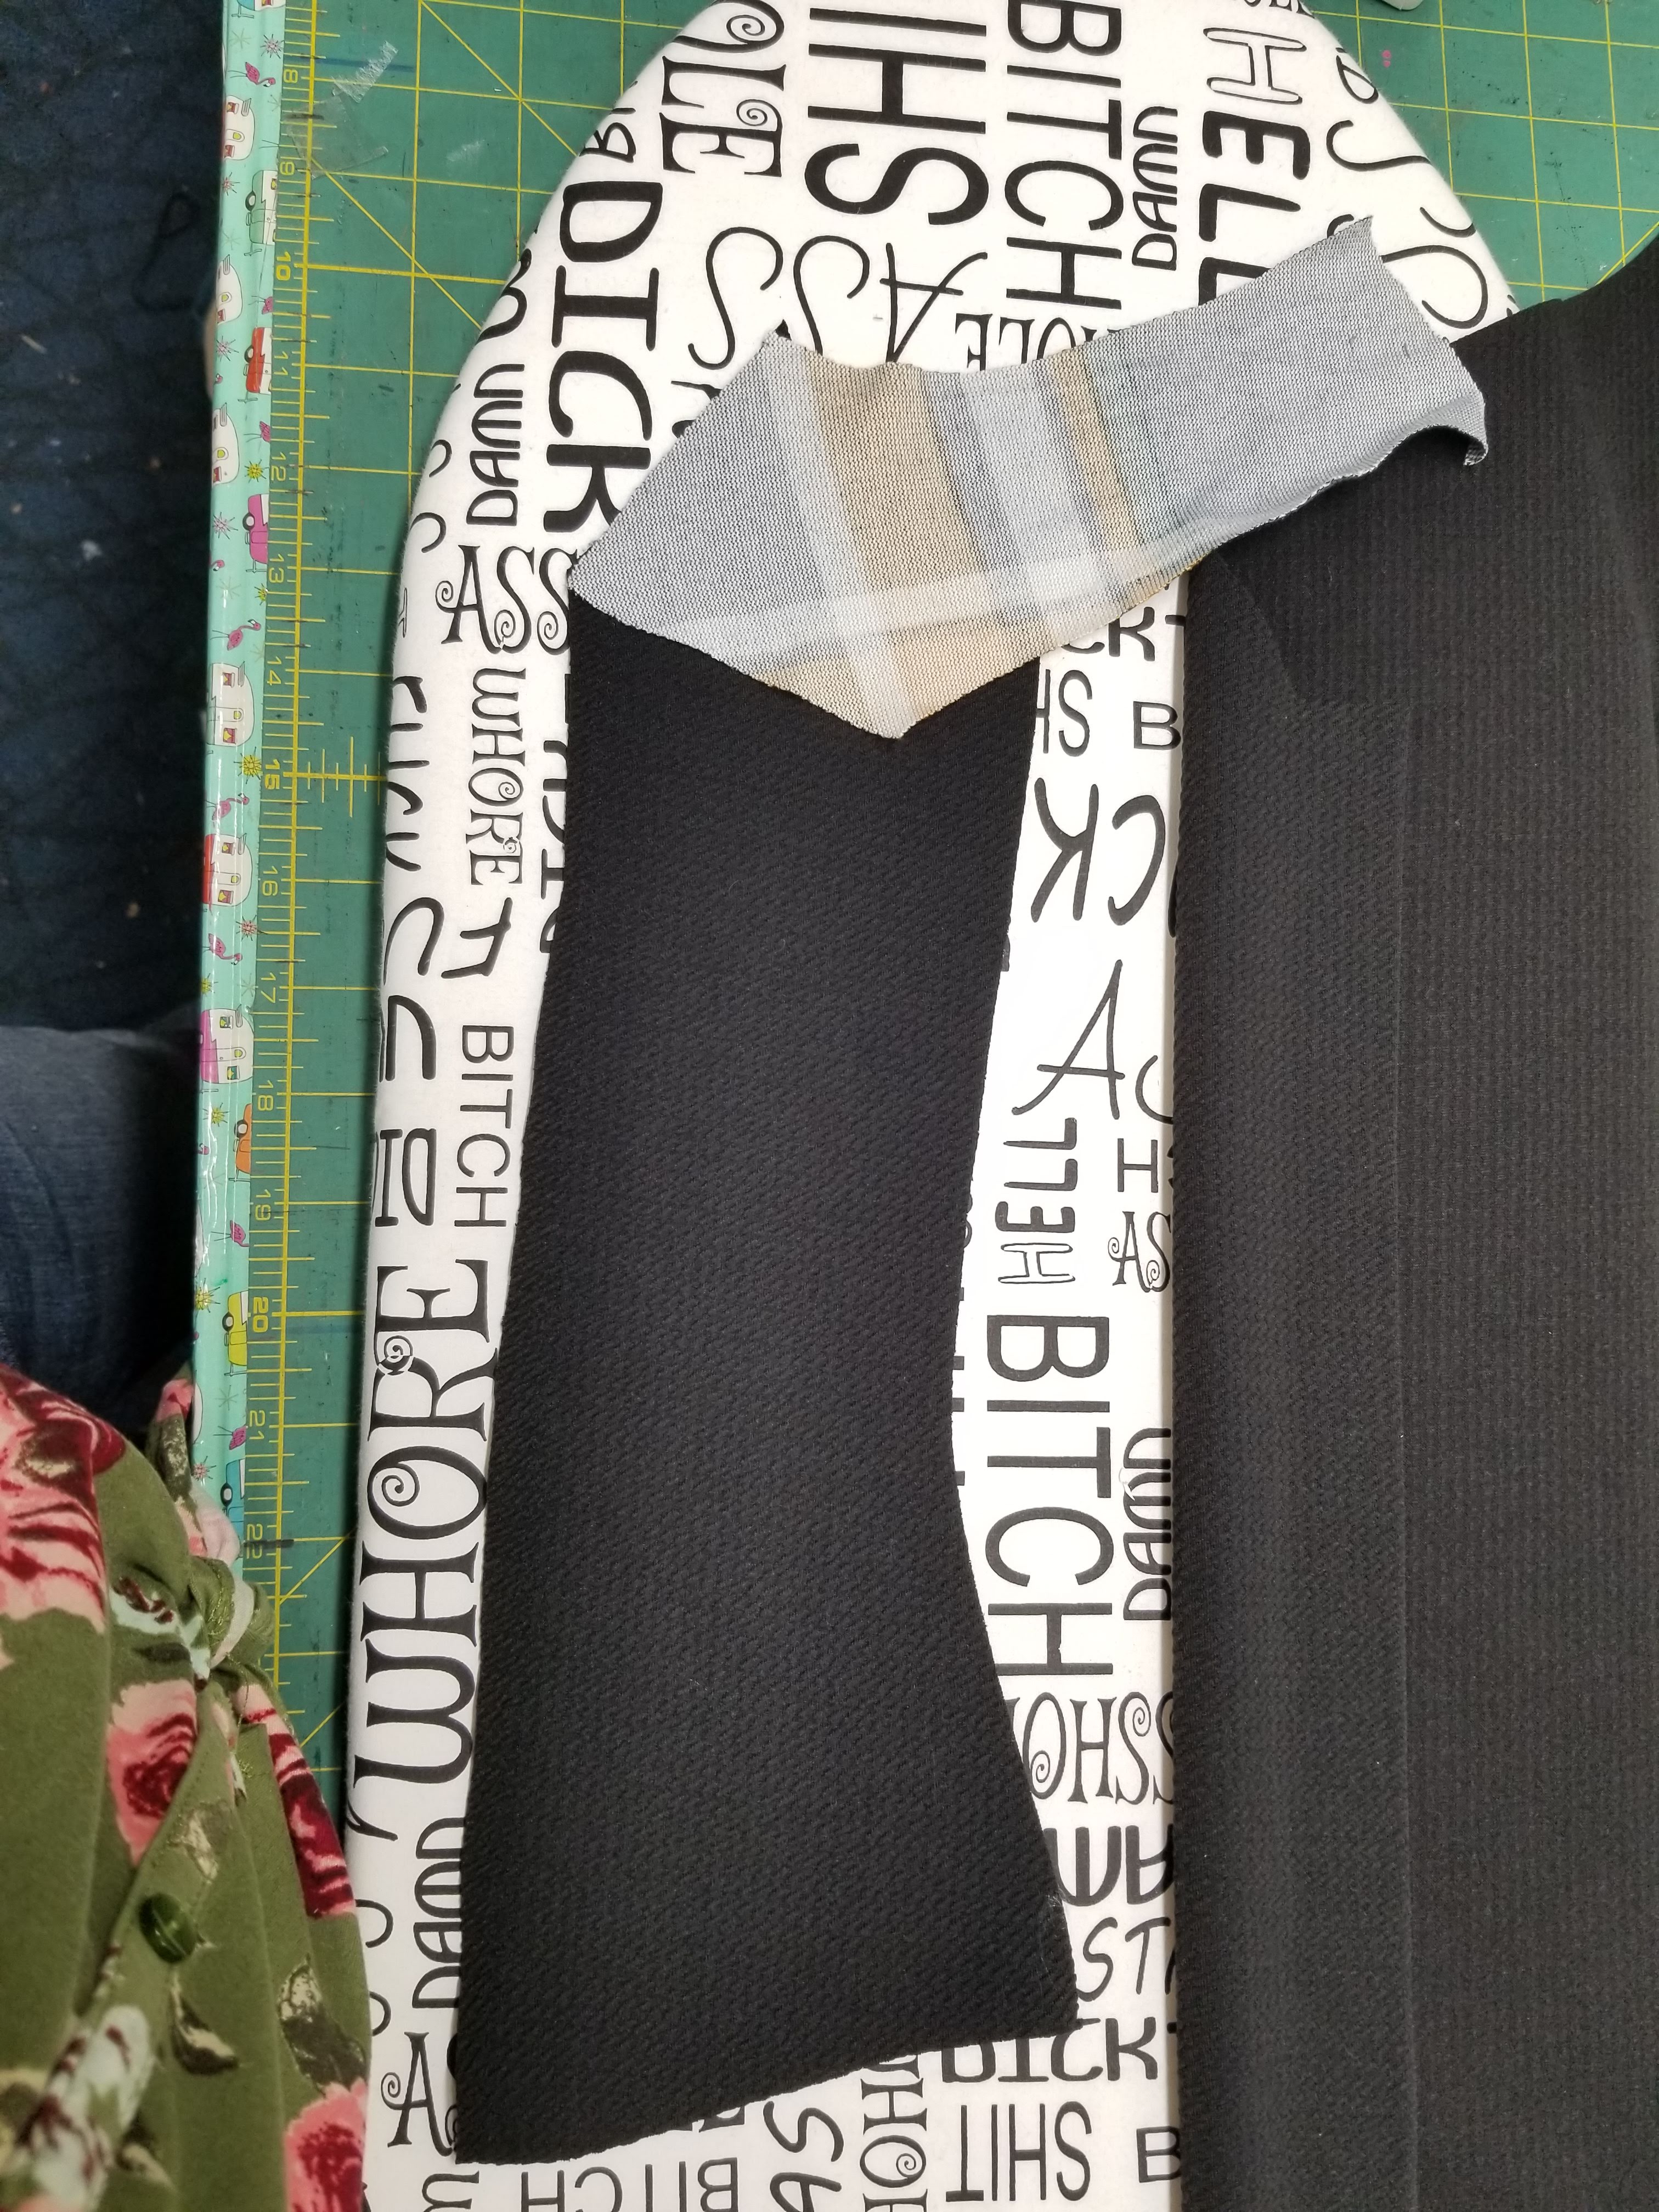
You are going to lay the front shoulder under the side bodice by overlapping it by 1/4 to take out your seam, and tape together. When you do this you are going to mark on the shoulder piece to separate the shoulder from the side. Now tape a new 1/4″ seam allowance on both pieces. With the neckband please reduce it by half of the amount you use to make your side seam and add 1/2inch.

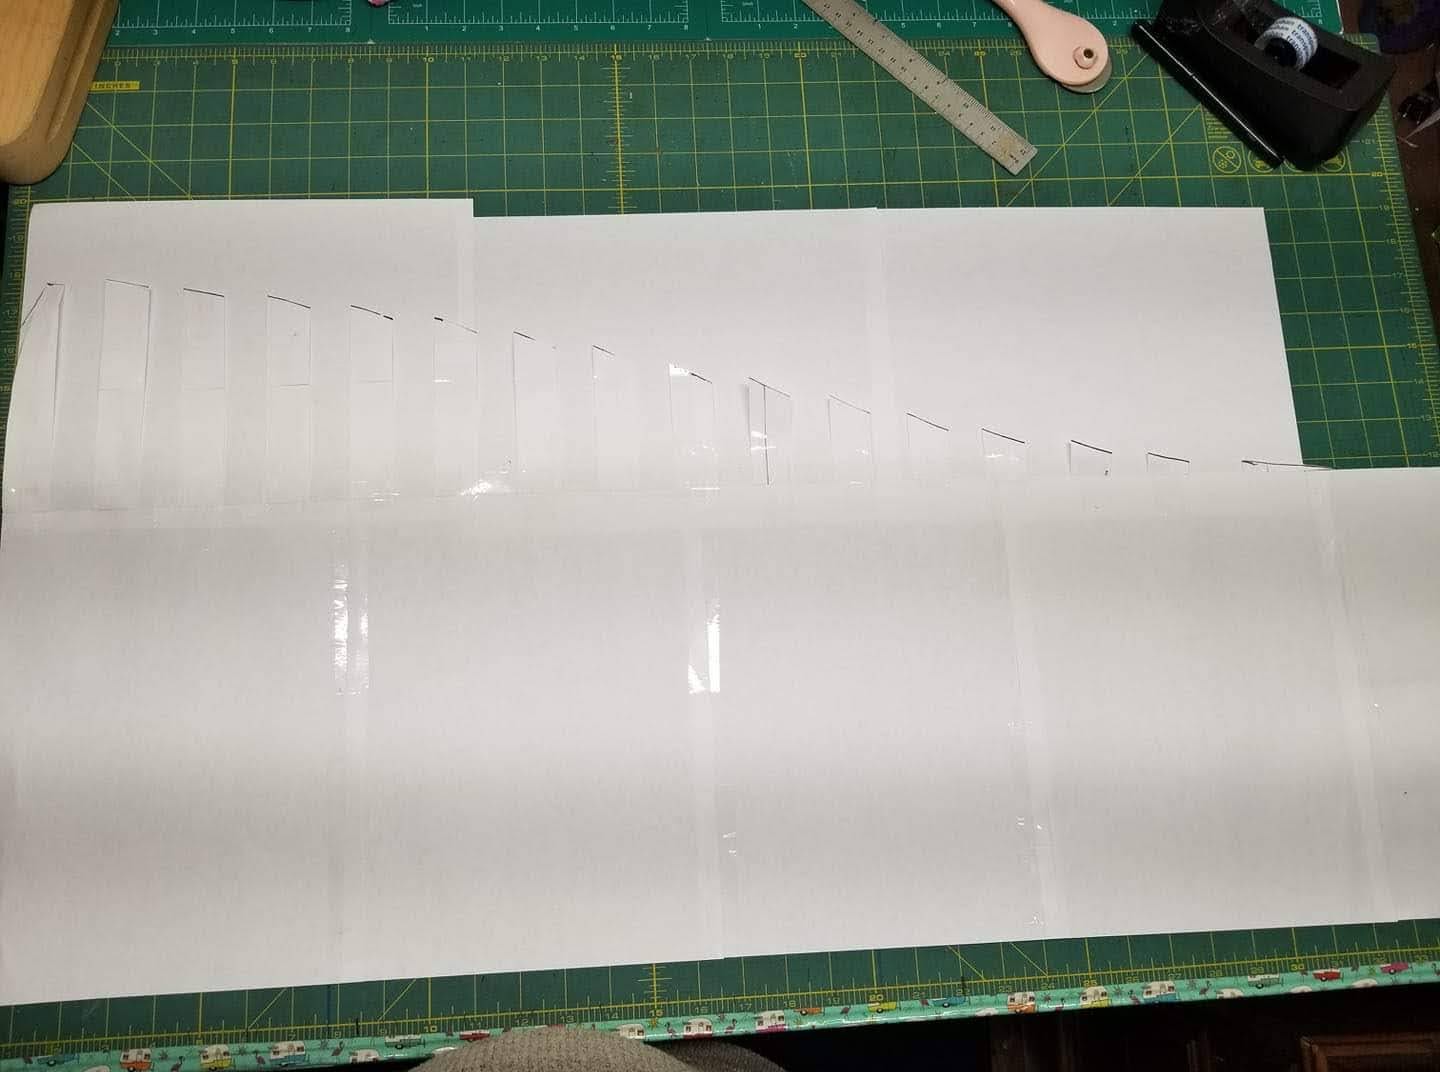
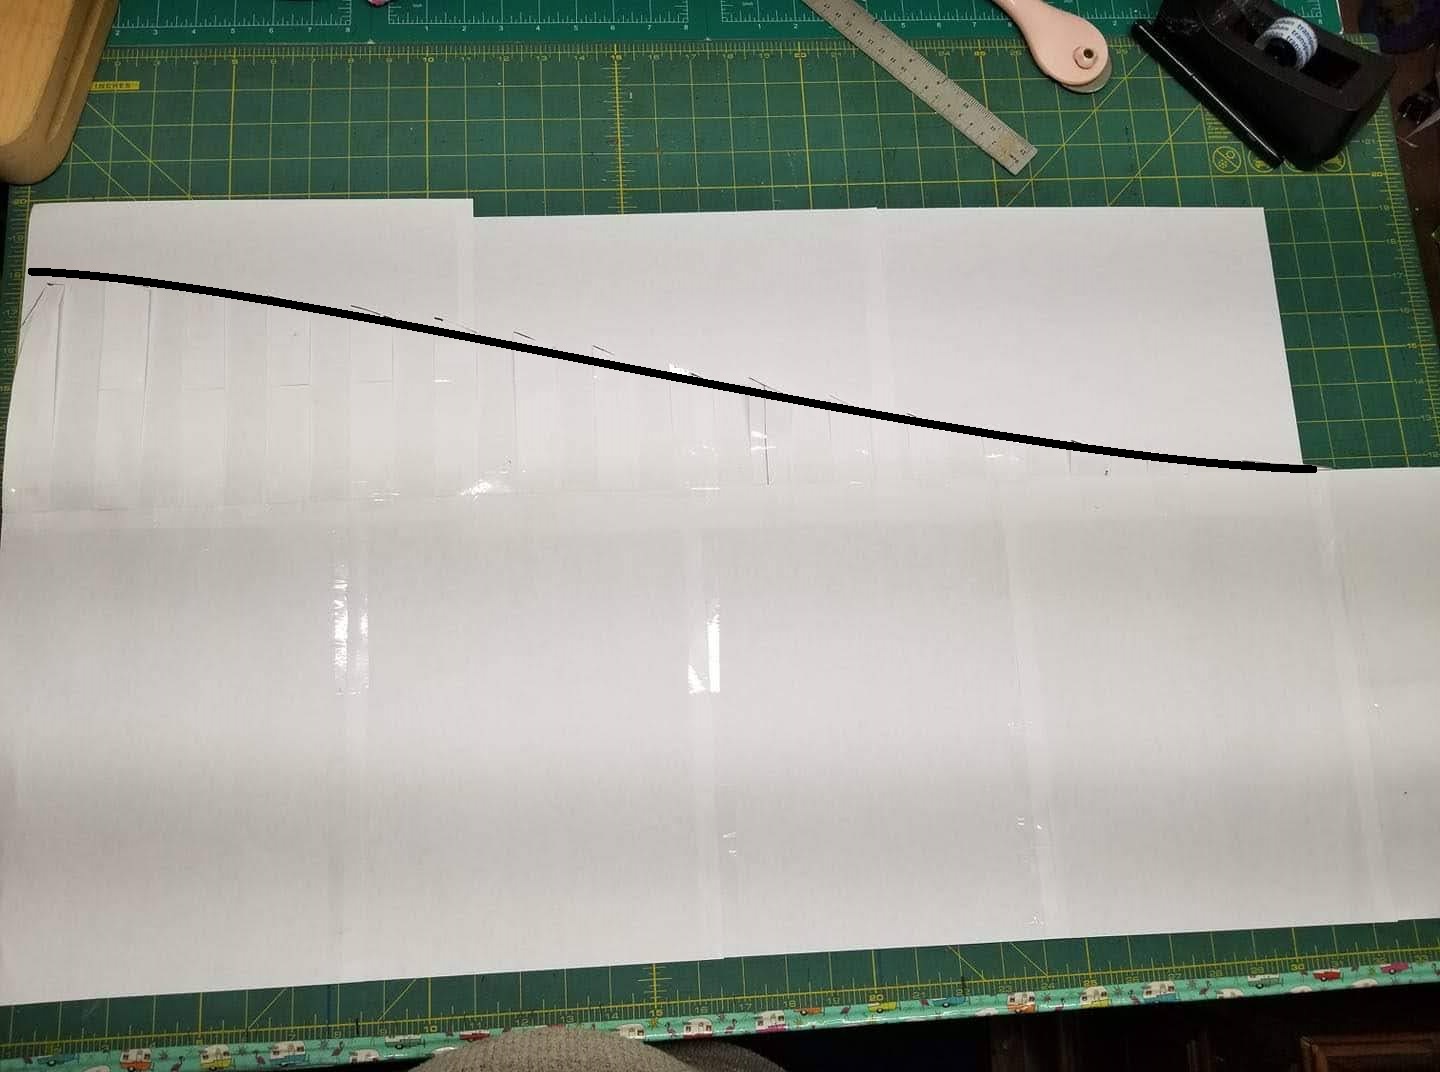
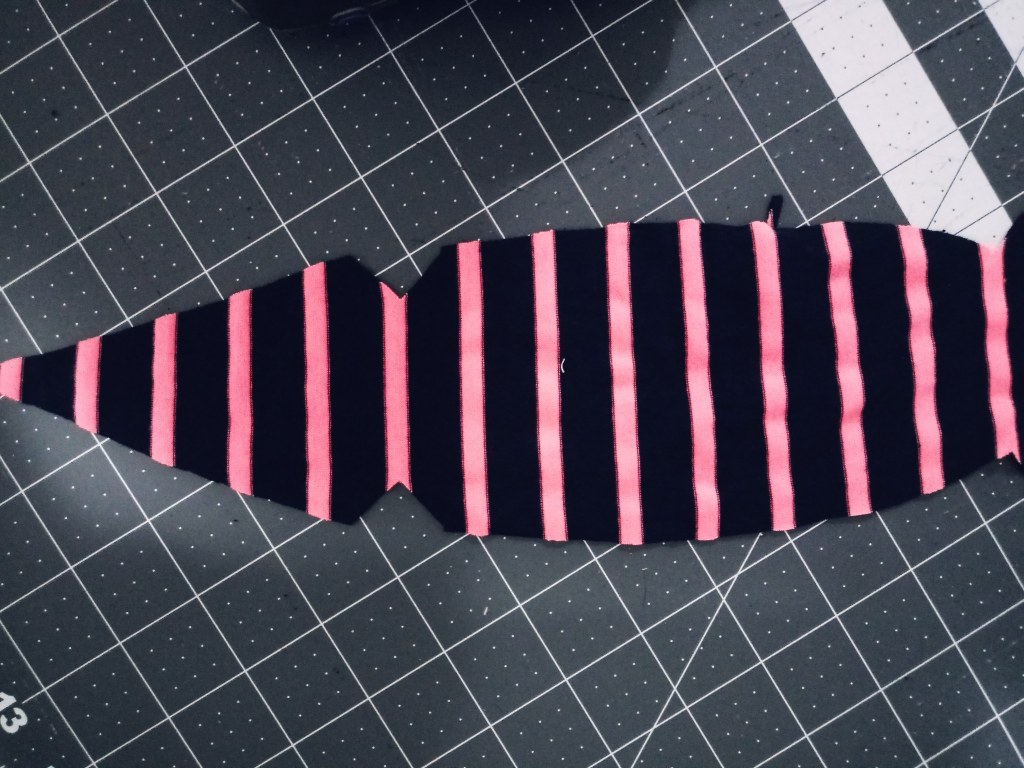
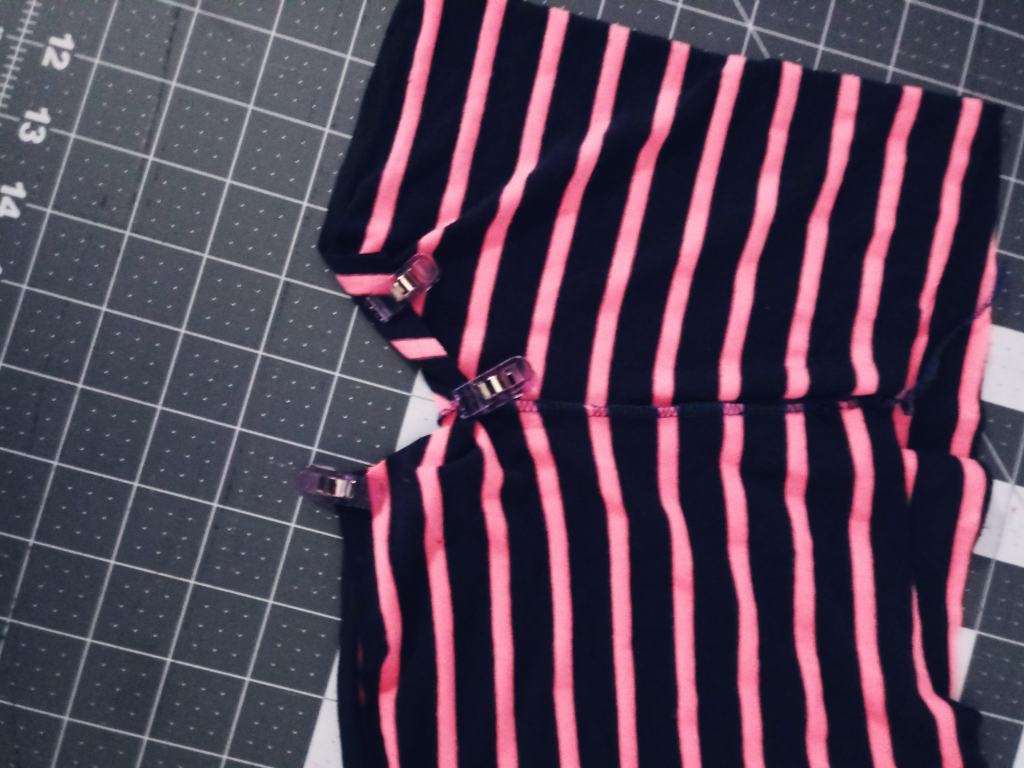
This is where you will now use those bottom curves to make your skirt layers. I like my skirts a little longer than most because I have kids and a lot of junk in my trunk. This is the easy part, take you piece and cut them into 1 inch strips care to keep them in order. I used 10 pieces of paper to make my skirt layout. Carefully layout your 1 inch pieces in order spacing them 1 inch apart along the top edge of the first row of paper and tape them down in place. You can space them further apart if you want a more gathered look. As you see in the second pic draw out your top curve. When I decided on my lengths of my skirts I accounted for the 1 inch hem since i wasn’t doing a rolled edge or lettuce edge hem. My top skirt on the short side was 7 inches and bottom skirts was 14 inches. Now we can start cutting our fabric. ALWAY MARK ON YOUR FRONT AND BACK BODICE PATTERNS PIECES WHICH IS OUTSIDE AND WHICH IS INSIDE, SO YOU DONT CUT WRONG.

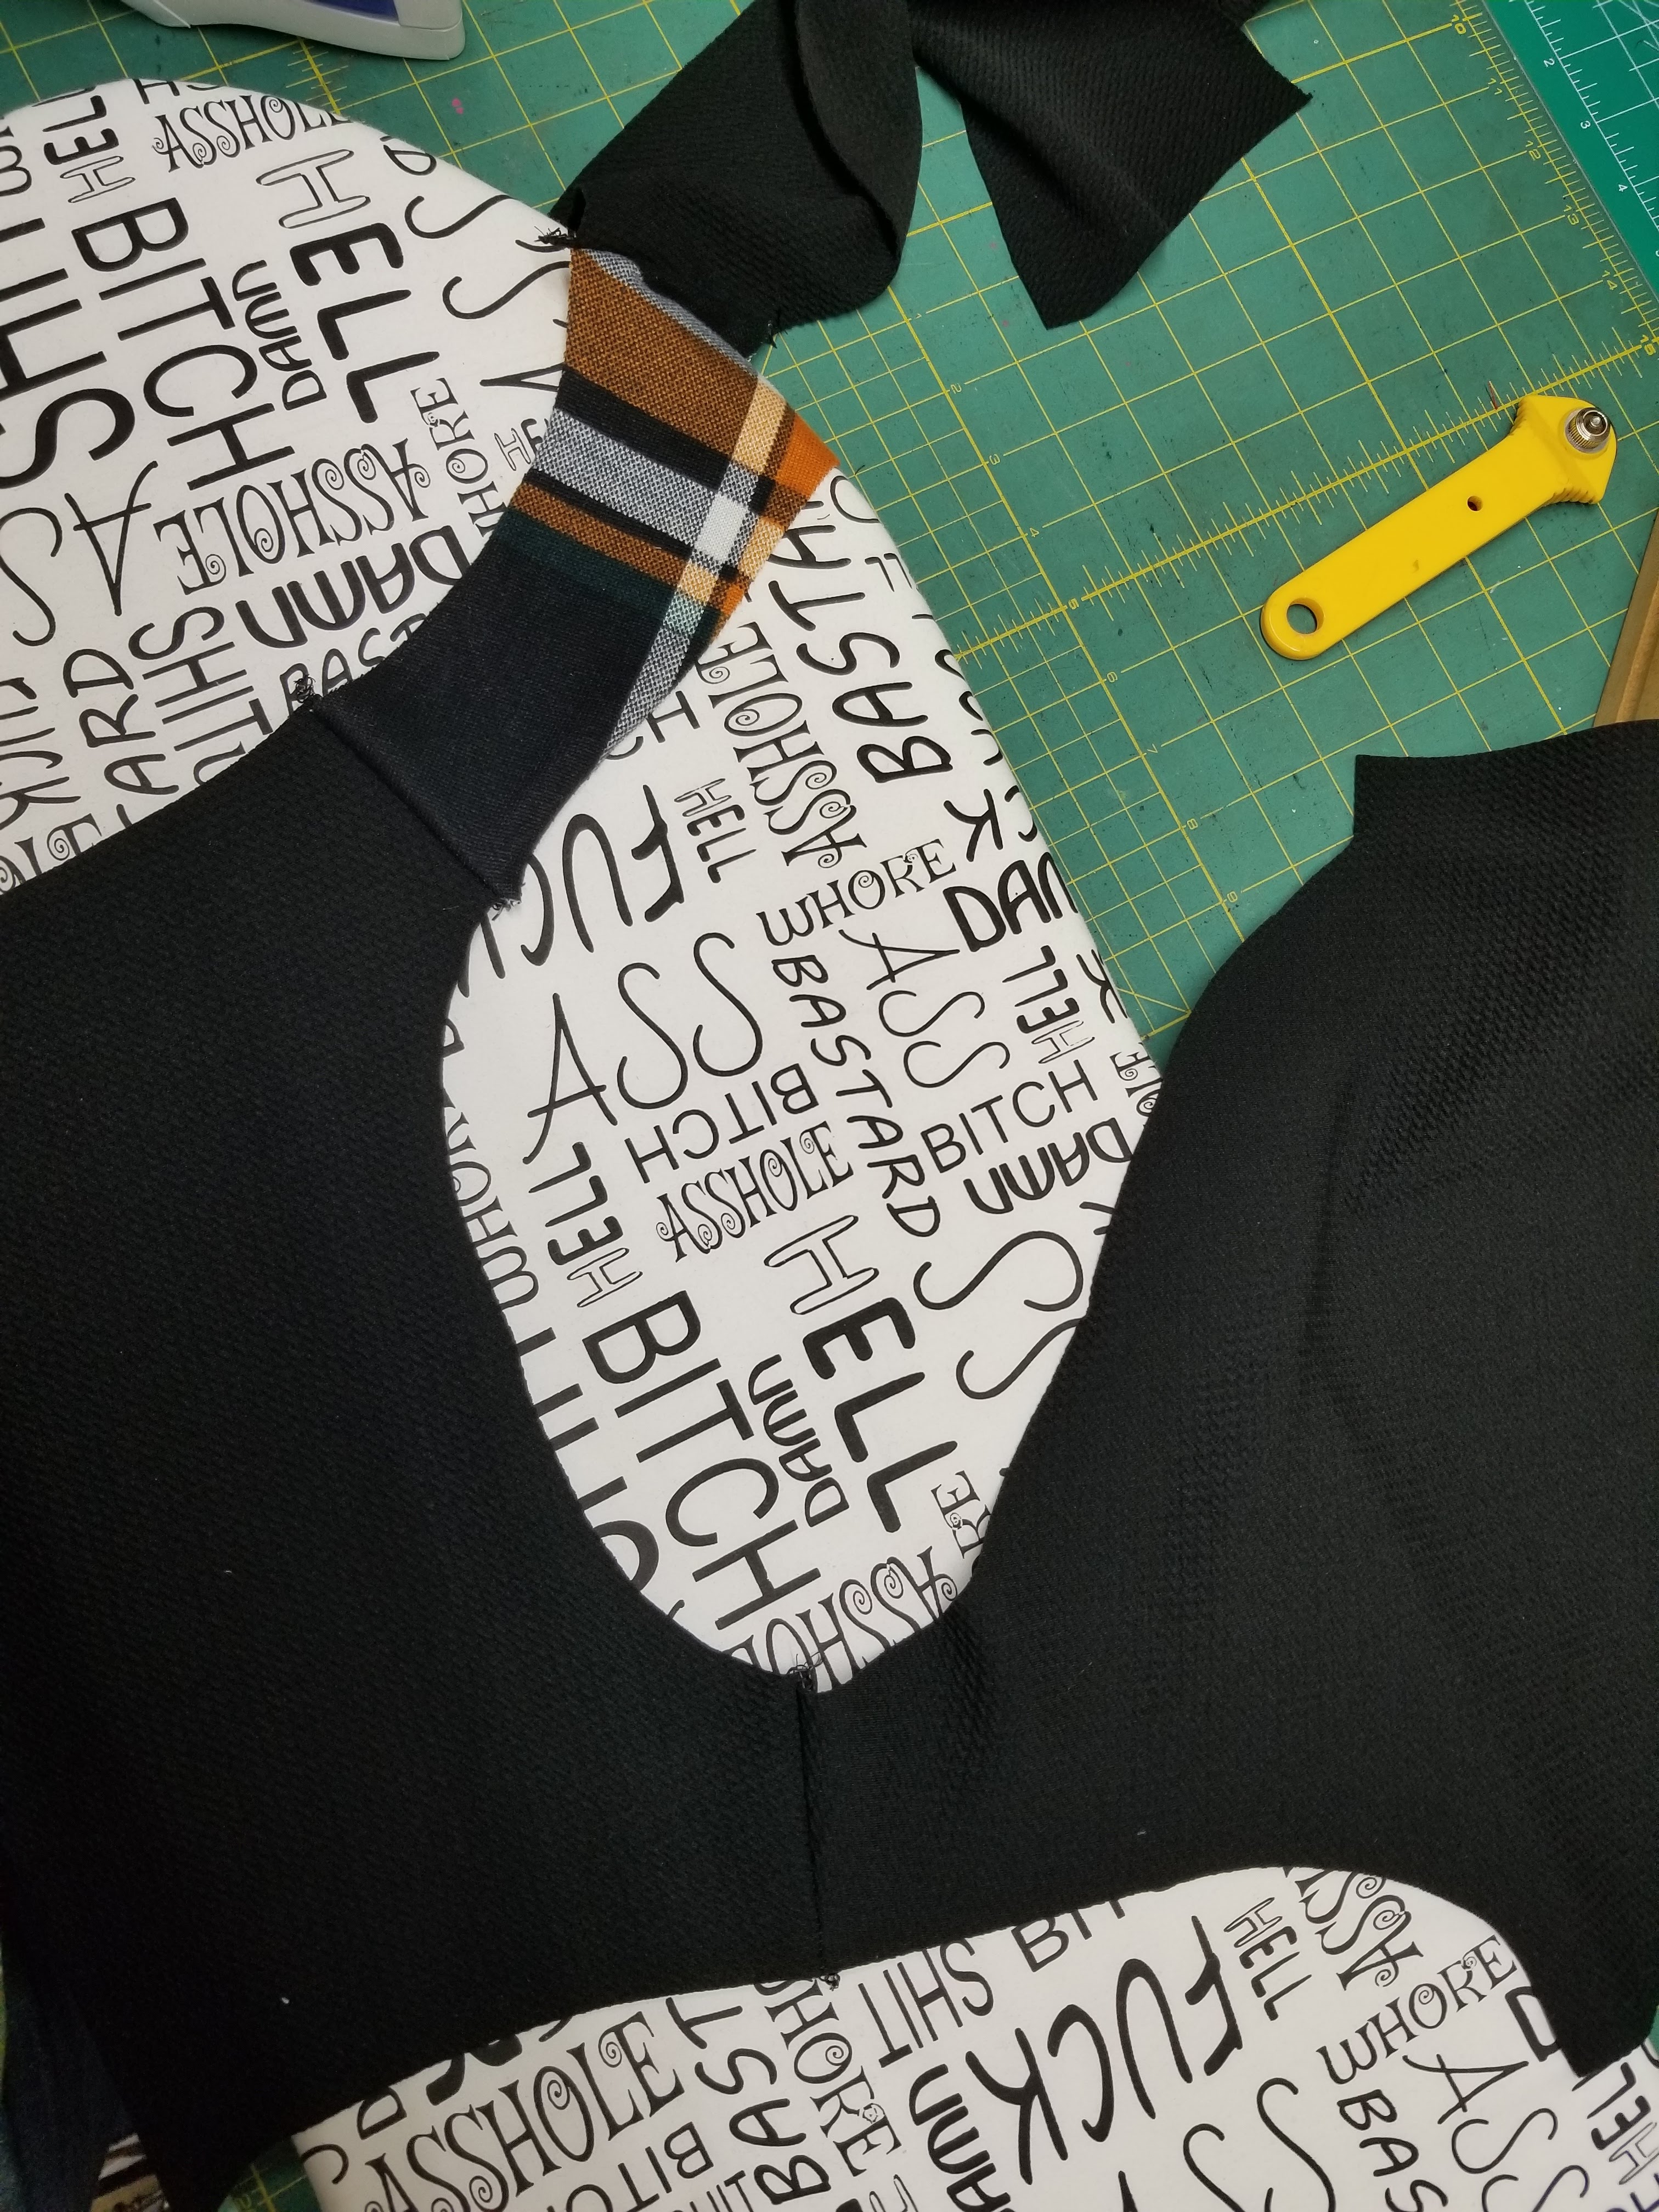
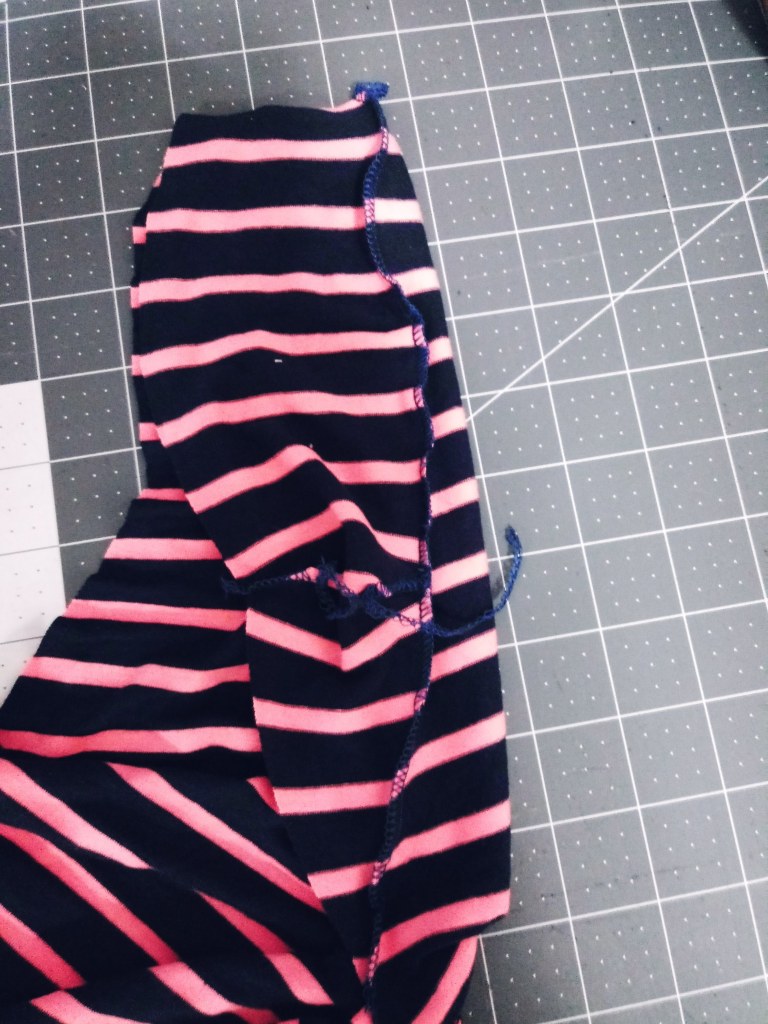
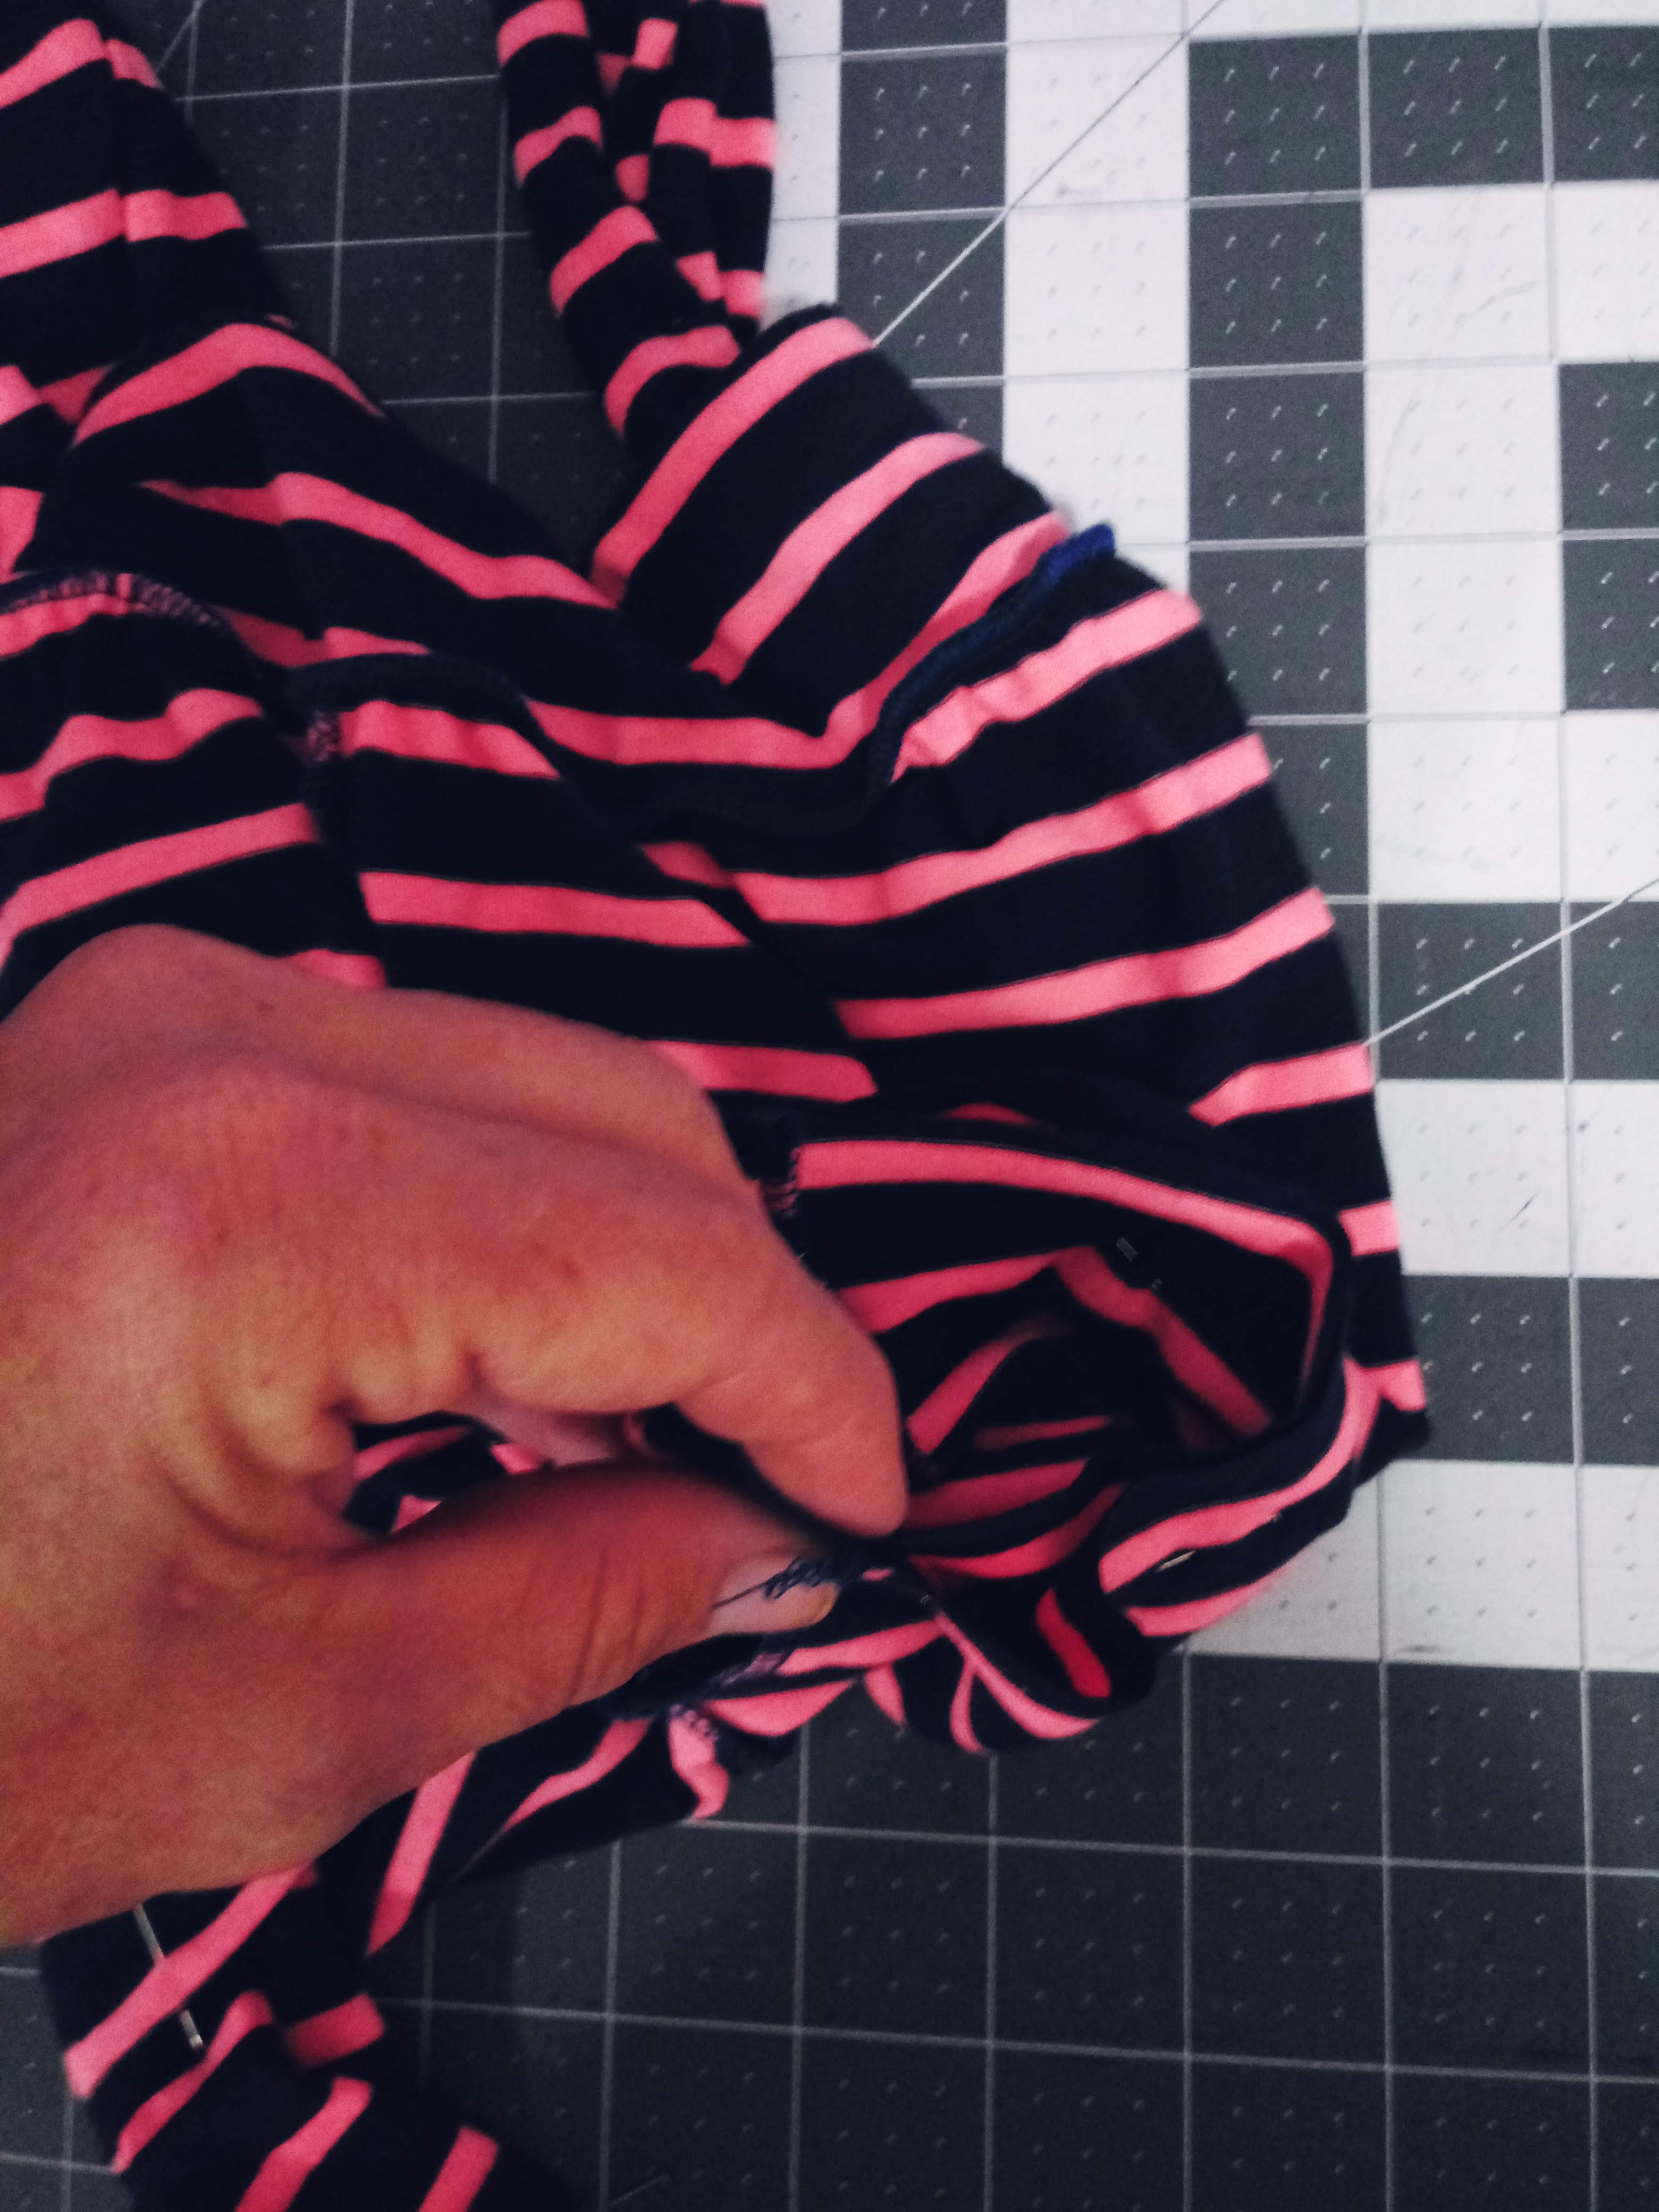
The first step is fold over the front packet and iron together using hem tape. Then we sew together the shoulder piece to the side bodice, and connect the front shoulders to the back shoulders. Lay out the top and pin the neckband around the opening, making sure to fold over the band to close the edge of the packet. The way I do the neck binding is sew right sides fabric together with a seam allowance of 3/8″. I then fold the free edge towards the seam and fold again in half and sew down.

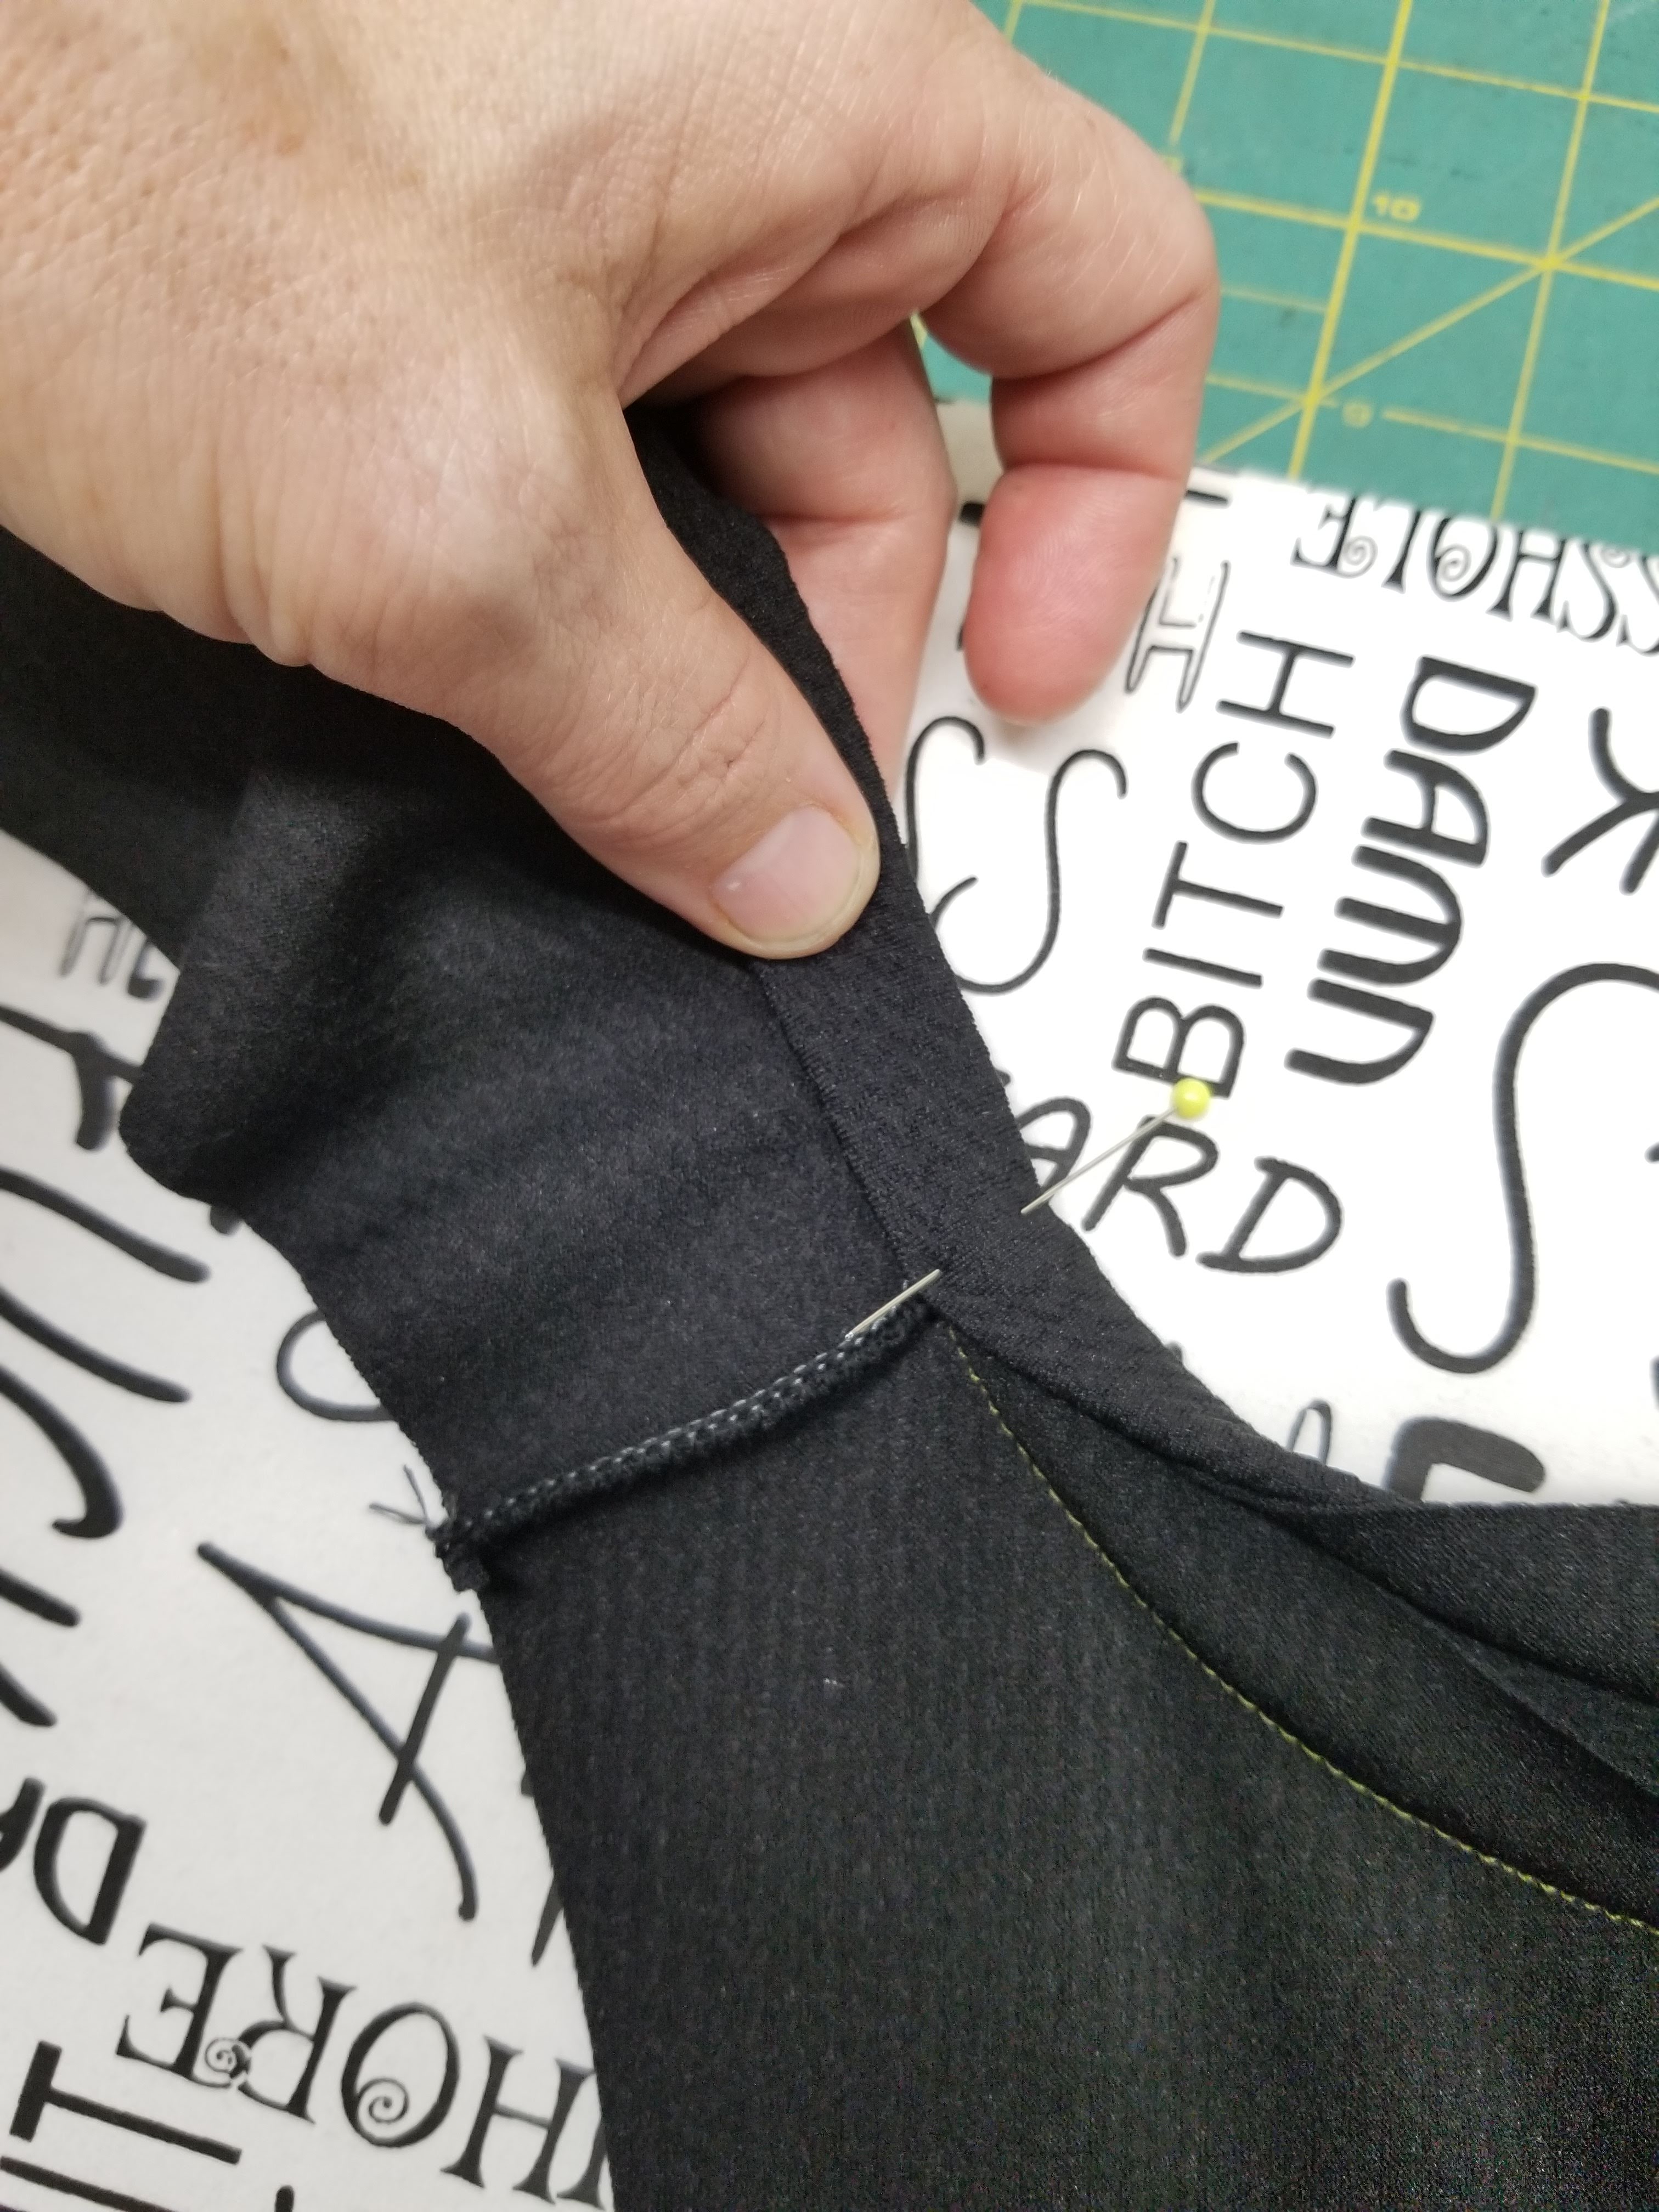
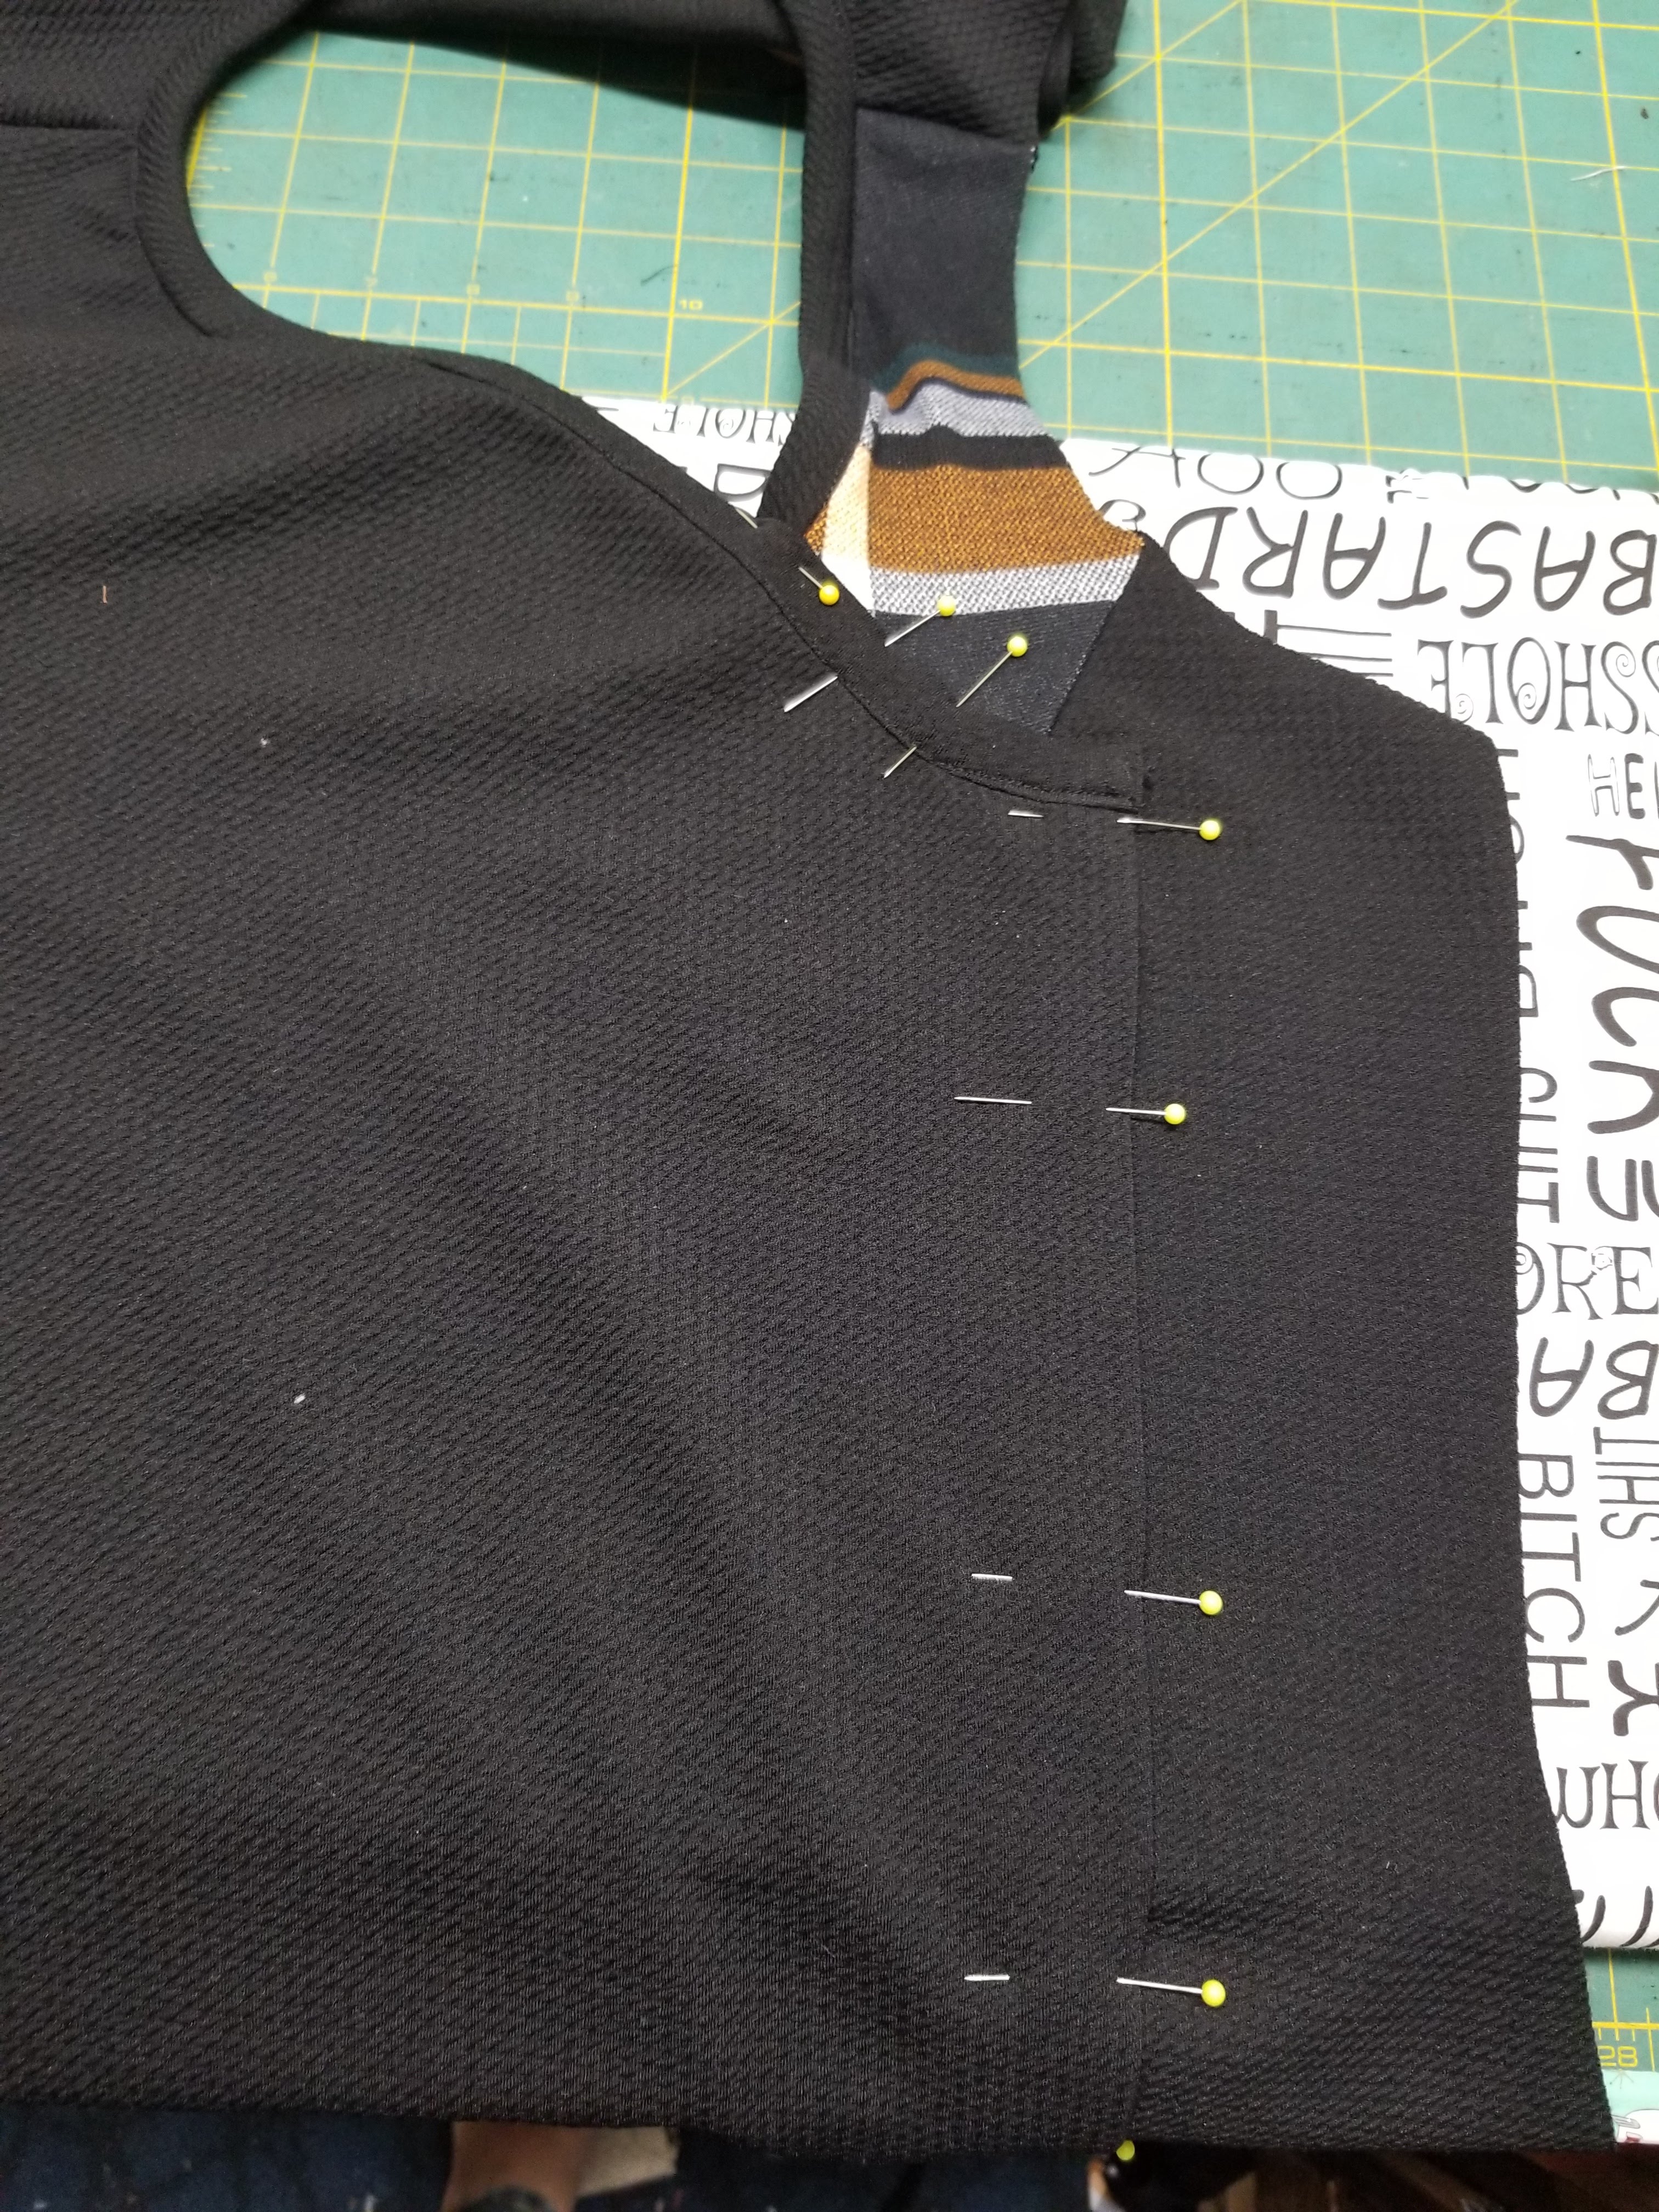
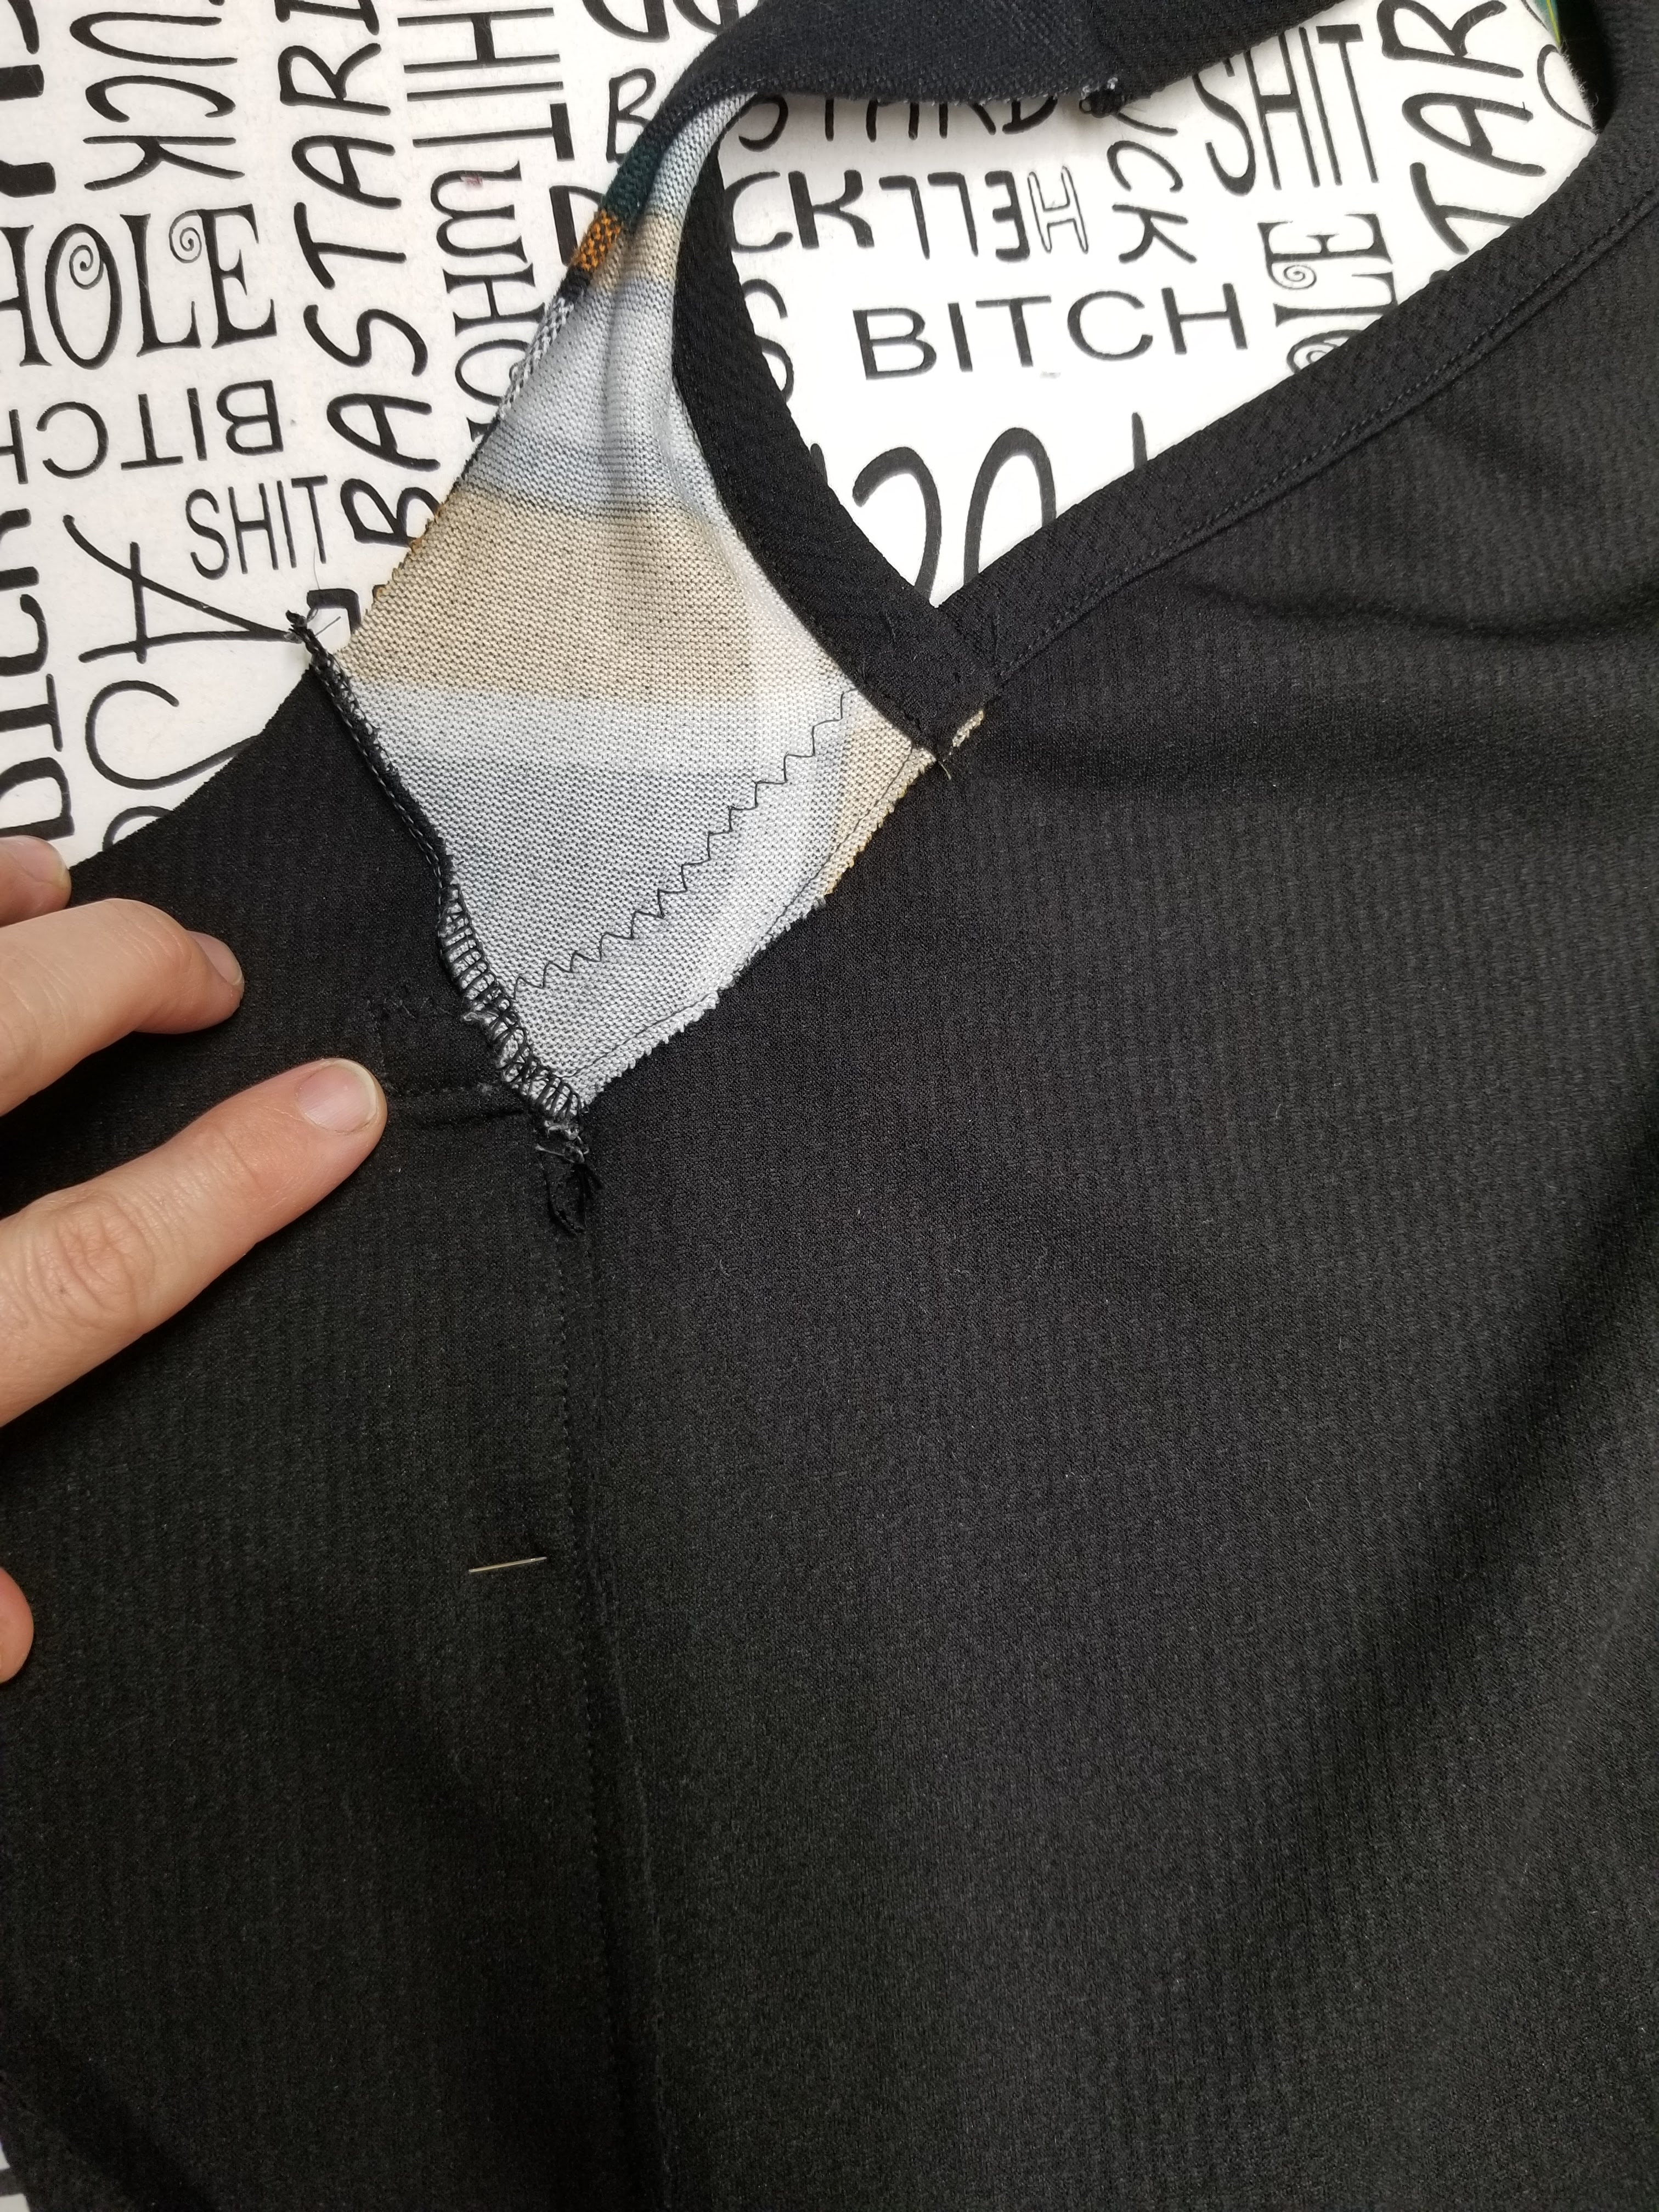
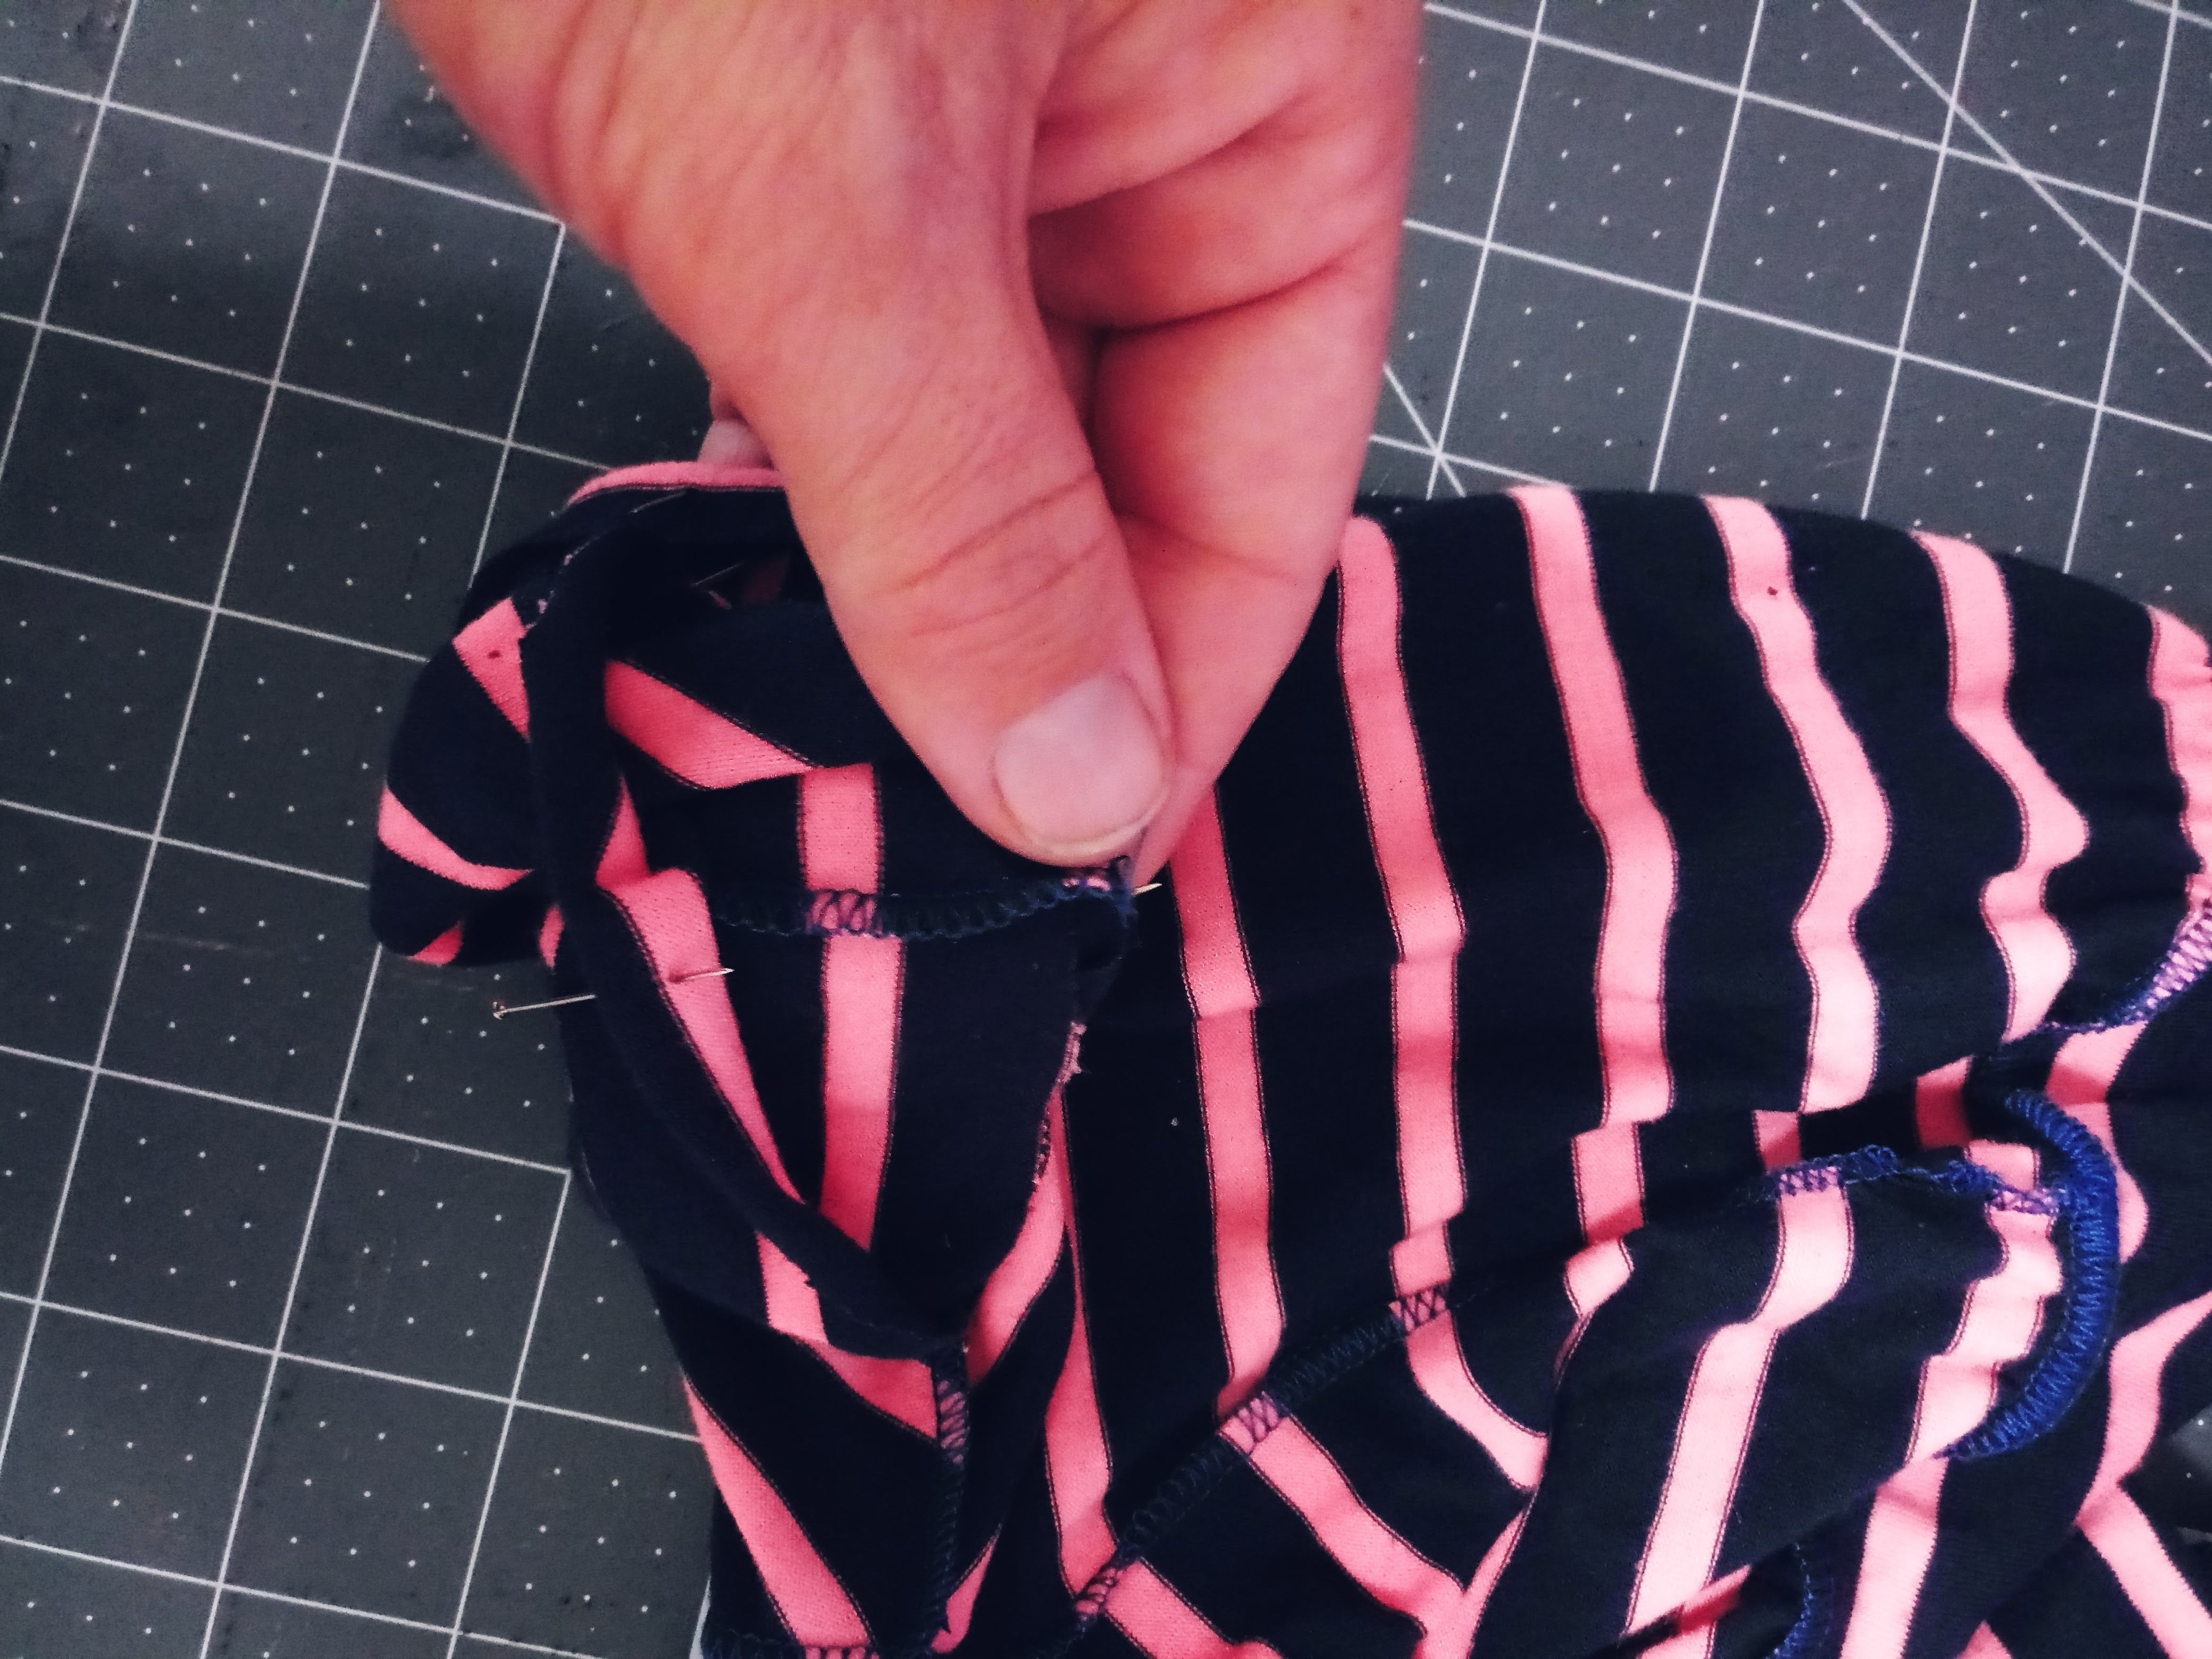
Place the front pieces and back piece right sides together. Overlap the front piece over the
shoulder piece, lining up the finished edge of the shoulder piece with the seam allowance
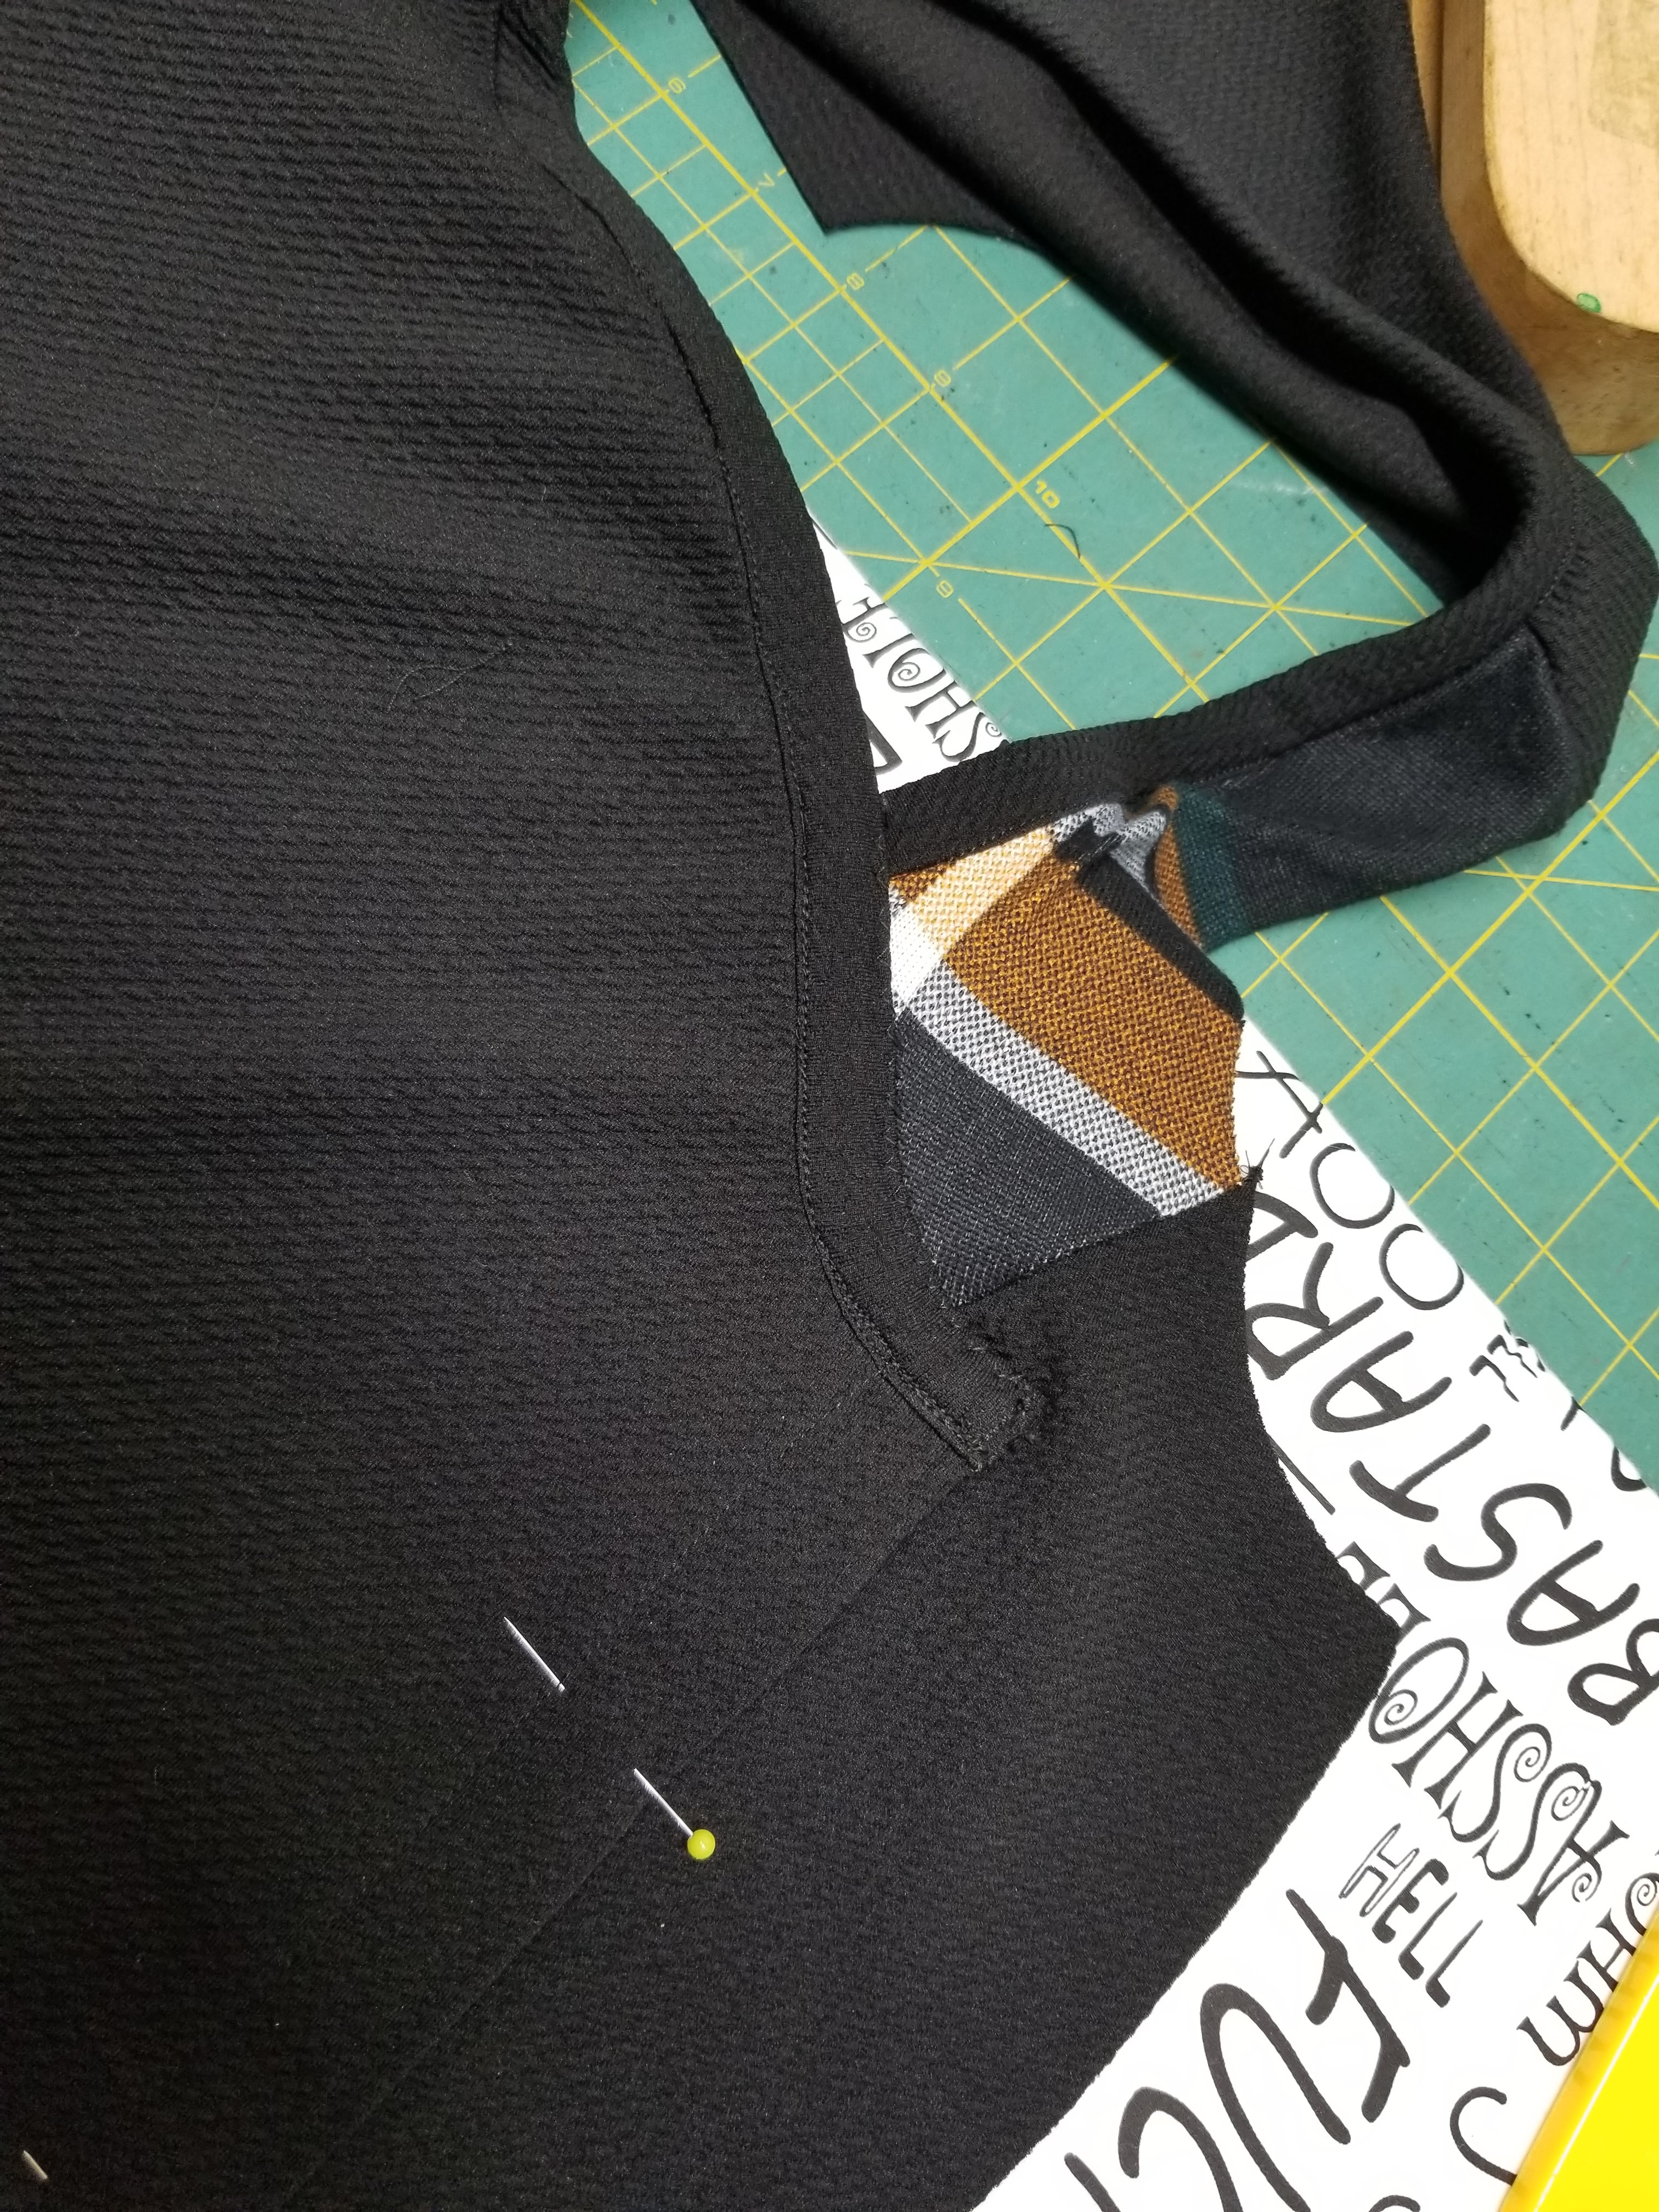
along the neckband on the front piece. Pin it in place and “stitch in the ditch” of the neckband
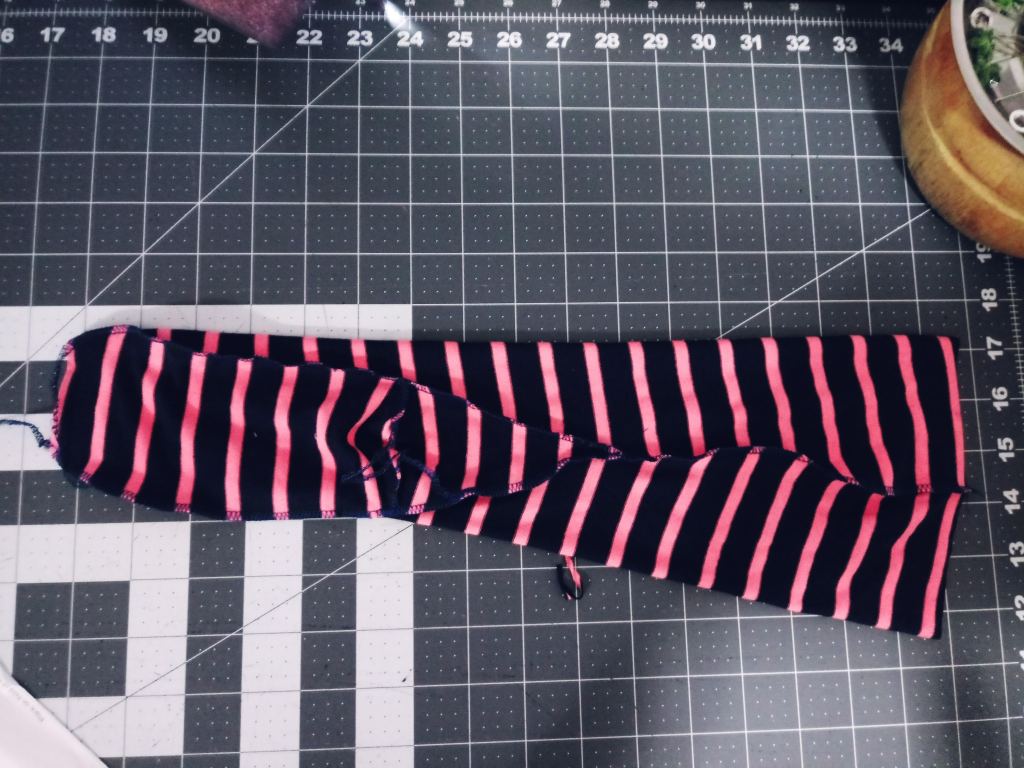
seam. Attach the sleeves and cuff the way the directions tell you. Then sew the side seams together.

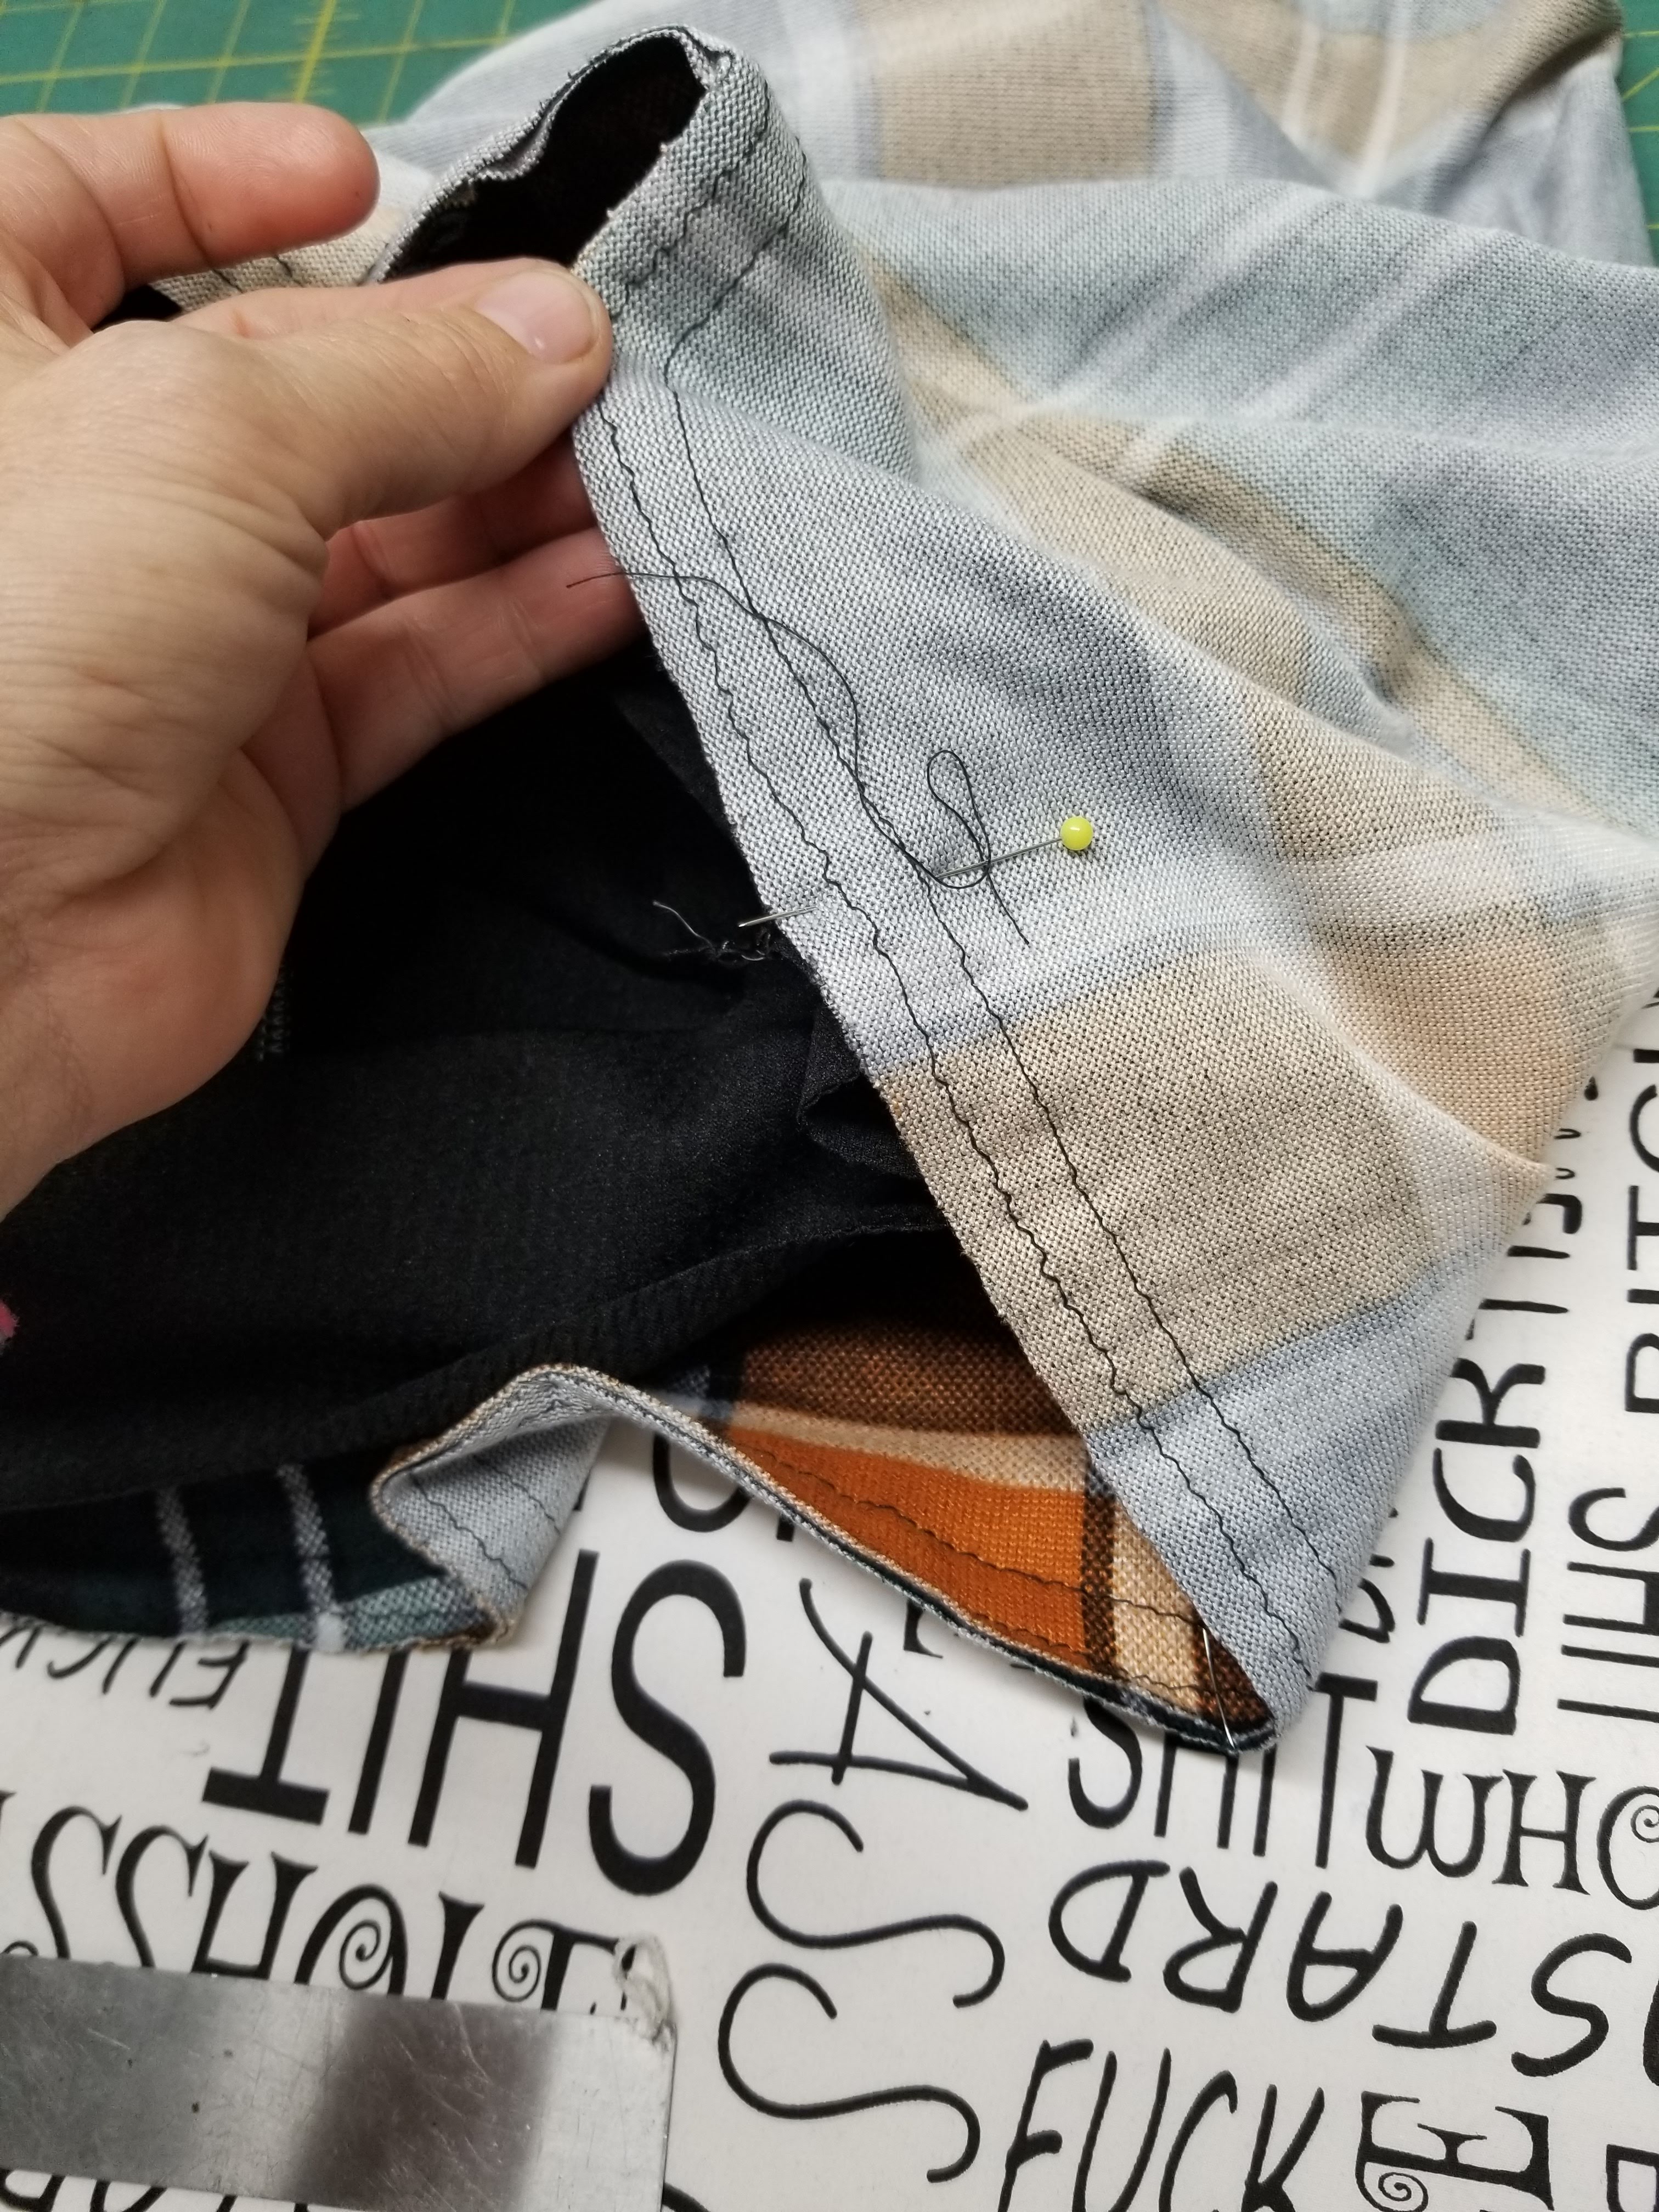
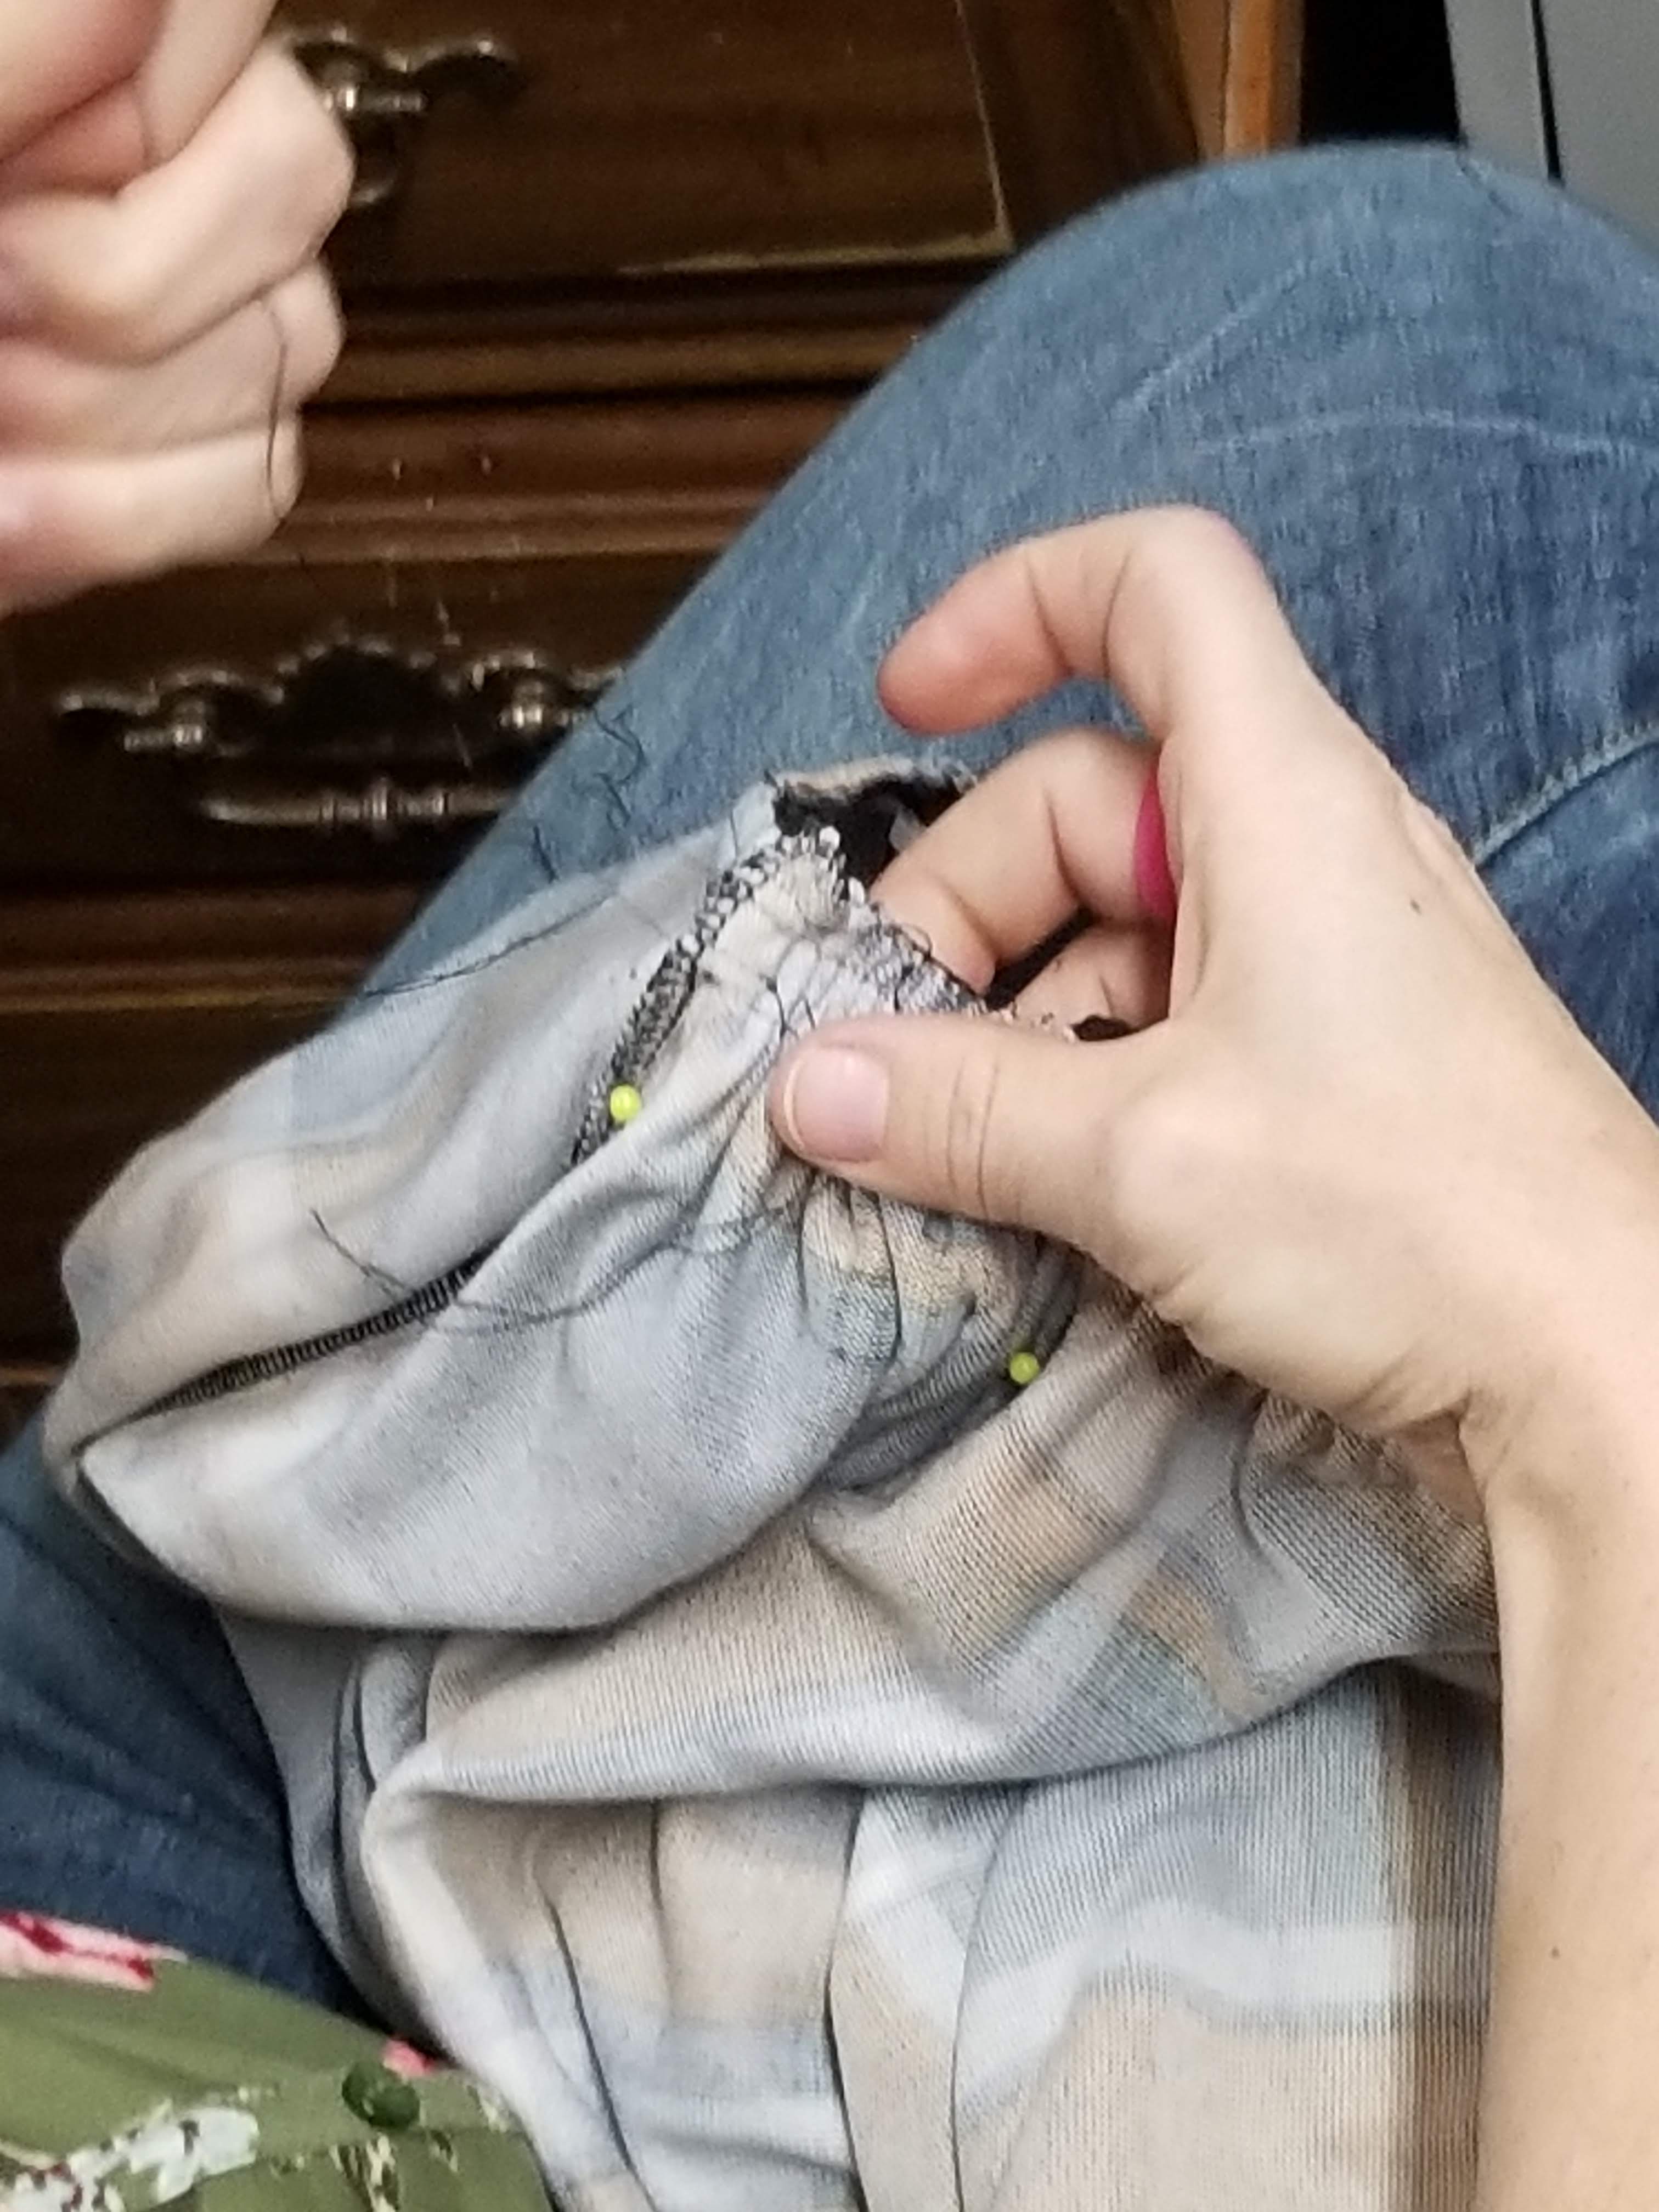
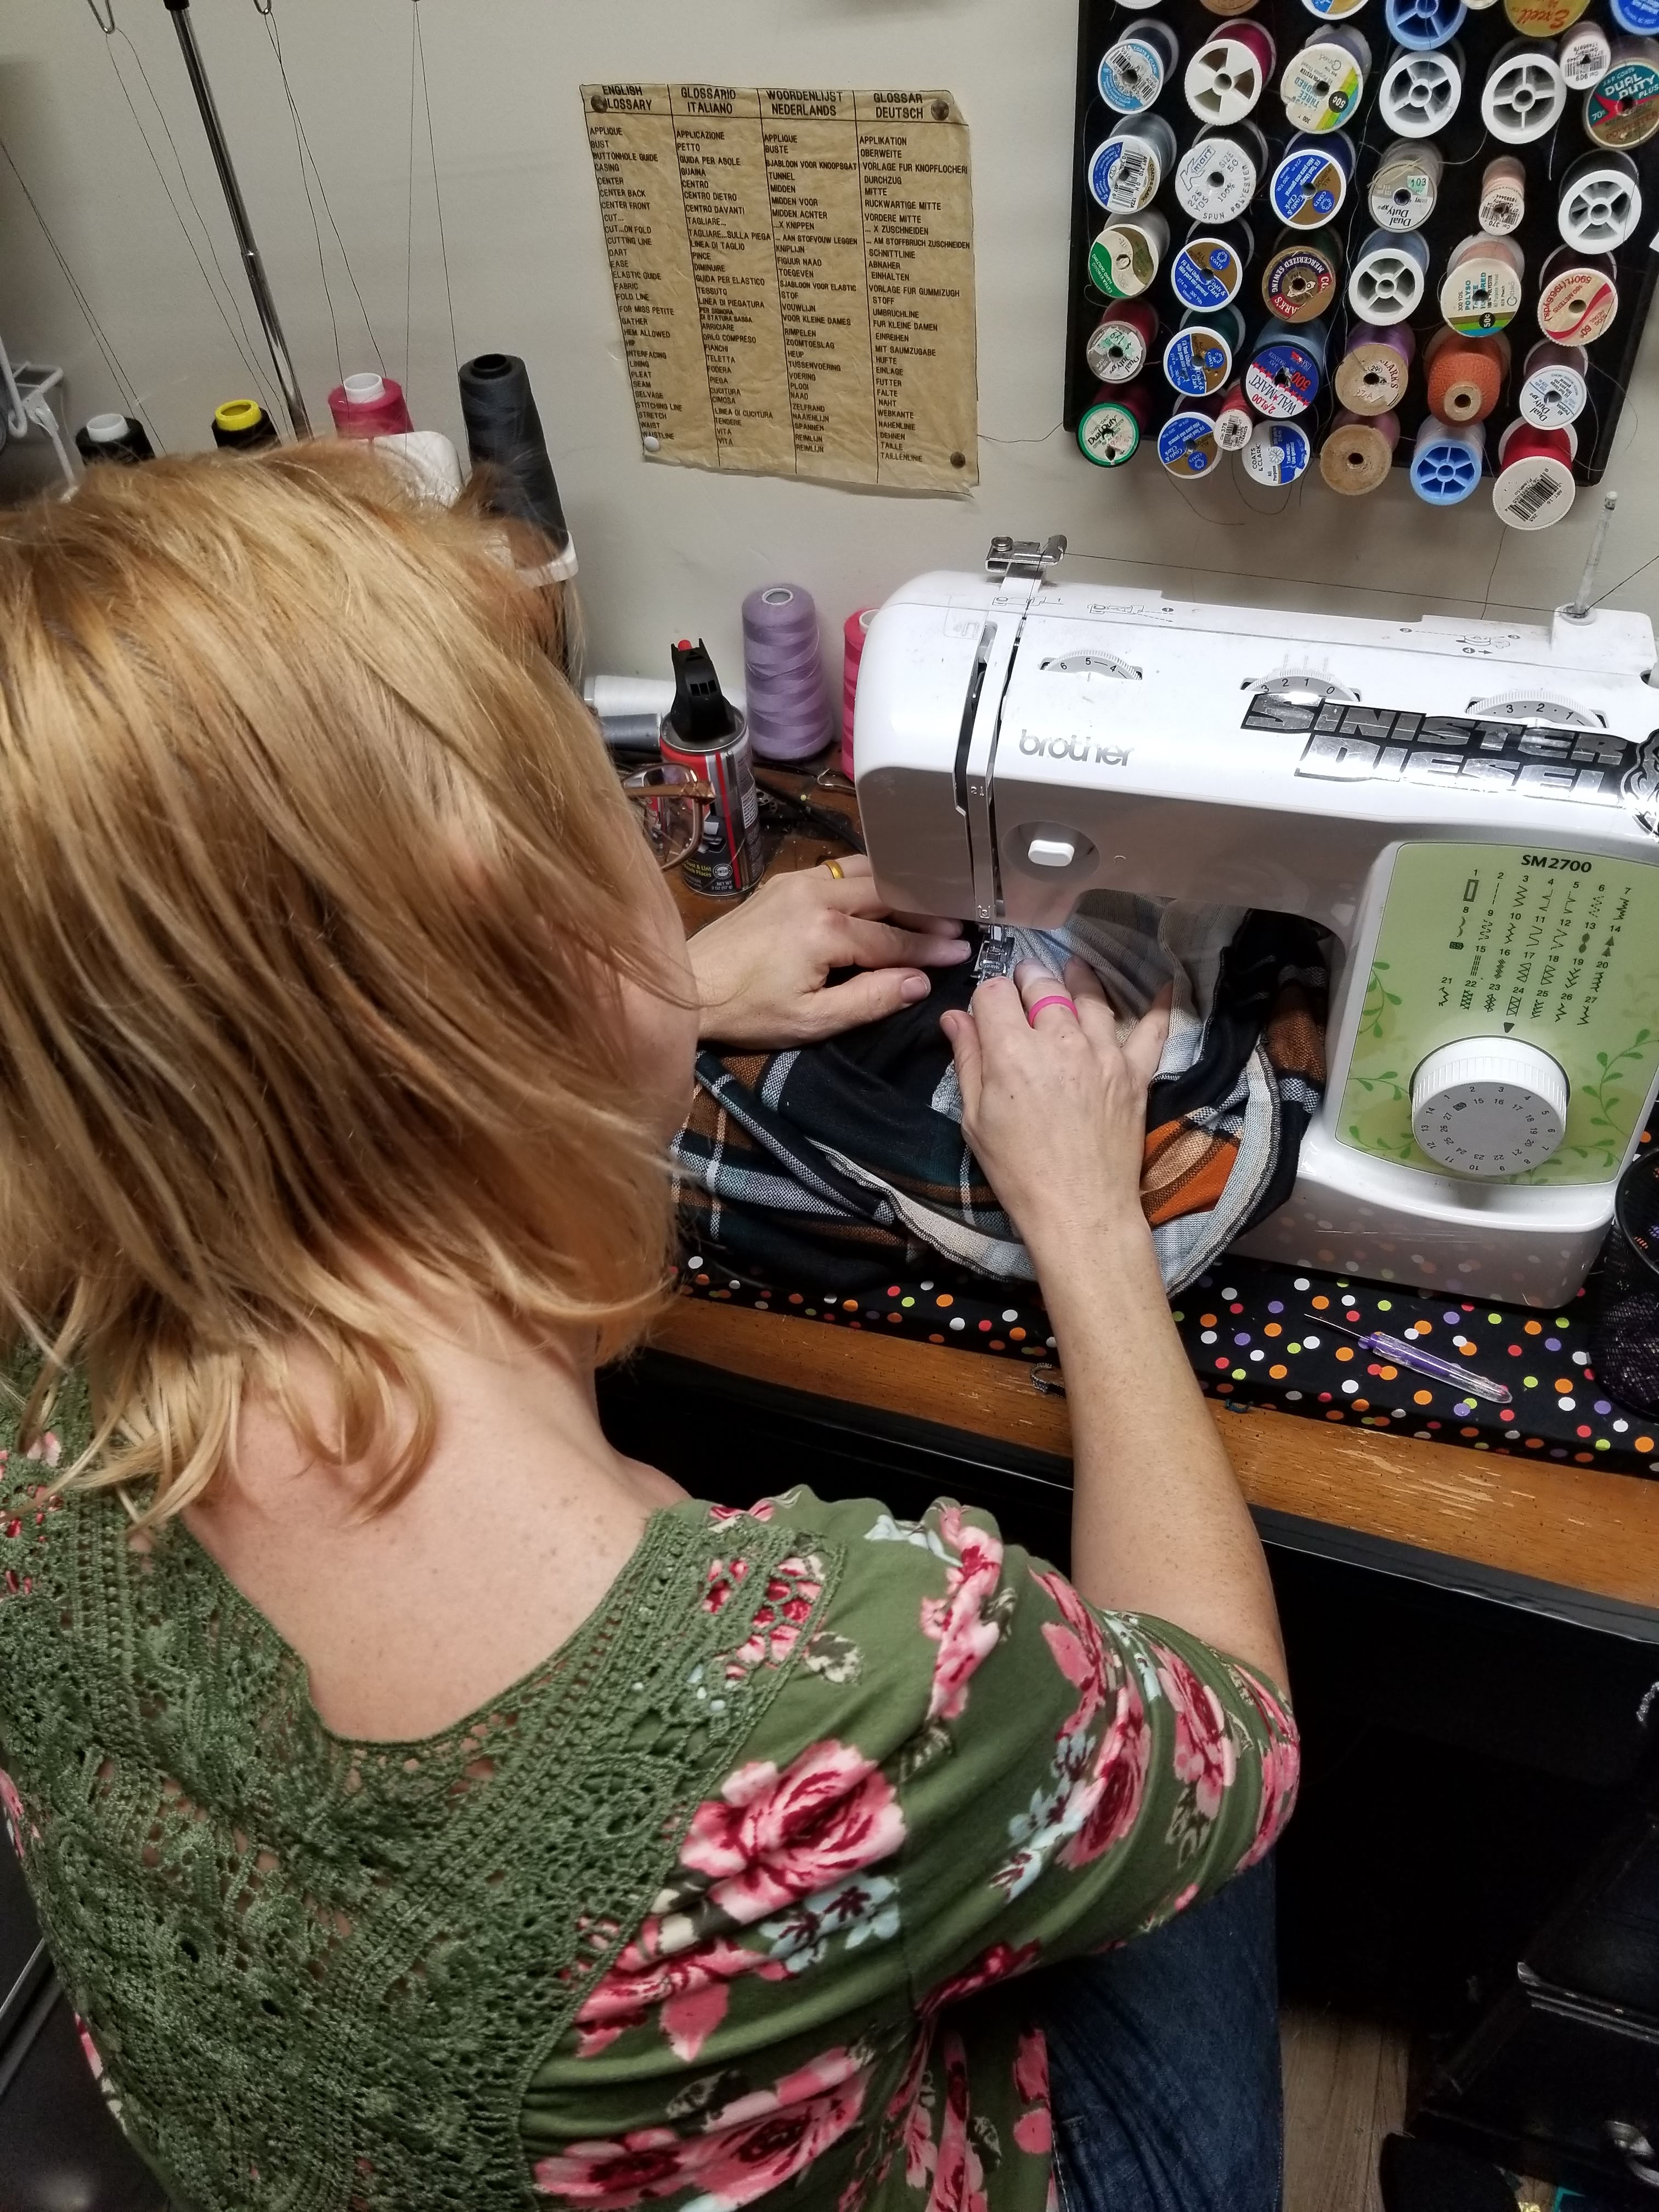
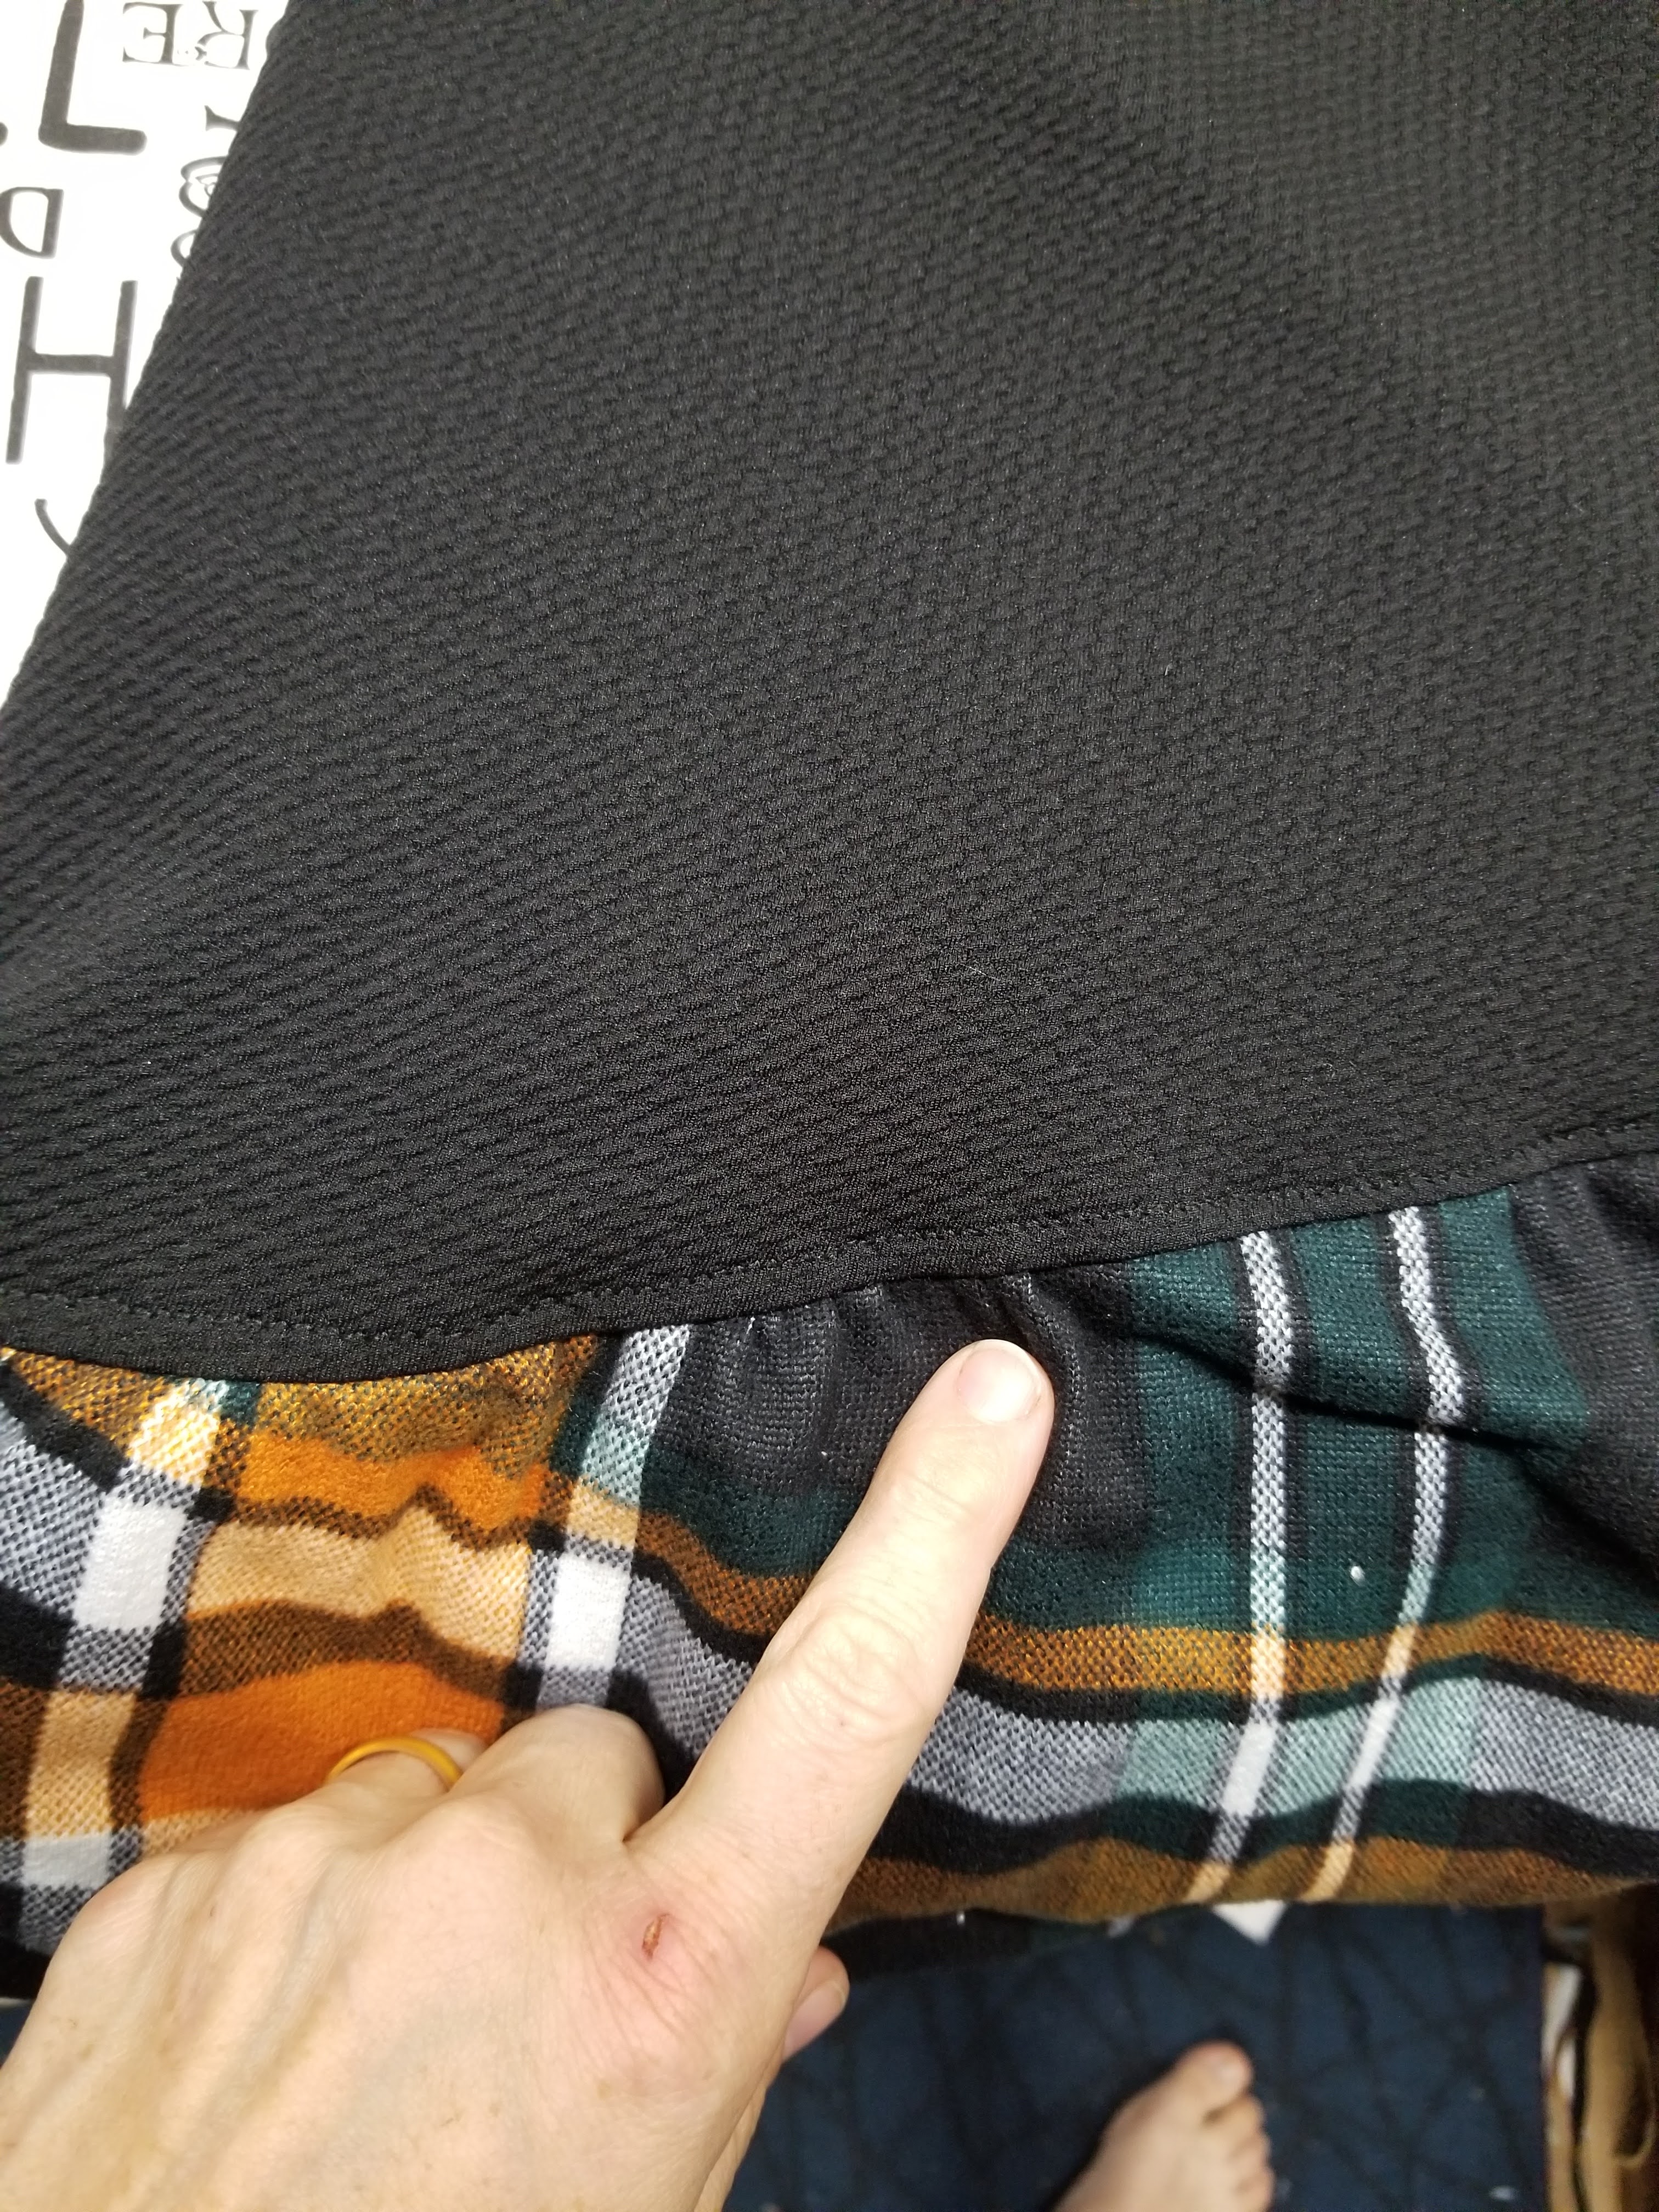
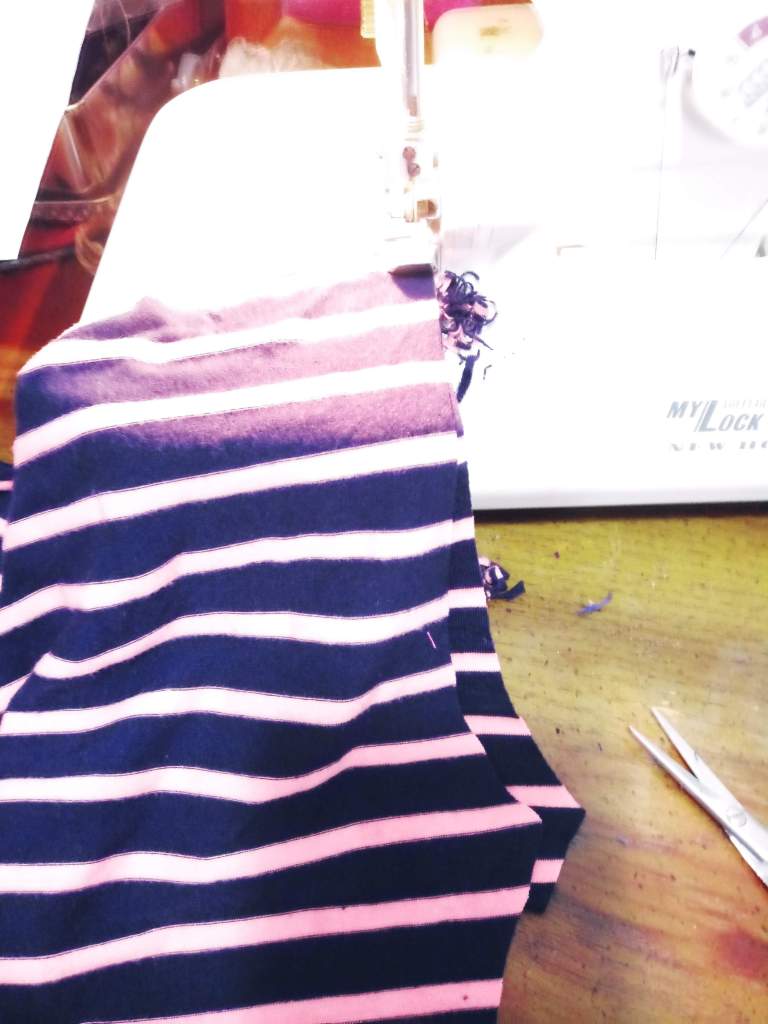
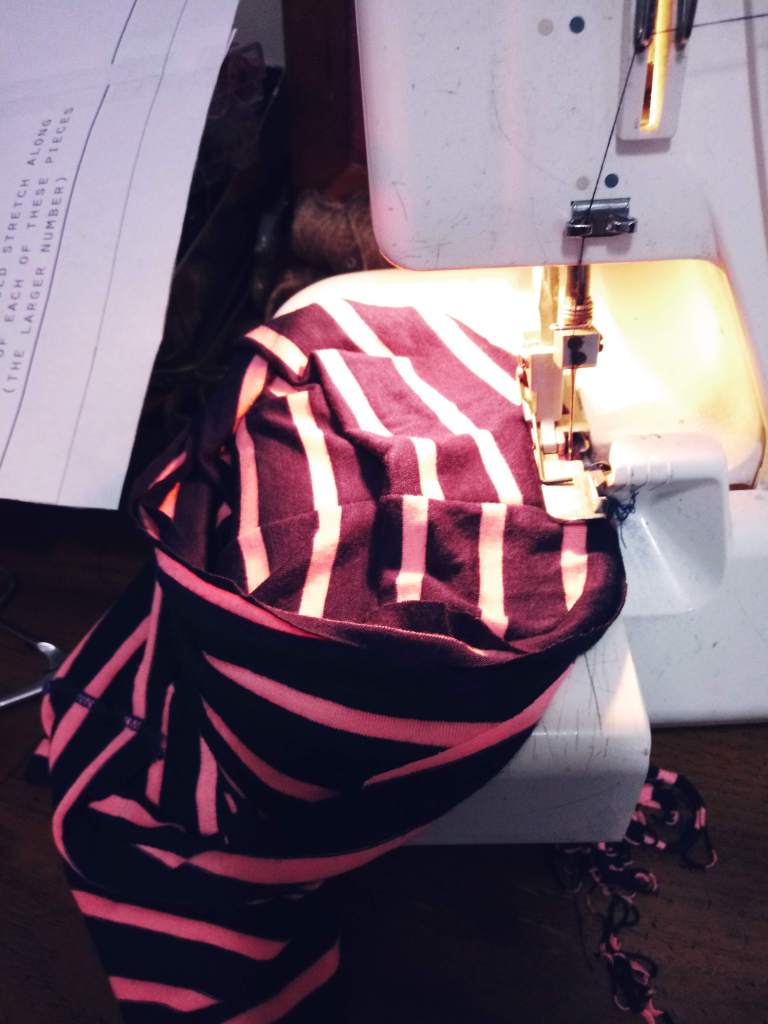
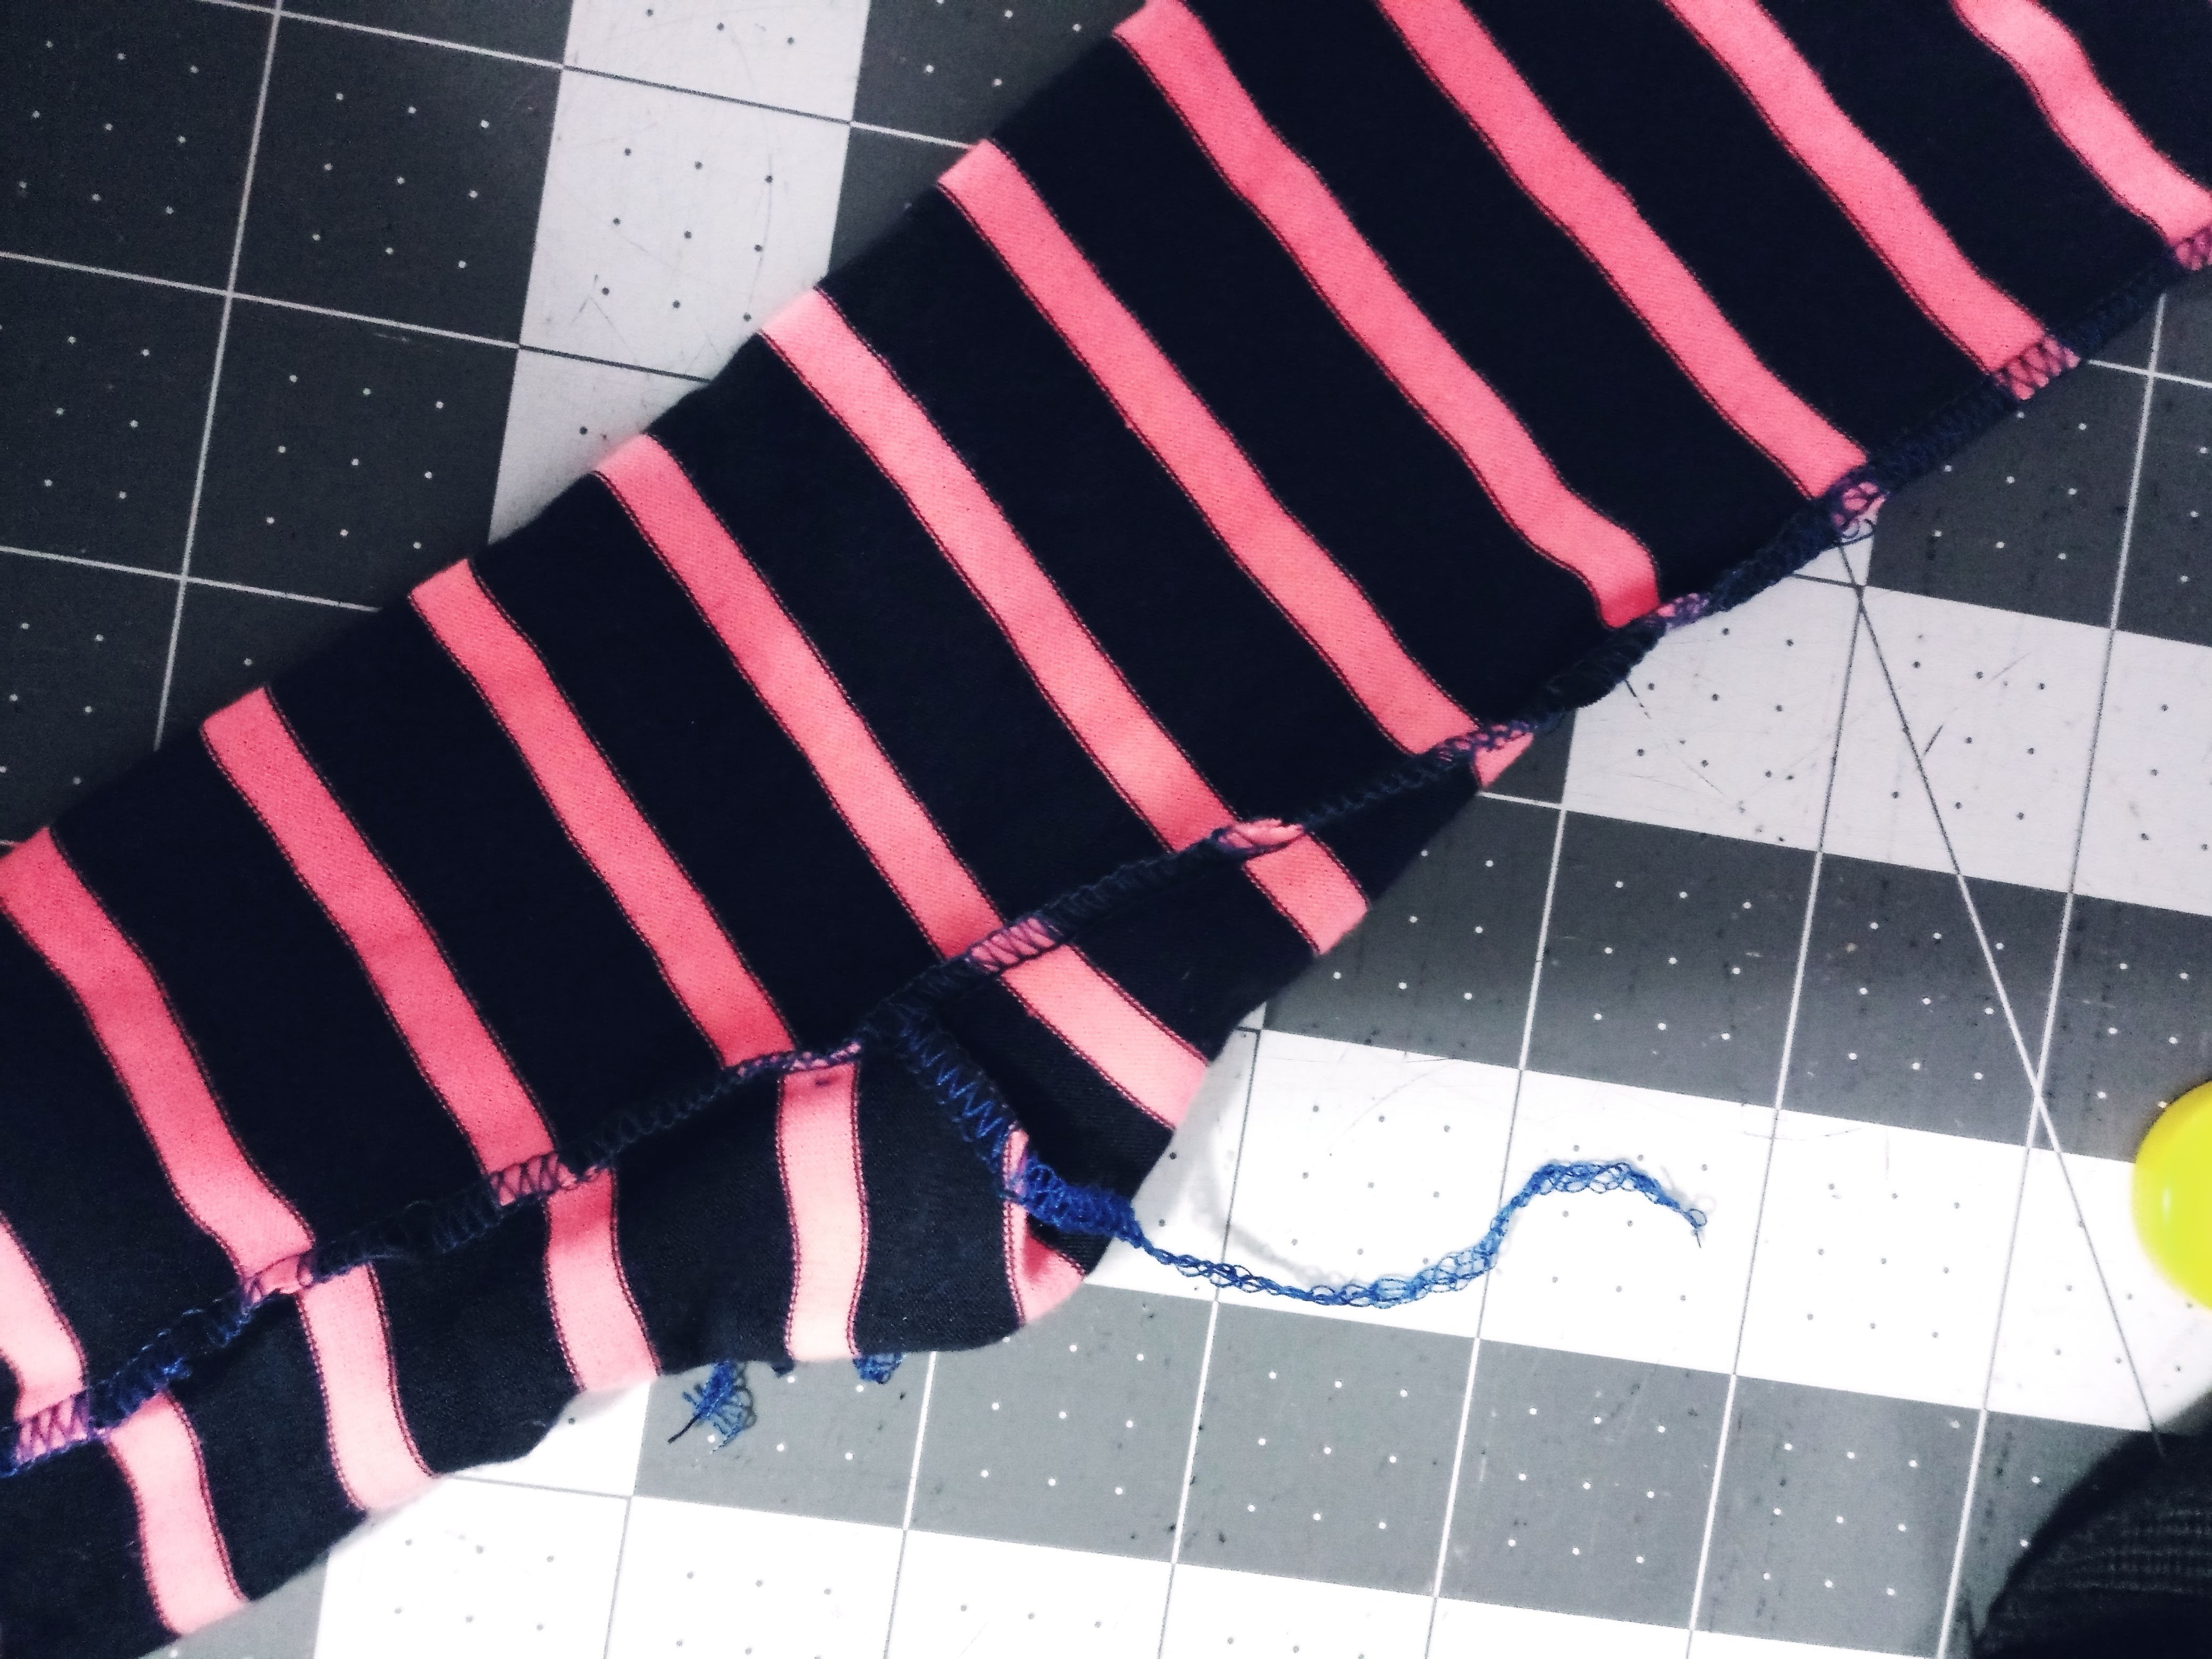
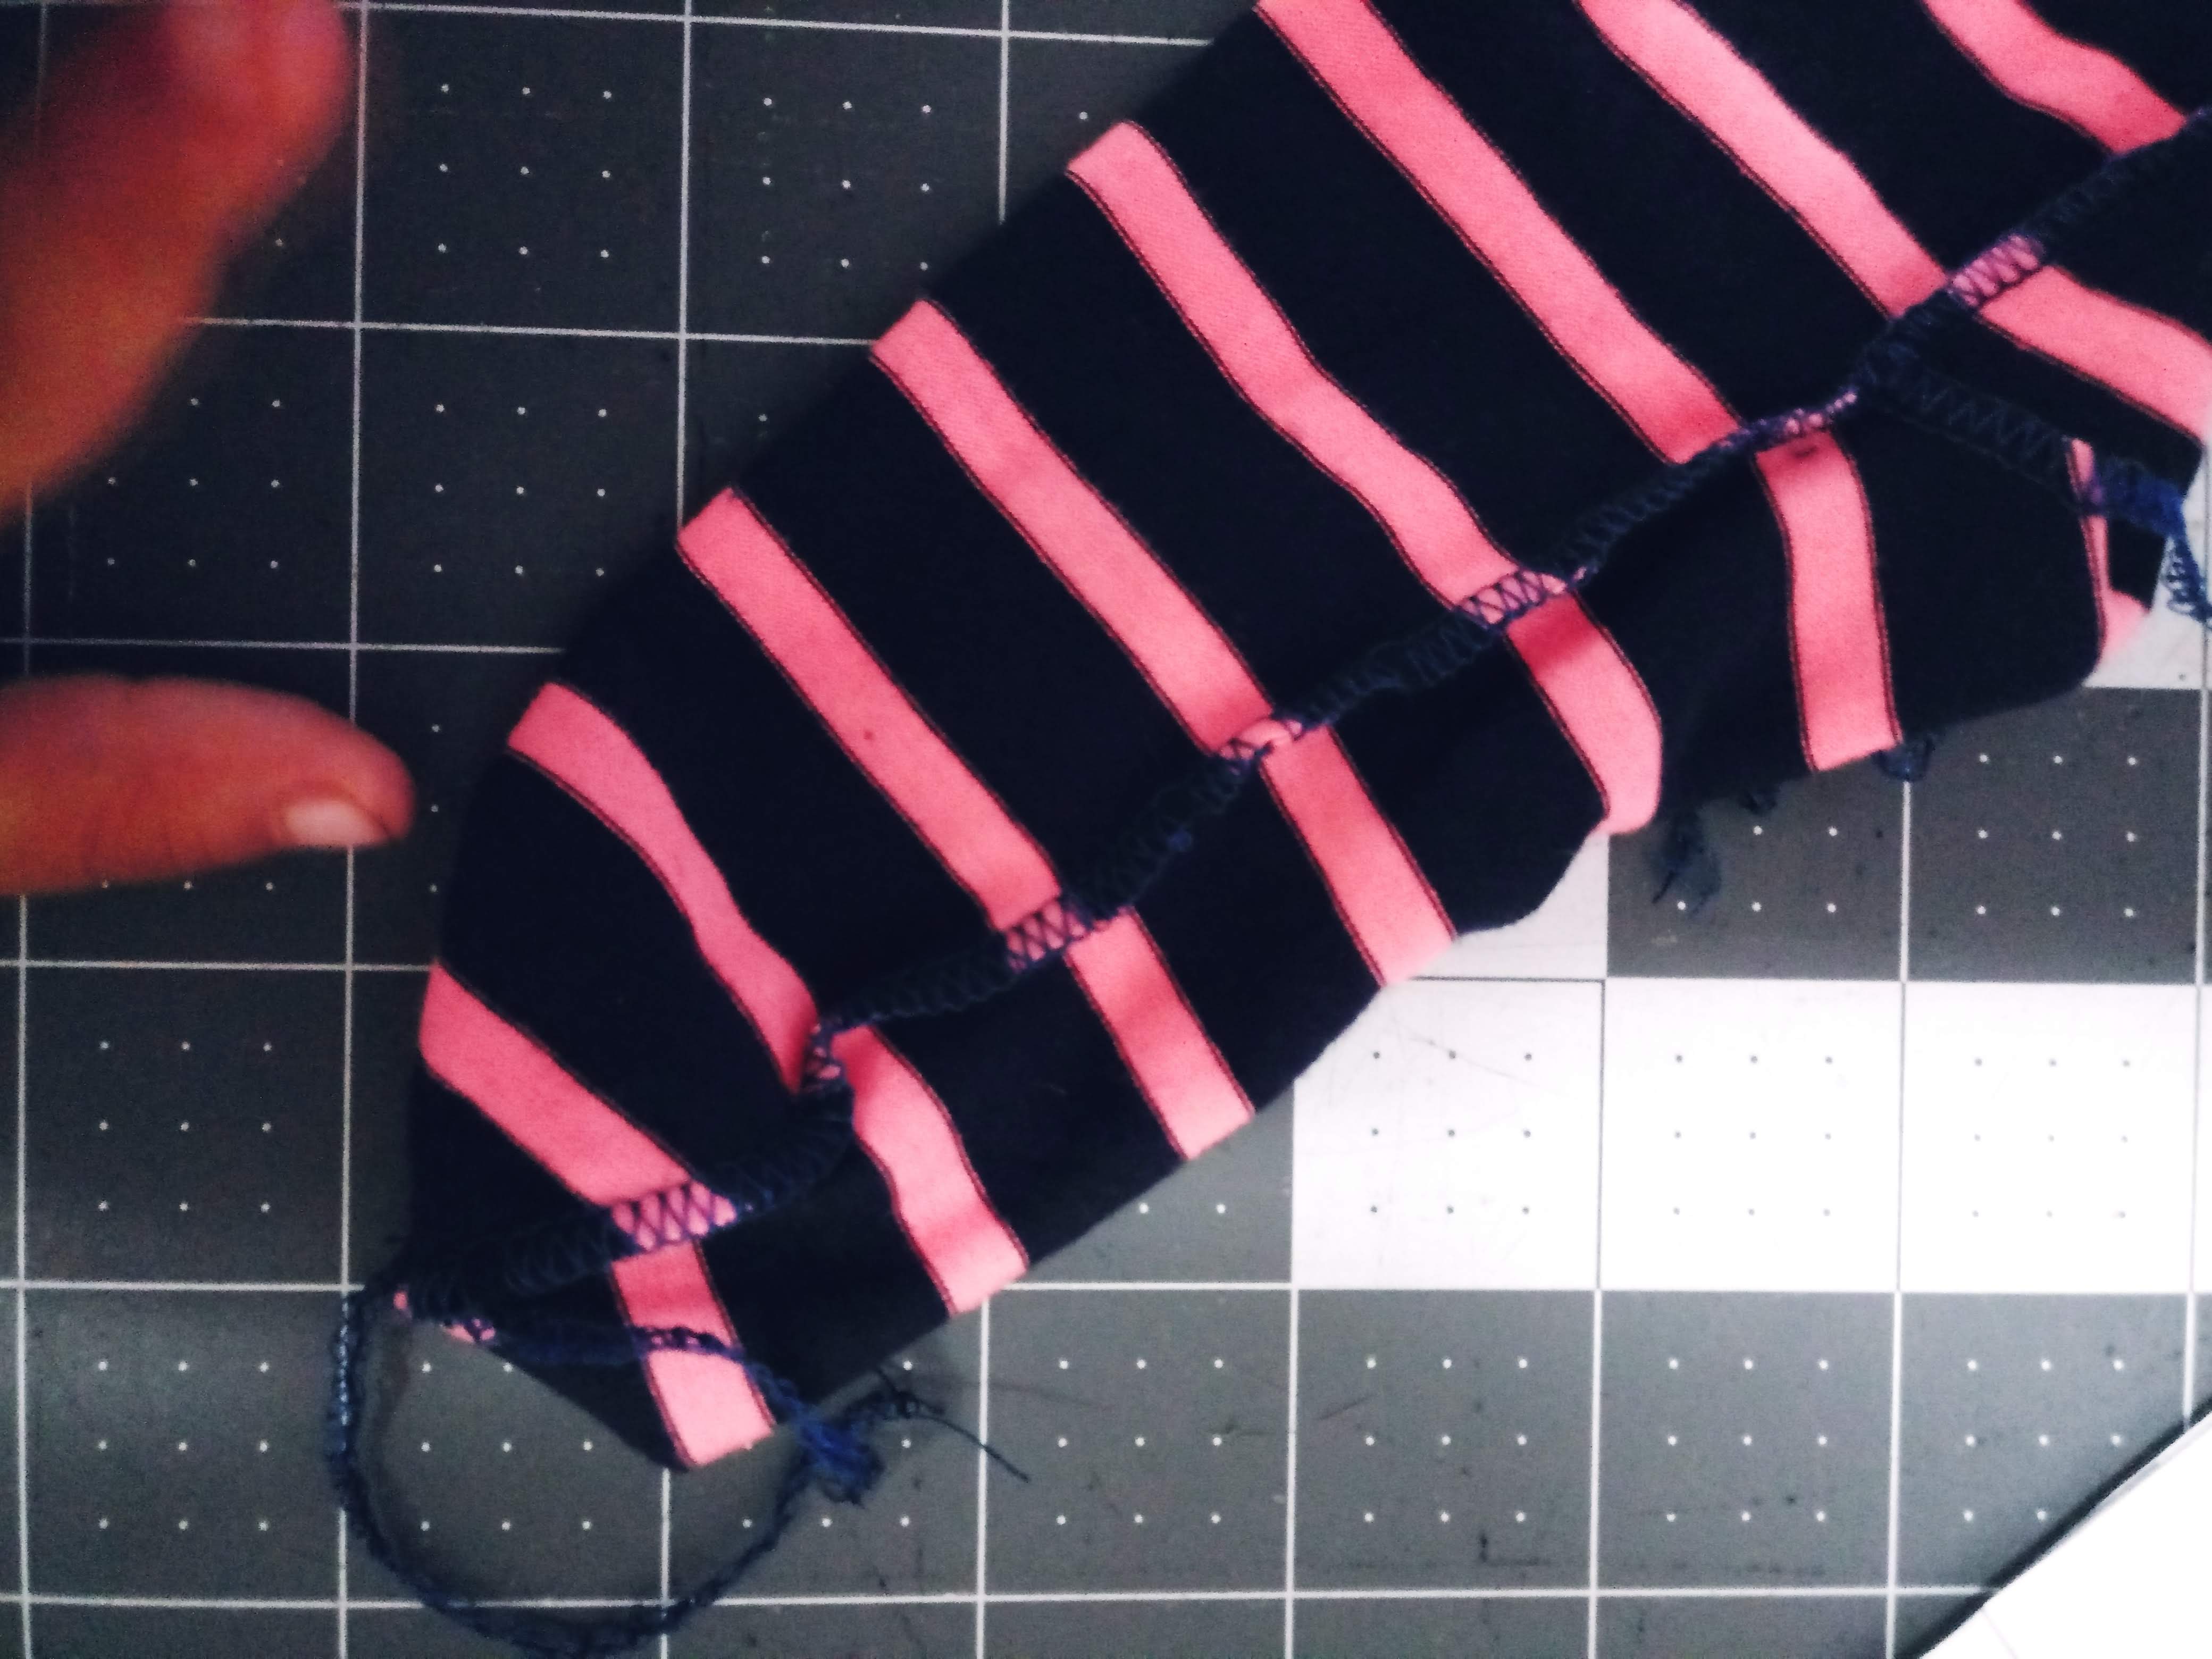
Pat yourself on the back your almost done. Now comes the FUN part…. sewing the skirt on with gathers. There are many different way to gather a skirt. I sew up the side seams on the skirts separately and finish the hems. When you have both of those complete you can match the two skirts to gether and sew 2 baste stitches along the top curved edge and pin to the bottom of the skirt. You are going to pull the bobbin strings on both lines and evenly gather the edge to line up to the bodice edge. After you have evenly gathered it the best you can you will sew in between those 2 lines to attach the parts together. I then snip the bobbin thread at the opposite side seam of pulling and then pull out your baste stitches. To complete your dress you will either need a double needle to top stitch your edge up or zig zag stitch it up.

DONE now go enjoy your dress.

Free stocking tutorial

So I absolutely love leggings but hate layering them under skirts or dresses during the fall and winter. I’m a very frugal sewist and need all of the free patterns out there. With this tutorial I mashed the free I heart you set that is in the files section of the group. I also found these neat free vintage stockings by The Dreamstress. For my self I printed at 100%. For my daughter I shrunk the pattern down to 75% when I printed.

Stocking pattern pieces

When I printed this stocking pattern, I noticed that it would not fit me. I used the double dot attachment line on the pattern to mark for my ankle. Using my yard stick to mark up my leg to better shape the pattern to fit me. If you look at the yard stick, you will see the marks at 3, 6, 8, 10,12, 14, 16, 18, 20, 22 & 24. Those marks are the point that I measured on my leg to adjust the pattern to fit me. Though I should have taken it in further for my knees. When you do your measurements you will also have to adjust for the stretch in your fabric. So if the 3 inch mark was 9.5 inches, I marked it at 7.5 inches. This is because I used rayon spandex and its very stretchy.

picture A
picture B

First step in picture A is to sew the first dart cut out and ignore the dotted line dart on the pattern piece. Your stocking should look like picture B now.

Fold fabric at the toe mark and clip or pin along the seam until you get to the heel and match up the A points. When sewing you can use a 3 thread serger or stretch stitch on a regular sewing machine.

Repeat on the other side continuing up the pattern. Let me tell you matching up these stripe are killer but look so awesome.

Sew up your front seams together and repeat on the butt seam
Match up the inseam and sew it together
Attach the waist band after you pin it at 4 points so its even all of the way around, slowly stretch as you sew.

First mark the front and back and side points on the top of the stockings. Do the same on the leg holes of the bottoms. You are going to turn the stocking legs right side out and insert them into the leg holes. The short/panties should be inside out. Match up the back seam of the stockings to the back point on the bottoms and pin. Continue to pin each point matching them all of the way around. Repeat on the other leg and then sew them.

You should almost have completed the tights. You want to turn the tights inside out and tie the threads so they don’t come undone. The pictures below show the points that need tied.

And now you will have a completed tights for any time of the year. This will also work great for Sincerly Rylee ribbed knits and sweater knits.

Disclosure: this post does include a affiliated link that does in no way charge you extra it just earns me points for more fabric…. Happy sewing

Boxwood Jogger Test

So just about all of my kids clothes are patterns from Sew Like My Mom. She has done it again, Her Boxwood joggers in 12m-8y or Boxwood joggers in 6y- 16y are a hit in my house. I tried the 18m in shorts and pants for my little girl. Then did the 24m/2t in the shorts length for my youngest little man. Not to leave my 5 year old out I used the 6y but with the boy cut out for extra room in the seat and front area. The bigger sized package has a relaxed fit cut line and a normal jogger cut line depending on how much room you need. You can also purchase them both in a discounted package. Stay tuned for The Boxwood for women.

Chillax Bottoms by Little Finch

What has a skirt and bottoms? This skort! It also has the options of different length of pant. I went with the longest version because it’s winter and my girl needs to be stylish and warm. You might have to go up a size for a little more room though. Tori loves it and can crawl her heart out for ages (well, until nap time anyway).

Burps N’ Bibs by Pickle Toes Patterns

The angels sing, the clouds part, and pure sunshine leaks through to show a miracle; a bib that actually catches food. This lifesaver doesn’t choke my babies and actually covers more than the upper chest area. It comes in two sizes and comes with an optional pacifier holder. On one side I have cotton velour and on the other side is poly-interlock knit but one could easily use some other easy washable/wipeable fabric. Burps N’ Bibs is the best thing to happen in my household since paper towels.

Lunch Bag by Sew So Easy

Let’s be truthful, most schools aren’t giving our kids the best lunches they could. So most moms take it upon themselves to make their kids lunches, especially for the youngsters. But when it comes to buying a lunch boxes the prices are just outrageous, and there is so many different styles it’s hard to chose which will keep our kids lunch fresh throughout the day. I decided to find a pattern to make a lunch bag that successfully stores food. Sew so easy has made my dreams come alive with this perfect lunch bag. It’s insulated and has room for you to add personal mods. The one pictured didn’t have any mods added but I made one for a my sister with pockets for bottles on the sides and I even hand stitched initials on the front pocket for uniqueness. The inside is laminated fabric which makes for easy cleaning and the next layer can be a special thermal lining or fusible fleece. I used a sun shield as a cheap, easy, and good way to insulate. All in all I love it, my kids love it and we can go to the park more often without complaint.

Better blogs will be forth coming

Well I have been very behind on my blog, and I am very sorry. I have not been able to fulfil my tester obligations. I have acquired my little sister as a helper who excels at writing and proof reading. She will now in charge of my blog because I suck at it. Though everything she write is with my permission and I go over it with her before it is published. I do jot down notes while I am testing any patterns so she can translate my thoughts into a good blog posting. While she is helping me, this will allow me to focus more on my sewing which I love.

The Miriam Skirt By Reyna Lay Designs

DSCN0394 DSCN0406 DSCN0526 DSCN0539

Being a mom is hard work; it requires 24/7 attention. It hardly gives time for moms to feel sexy or beautiful because we are always putting our kids first and not realizing we stopped doing the little things we loved- trust me, I’ve been there. But now I can also say that I’ve found a way to feel sexy and beautiful and just wanted, and this way is this skirt. The Miriam Skirt is a lifesaver: it let’s me feel good without having to show skin, it’s super classy, and it’s very flattering around the hips and the belly area. Okay, I have a confession to make– before the Miriam Skirt I was a pleated skirt virgin. It was a fun and interesting thing to learn and because of this I sewed the mini and midi versions. The mini is knee length and I used a teal linen; the midi is about two inches below the knee and I used black and white damask. Overall this skirt is perfect for date night or just wanting to feel a little more dressy than usual and here’s a tip, the best way to pull it off is to do it with confidence.


Hanna Dress By Wardrobe by Me

DSCN0636 - Copy DSCN0637 DSCN0648 DSCN0651 DSCN0655

Okay, let me just admit this first and foremost; it’s three weeks until Thanksgiving and I didn’t have a fall dress or outfit prepared. If you’re a mom like me you know that I was of course panicking. Everything was perfect and ready– except me. So when this pattern made it’s way into my sights there was no way I wasn’t going to test it; it was exactly what I needed and I knew it. The Hanna Dress is now definitely my go-to holiday dress. I can safely say that Wardrobe by Me knocked the ball out of the park again. While it seemed perfect in every way there was the fact that my youngest is still breast-feeding; to fix this small complication I simply modded the dress. If you don’t know how to do this, check my blog soon for a tutorial.


Blog at WordPress.com.

Up ↑